Nov . 15, 2024 06:47 Back to list
brake drum removal tips
Tips for Brake Drum Removal
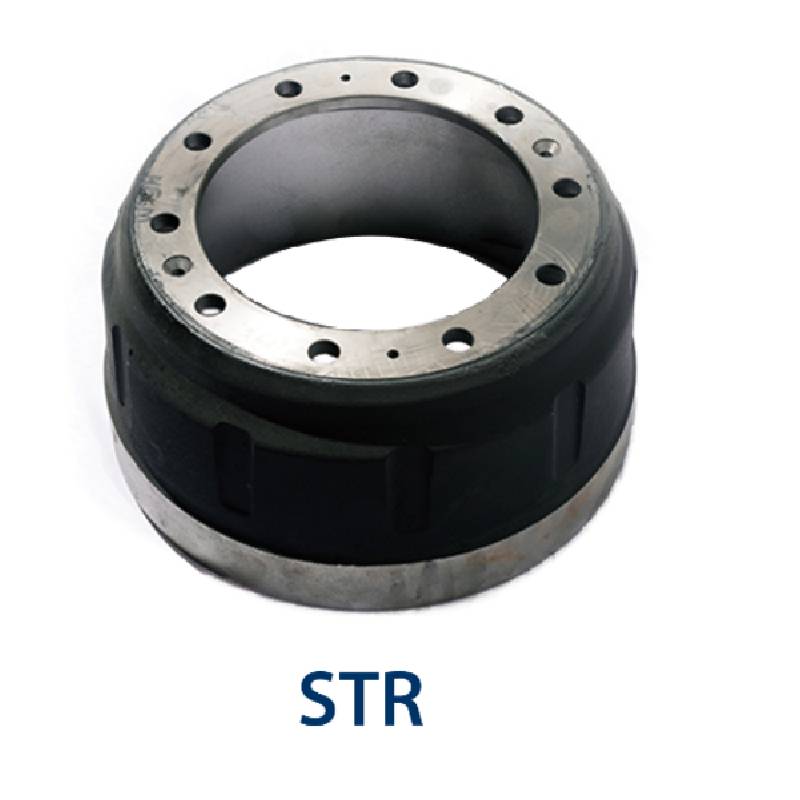
Removing brake drums may seem like a daunting task, but with the right approach and tools, it can be done efficiently and safely. Brake drums are crucial components of a vehicle's braking system, and their maintenance is essential for overall performance. Here are some valuable tips for removing brake drums effectively.
1. Gather the Right Tools
Before you begin the removal process, ensure you have all necessary tools on hand. You will need a lug wrench, a jack and jack stands, a brake drum puller (if needed), a hammer, and perhaps a few other hand tools like wrenches and sockets. Having the correct tools will make the job smoother and safer.
2. Prepare the Vehicle
Start by parking the vehicle on a flat surface and engaging the parking brake. This will prevent the vehicle from rolling while you work. If the brake drums are located on the rear wheels, ensure that the front wheels are blocked to provide additional safety.
3. Loosen the Lug Nuts
Before lifting the vehicle, slightly loosen the lug nuts on the wheels where the brake drums need to be removed. Turn the lug nuts counterclockwise just enough to break their seal, but do not remove them completely yet.
4. Lift the Vehicle
Use a jack to lift the vehicle, following the manufacturer’s guidelines for jack placement. Once the vehicle is elevated, securely place jack stands underneath to support the weight. This is a critical step to ensure safety while working underneath the vehicle.
brake drum removal tips

With the vehicle safely supported, remove the lug nuts completely and take off the wheel. This will expose the brake drum and allow for easier access.
6. Inspect for Retaining Screws or Clips
Before attempting to remove the drum, carefully inspect for any retaining screws or clips that may be securing the drum to the hub assembly. If present, remove these components. Some brake drums are held with a screw that may require a specific screwdriver to remove.
7. Tap and Pull Method
If the drum doesn’t simply slide off, you may need to tap it lightly with a rubber mallet or hammer to loosen any rust or debris holding it in place. Be cautious not to damage the drum. If it’s still stuck, a brake drum puller can be very effective. This tool applies even pressure to help remove the drum without damage.
8. Clean and Inspect
Once removed, take the time to clean the brake drum with brake cleaner. Inspect the drum for any signs of wear, scoring, or cracking. If it’s in poor condition, consider replacing it before reassembly.
9. Reassembly and Test
After maintenance or replacement, reassemble in reverse order. Make sure to torque the lug nuts to the manufacturer's specifications and double-check your work before lowering the vehicle.
Conclusion
Removing brake drums doesn't have to be intimidating. With the right tools, careful preparation, and attention to detail, you can handle brake drum maintenance like a pro. Always prioritize safety and don’t hesitate to consult a professional if you encounter difficulties. Regular maintenance will ensure your braking system works effectively, keeping you safe on the road.
-
Durable Brake Drum MAZ for Heavy Duty Trucks | High Performance
NewsAug.26,2025
-
FUWA: Premium Quality, Reliable Performance & Innovative Solutions
NewsAug.25,2025
-
Liza Brake Drum: Superior Quality & Performance for Safe Driving
NewsAug.24,2025
-
Iveco Brake Drum | Premium OE Quality for Daily & Eurocargo
NewsAug.22,2025
-
Your Brake Drum Man: Quality & Performance Parts
NewsAug.21,2025
-
Explore Japan: Ultimate Travel Guide & Authentic Experiences
NewsAug.19,2025
