Dec . 17, 2024 23:14 Back to list
brake drum rust removal
Brake Drum Rust Removal A Comprehensive Guide
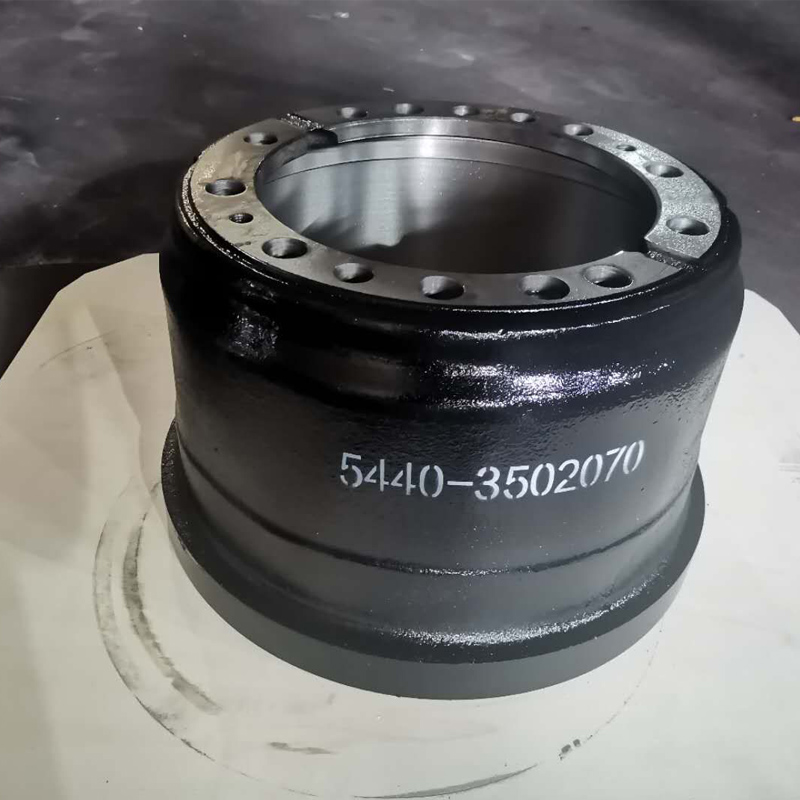
Brake drums are a crucial component of a vehicle's braking system, functioning to slow down and stop the car safely. Over time, exposure to moisture, road salt, and dirt can lead to rust formation on brake drums, compromising their functionality and safety. Addressing rust buildup is essential for maintaining optimal brake performance and ensuring the overall safety of your vehicle. In this guide, we will explore effective methods for removing rust from brake drums, as well as preventive measures to avoid future rust issues.
Understanding Rust Formation
Rust is a type of corrosion that occurs when iron or steel is exposed to moisture and oxygen over time. When it comes to brake drums, rust can lead to surface pitting, reduced contact efficiency, and even complete brake failure in extreme cases. Regular inspections of your brake system can help identify rust early, allowing for timely intervention.
Tools and Materials Needed
Before starting the rust removal process, you will need the following tools and materials
1. Protective gloves and eyewear 2. Wire brush or rotary tool with a wire brush attachment 3. Sandpaper (preferably between 80 and 220 grit) 4. Rust remover or converter (optional) 5. Clean cloth 6. Brake cleaner 7. High-temperature paint or rust-resistant primer (for prevention)
Step-by-Step Rust Removal Process
1. Safety First Always ensure that your vehicle is parked on a flat surface and secured with wheel chocks. Wear protective gloves and eyewear to shield yourself from debris and chemical exposure.
brake drum rust removal

2. Remove the Wheel Use a lug wrench to loosen and remove the lug nuts. Once the wheel is off, you’ll gain access to the brake drum.
3. Inspect the Brake Drum Examine the brake drum for rust and other deformities. If the rust is severe or the drum is excessively warped, consider replacing the drum rather than attempting a repair.
4. Scrub Off the Rust Using a wire brush or rotary tool, start scrubbing the rust off the surface of the brake drum. Apply firm pressure but be cautious not to damage the drum itself. For stubborn rust, sandpaper can be used for additional abrasive action. Start with coarser sandpaper and gradually move to a finer grit for a smooth finish.
5. Clean the Drum After removing the rust, clean the brake drum thoroughly with a brake cleaner to eliminate any dust or debris. Wipe it down with a clean cloth to prepare it for the next steps.
6. Apply Rust Remover or Converter If you want added protection, consider applying a rust remover or converter, which chemically neutralizes remaining rust and prevents further corrosion.
7. Preventive Measures Once the drum is clean and dry, consider applying a coat of high-temperature paint or a rust-resistant primer to protect against future rust. Be sure to follow the manufacturer’s instructions for proper application.
8. Reassemble and Test Replace the wheel and tighten the lug nuts securely. Lower the vehicle back to the ground, and once again check to ensure the brake system is functioning properly before taking it for a test drive.
Conclusion
Rust on brake drums can pose serious safety risks, but with the right tools and knowledge, you can effectively remove it and protect your braking system. Regular maintenance and inspections will not only extend the lifespan of your brake components but also enhance the safety of your vehicle on the road. Remember, when in doubt about the condition of your brake system, consult a professional mechanic for an evaluation. Prioritizing your vehicle’s maintenance ensures that you drive safely and smoothly, without the worries of rust-related brake issues.
-
Premium Brake Drum Iveco – Durable Drum Brake Drum & Brake Shoe Solutions
NewsJul.08,2025
-
High-Performance Brake Drum Liza for Enhanced Safety Reliable Drum Brake Drum & Brake Shoe Solutions
NewsJul.08,2025
-
High-Quality Brake Drum MAZ – Durable Drum Brake Drum & Brake Drum and Brake Shoe for Optimal Performance
NewsJul.07,2025
-
High-Quality Brake Drum Kamaz for Reliable Performance Durable Drum Brake Drum & Brake Shoes
NewsJul.07,2025
-
High-Quality Brake Drum Kamaz for Reliable Performance Durable Drum Brake Drum & Brake Shoe Replacement
NewsJul.07,2025
-
Brake Drum Man - High-Quality Drum Brake Drum & Brake Drum and Brake Shoe Solutions
NewsJul.06,2025
