Oct . 31, 2024 08:15 Back to list
changing brake drums and shoes
Changing Brake Drums and Shoes A Step-by-Step Guide
Proper maintenance of your vehicle's braking system is crucial for safety and performance. Among the most important components are the brake drums and shoes, which work together to bring your car to a halt efficiently. Over time, these components wear out and require replacement. Understanding how to change brake drums and shoes is an essential skill for car enthusiasts and can save you money on service costs. Here’s a step-by-step guide to help you through the process.
Tools and Materials Needed
Before you begin, gather all necessary tools and materials. You will need a jack and jack stands, a lug wrench, a brake drum removal tool, new brake drums, and new brake shoes. It's also advisable to have some brake cleaner, a wire brush, and a pair of gloves for safety.
Step 1 Safety First
Ensure that your vehicle is parked on a flat surface and the gear is in Park (or in gear for manual transmissions). Use wheel chocks to prevent rolling, and wear gloves to protect your hands from dirt and sharp edges.
Step 2 Remove the Wheel
Using the lug wrench, loosen the lug nuts on the wheel covering the brakes you are replacing. Then, use the jack to lift the vehicle and secure it with jack stands for added safety. Once elevated, completely remove the lug nuts and take off the wheel.
Step 3 Access the Brake Drums
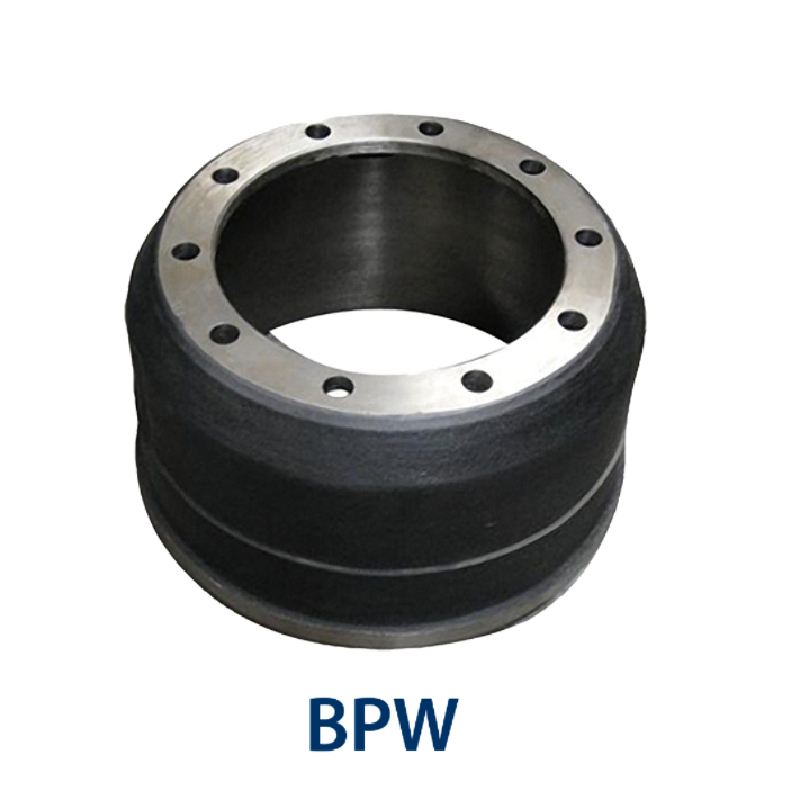
With the wheel removed, you’ll see the brake drum. If it’s stuck, gently tap around the circumference of the drum with a hammer to loosen it. Once removed, you’ll have access to the brake shoes.
changing brake drums and shoes

Step 4 Remove Old Brake Shoes
Take note of how the brake shoes are positioned, as you will need to replicate this when installing the new ones. Detach the springs and retainers holding the shoes in place. Once removed, clean the backing plate with brake cleaner to prepare for the new shoes.
Step 5 Install New Brake Shoes
Position the new brake shoes in place, securing them with the springs and retainers as observed during removal. Ensure everything is correctly aligned and seated properly.
Step 6 Replace the Brake Drum
Once the shoes are secured, carefully slide the brake drum back onto the hub. Rotate it slightly to ensure a snug fit. Reinstall the wheel, tightening the lug nuts in a star pattern to ensure even pressure.
Step 7 Repeat and Test
Repeat the process on the other side if necessary. Once you’ve replaced both sides, lower the vehicle and test the brakes in a safe area, ensuring they engage properly.
Changing brake drums and shoes can seem daunting, but with the right tools and careful attention to detail, it can be a straightforward process. Regular maintenance ensures your braking system remains reliable, helping keep you and others safe on the road. Always refer to your vehicle's manual for specific instructions and torque specifications. Happy wrenching!
-
Volvo Brake Drum: OEM Quality, Optimal Safety
NewsAug.27,2025
-
Durable Brake Drum MAZ for Heavy Duty Trucks | High Performance
NewsAug.26,2025
-
FUWA: Premium Quality, Reliable Performance & Innovative Solutions
NewsAug.25,2025
-
Liza Brake Drum: Superior Quality & Performance for Safe Driving
NewsAug.24,2025
-
Iveco Brake Drum | Premium OE Quality for Daily & Eurocargo
NewsAug.22,2025
-
Your Brake Drum Man: Quality & Performance Parts
NewsAug.21,2025
