Dec . 31, 2024 17:10 Back to list
How to Effectively Clean Rear Brake Drums for Optimal Performance
Cleaning Rear Brake Drums A Step-by-Step Guide
Maintaining your vehicle's braking system is essential for safe driving and optimal performance. Among the key components of the brake system are the rear brake drums, which play a crucial role in slowing down and stopping your vehicle. Over time, brake drums can accumulate dirt, dust, and debris, which may affect their performance. Therefore, it is important to clean them regularly. This article will guide you through the process of cleaning rear brake drums effectively and safely.
Tools and Materials Needed
Before you begin, gather the necessary tools and materials - Jack and jack stands - Lug wrench - Brake cleaner spray - Wire brush or sanding pad - Clean rags or paper towels - Safety goggles and gloves
Step 1 Preparation and Safety
Before working on your vehicle, it’s crucial to ensure your safety. Park the vehicle on a flat, stable surface, and engage the parking brake. Wear safety goggles and gloves to protect yourself from dust and debris. If you’re unsure about anything during this process, consult your vehicle's manual or seek professional assistance.
Step 2 Loosening the Lug Nuts
Using the lug wrench, slightly loosen the lug nuts on the rear wheels without removing them completely. This will make it easier to remove the tires once the vehicle is elevated.
Step 3 Lifting the Vehicle
Using a jack, lift the rear of the vehicle until it’s high enough for you to place jack stands underneath for support. Make sure the vehicle is secure before proceeding. Once the rear is elevated, remove the lug nuts and take off the wheels to expose the brake drums.
Step 4 Inspecting the Brake Drums
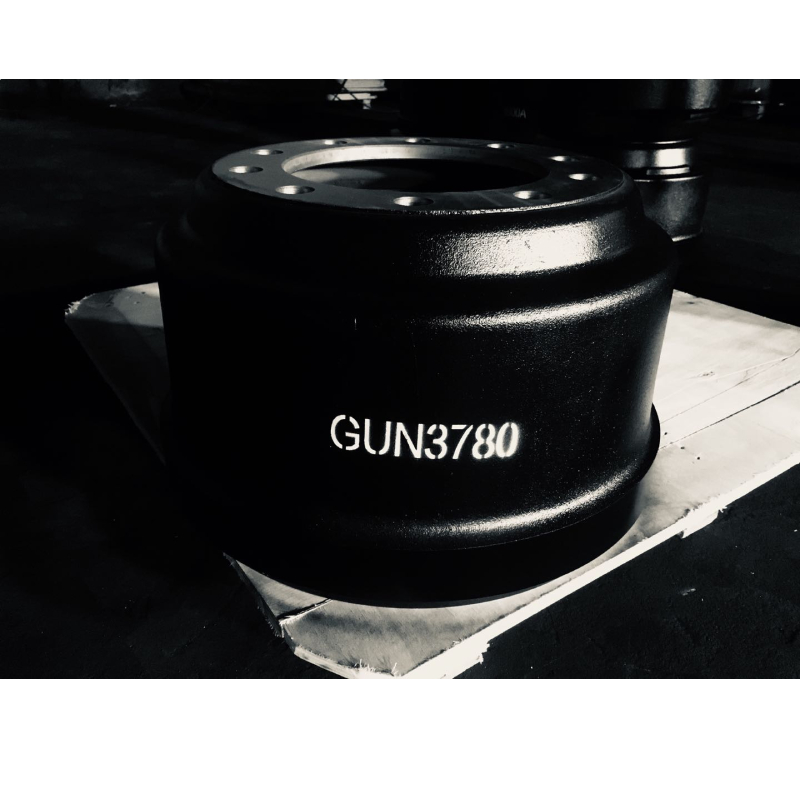
cleaning rear brake drums

With the brake drums exposed, take a moment to inspect them for any visible damage, such as cracks, warping, or excessive wear. This inspection is important because if the drums are damaged, cleaning may not be sufficient, and they may need to be replaced.
Step 5 Cleaning the Brake Drums
Using a wire brush or sanding pad, gently clean the surface of the brake drums to remove any accumulated dust and debris. Be cautious not to scuff the drums excessively, as this can affect their performance. After scrubbing, use brake cleaner spray to thoroughly rinse away any remaining dust and contaminants. Allow the cleaner to evaporate completely before proceeding.
Step 6 Additional Cleaning
If you notice the brake shoes are also dirty, you can clean them gently with a clean rag or a light spray of brake cleaner. However, avoid excessive handling, as brake shoes are sensitive and should not be contaminated with oils or greases.
Step 7 Reassembling the Components
Once everything is clean and dry, it’s time to reassemble the components. Place the wheel back on the hub and hand-tighten the lug nuts. Then, lower the vehicle back to the ground. After the vehicle is on a stable surface, tighten the lug nuts in a star pattern to ensure they are evenly secured.
Step 8 Testing Your Brakes
After reassembling, it’s important to test your brakes. Before driving, pump the brake pedal a few times to seat the brake shoes against the drum properly. Once you feel confident, take the vehicle for a short test drive in a safe area to ensure the brakes are functioning properly.
Conclusion
Cleaning your rear brake drums is an essential part of vehicle maintenance that can significantly improve braking performance and extend the lifespan of your brake system. By following these steps, you can ensure your vehicle remains safe and reliable. If you encounter any problems during the cleaning process or notice any signs of damage, consult a mechanic for professional assistance. Regular maintenance will not only protect you on the road but also contribute to the longevity of your vehicle's braking system.
-
Scania Brake Drums: OEM Quality for Optimal Safety & Durability
NewsAug.16,2025
-
R.V.I: Advanced Remote Visual Inspection for Precision
NewsAug.15,2025
-
Discover HYUNDA: Innovative Vehicles, Equipment & Solutions
NewsAug.14,2025
-
R.V.I: Unlock Advanced Insights & Real-time Performance
NewsAug.13,2025
-
Kamaz Brake Drum: Durable & Reliable for Heavy Duty Trucks
NewsAug.12,2025
-
Heavy Duty Iveco Brake Drum - Premium Quality & Safety
NewsAug.11,2025
