Dec . 11, 2024 09:36 Back to list
Effective Methods for Cleaning Rust from Brake Drums Safely and Easily
Cleaning Rusty Brake Drums A Comprehensive Guide
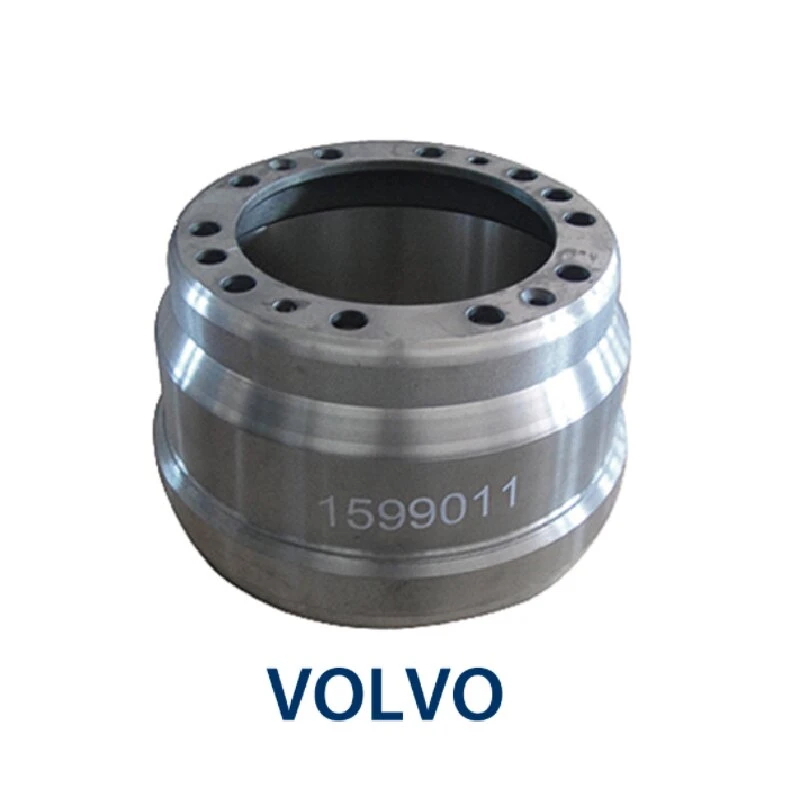
Brake drums are essential components in the braking system of many vehicles, especially older models. Over time, they can accumulate rust, which can significantly impact braking efficiency and overall vehicle safety. Regular maintenance of brake drums, including cleaning, is crucial to ensure reliable operation. This article will guide you through the process of cleaning rusty brake drums effectively.
Understanding Brake Drums
Brake drums work in conjunction with brake shoes to create friction, which slows down or stops the vehicle when the brakes are applied. As they are made of metal, brake drums are susceptible to corrosion, especially if they are exposed to moisture, road salt, and debris over time. Rusty brake drums can lead to squeaking, decreased braking efficiency, and even total brake failure if left untreated.
Tools and Materials Needed
To clean rusty brake drums, you will need the following tools and materials
1. Safety Gear Safety goggles and gloves to protect your eyes and hands. 2. Jack and Jack Stands To lift the vehicle securely. 3. Lug Wrench To remove the wheels. 4. Brake Cleaner A specialized solvent designed to remove brake dust and grease. 5. Wire Brush To scrub off rust and debris. 6. Sandpaper or an Abrasive Pad For smoothing the surface after rust removal. 7. Rags or Clean Cloths To wipe down the drums and adjacent components. 8. Protective Coating Optional, but can help prevent future rust.
Step-by-Step Cleaning Process
1. Preparation Before you start, park the vehicle on a level surface, engage the parking brake, and wear your safety gear. Ensure the engine is off and the keys are removed.
2. Lift the Vehicle Use a jack to lift the vehicle and place jack stands underneath for safety. Ensure the vehicle is securely elevated before you start working on the brake drums.
cleaning rusty brake drums

3. Remove the Wheels Using a lug wrench, remove the lug nuts and take off the wheels to access the brake drums.
4. Inspect the Brake Drums Before cleaning, inspect the drums for severe damage or deep grooves. If they are excessively worn, they might need replacing instead of cleaning.
5. Apply Brake Cleaner Spray brake cleaner generously onto the surface of the brake drums. This will help break down grime and grease while also preparing the surface for cleaning.
6. Scrub the Drums Using a wire brush, scrub the surface of the brake drums to remove rust and any build-up. Be thorough but gentle to avoid damaging the metal. For stubborn rust, use sandpaper or an abrasive pad to sand down the affected areas until the metal is clean.
7. Wipe Down After scrubbing, wipe down the brake drums with a rag or clean cloth to remove any remaining residue and cleaner. Ensure the surface is completely dry before proceeding.
8. Preventive Measures To reduce the chance of rust developing in the future, consider applying a protective coating. This can be a rust-inhibiting paint or a spray designed for metal surfaces.
9. Reassemble Once the drums are clean and dry, reattach the wheels and tighten the lug nuts securely. Lower the vehicle from the jack stands and remove the jack.
10. Test the Brakes Before driving, pump the brakes a few times to ensure they are functioning correctly. This will help re-engage the brake shoes against the cleaned drums.
Conclusion
Cleaning rusty brake drums is an essential part of vehicle maintenance that should not be overlooked. By following the steps outlined in this guide, you can effectively remove rust and debris, contributing to enhanced braking performance and vehicle safety. Regular checks and maintenance of your braking system can prevent costly repairs and ensure that your vehicle remains in optimal condition. Remember, when in doubt, consult with a professional mechanic for advice and assistance. Safe driving starts with reliable brakes!
-
ROR Web Development: Build Fast, Scalable, Secure Apps
NewsAug.17,2025
-
Scania Brake Drums: OEM Quality for Optimal Safety & Durability
NewsAug.16,2025
-
R.V.I: Advanced Remote Visual Inspection for Precision
NewsAug.15,2025
-
Discover HYUNDA: Innovative Vehicles, Equipment & Solutions
NewsAug.14,2025
-
R.V.I: Unlock Advanced Insights & Real-time Performance
NewsAug.13,2025
-
Kamaz Brake Drum: Durable & Reliable for Heavy Duty Trucks
NewsAug.12,2025
