Aug . 05, 2024 14:03 Back to list
Effective Methods for Cleaning Rusty Brake Drums to Ensure Optimal Vehicle Performance
Cleaning Rusty Brake Drums A Comprehensive Guide
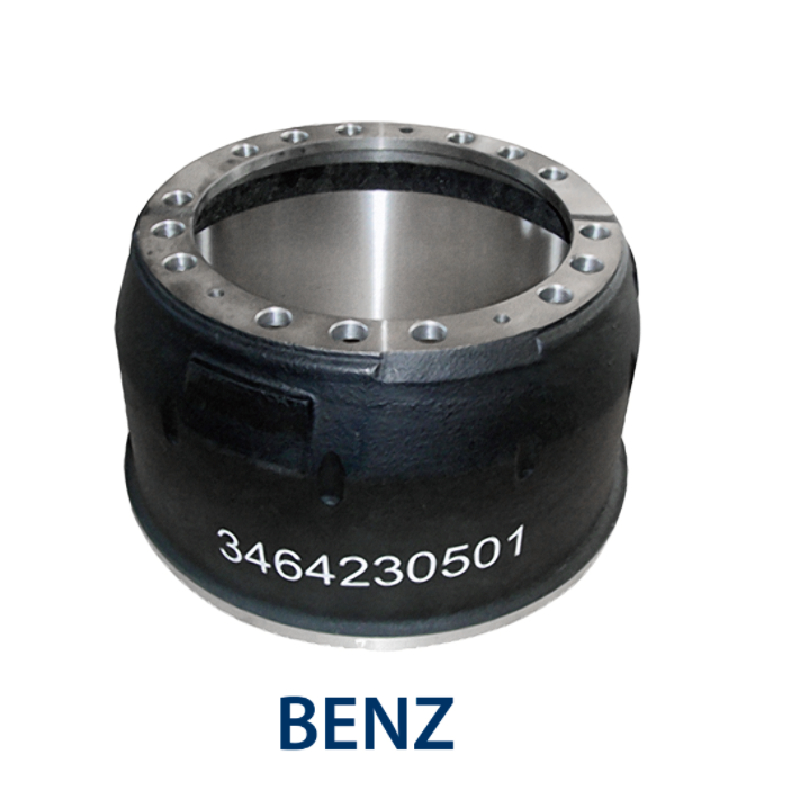
Brake drums are essential components of the braking system in many vehicles, especially those with drum brakes. Over time, brake drums can accumulate rust due to exposure to moisture, road salts, and other elements. When rust builds up, it can adversely affect braking performance, leading to potentially hazardous driving conditions. Therefore, cleaning rusty brake drums is an important maintenance task that every vehicle owner should consider. In this article, we will discuss the tools needed, the cleaning process, and tips for maintaining brake drums to prevent rust.
Tools Needed
Before you start cleaning your brake drums, gather the necessary tools and materials
1. Safety Gear Always wear safety goggles and gloves to protect yourself from dust, debris, and sharp edges. 2. Jack and Jack Stands These are essential for safely lifting your vehicle. 3. Lug Wrench To remove the wheels and gain access to the brake drums. 4. Wire Brush For scrubbing off rust and debris. 5. Sandpaper or Abrasive Pad To smooth out rough spots on the drum surface. 6. Brake Cleaner A solvent specifically designed for cleaning brake components. 7. Rags or Towels To wipe off any cleaning residues. 8. Protective Coating (optional) To guard against future rust.
Cleaning Process
1. Prepare the Vehicle First, park your vehicle on a flat surface and engage the parking brake. Loosen the lug nuts on the wheels, then use the jack to lift the vehicle and securely place it on jack stands. Remove the wheels to access the brake drums.
2. Inspect the Brake Drums Before cleaning, visually inspect the brake drums for excessive damage or wear. If they show signs of deep grooves or cracks, it may be necessary to replace them instead of cleaning.
3. Remove Debris Use a wire brush to scrub off any loose rust, dirt, or debris from the surface of the brake drum. This will expose the rusty areas that need further cleaning and treatment.
cleaning rusty brake drums

4. Clean with Brake Cleaner Spray the brake cleaner liberally onto the drum surface to dissolve grease, oil, and dirt. Allow it to sit for a few minutes and then wipe away with rags or towels. This step is crucial as it ensures that you have a clean surface for any additional treatment.
5. Sand Down Rust For any remaining rust spots or pitting, use sandpaper or an abrasive pad to smooth out the surface. Apply even pressure to ensure an even finish and avoid damaging the drum.
6. Final Cleaning After sanding, give the brake drum another cleaning with brake cleaner to remove any dust created from sanding. Wipe it down thoroughly to ensure no residue remains.
7. Protective Treatment Once the brake drum is clean and dry, you can apply a protective coating to prevent future rust. This step is optional but can significantly extend the life of your brake drums.
8. Reassemble and Test Replace the wheels, tighten the lug nuts, and lower the vehicle. Before hitting the road, test your brakes to ensure everything is functioning correctly.
Maintenance Tips
To minimize the risk of rust on your brake drums, consider these maintenance tips
- Regularly wash your vehicle, especially during winter months when road salts are prevalent. - Inspect and clean your brake components during routine vehicle maintenance. - Store your vehicle in a garage or covered area to reduce exposure to moisture.
In conclusion, cleaning rusty brake drums is a vital part of vehicle maintenance that can enhance safety and performance. By following the steps outlined above and performing regular inspections, you can ensure that your brakes operate efficiently and effectively, keeping you safe on the road.
-
Scania Brake Drums: OEM Quality for Optimal Safety & Durability
NewsAug.16,2025
-
R.V.I: Advanced Remote Visual Inspection for Precision
NewsAug.15,2025
-
Discover HYUNDA: Innovative Vehicles, Equipment & Solutions
NewsAug.14,2025
-
R.V.I: Unlock Advanced Insights & Real-time Performance
NewsAug.13,2025
-
Kamaz Brake Drum: Durable & Reliable for Heavy Duty Trucks
NewsAug.12,2025
-
Heavy Duty Iveco Brake Drum - Premium Quality & Safety
NewsAug.11,2025
