Jul . 25, 2024 04:46 Back to list
Effective Techniques for Safely Releasing Stuck Brake Drums on Your Vehicle
How to Remove Stuck Brake Drums
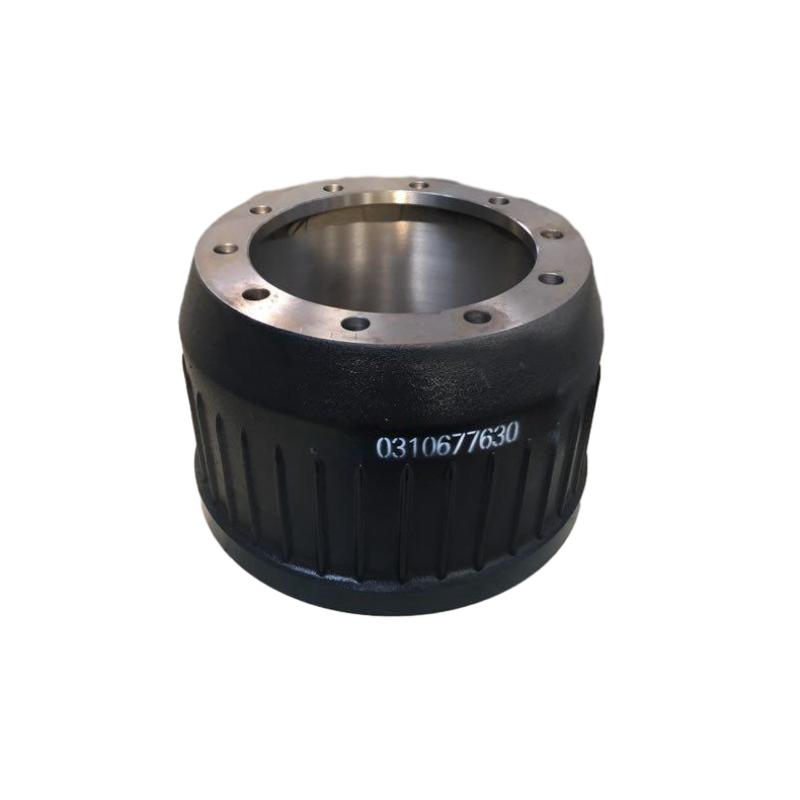
Removing stuck brake drums can be a tricky task often faced by DIY auto enthusiasts and professional mechanics alike. Brake drums are critical components of the drum brake system, and over time, they can become stuck due to rust, corrosion, or improperly adjusted brake shoes. If you find yourself in a situation where your brake drum won't budge, follow this guide to safely and effectively remove it.
Tools and Materials Needed
Before you begin, ensure you have the following tools and materials handy - Socket set and wrenches - Hammer or mallet - Brake drum puller (if necessary) - Pliers - Anti-seize lubricant - Safety goggles - Gloves
Safety First
Always prioritize safety when working on your vehicle. Wear safety goggles to protect your eyes from debris, and gloves to protect your hands. Ensure the vehicle is secure by placing it on a level surface and using jack stands to support it.
Step-by-Step Guide
1. Loosen the Wheel Lug Nuts Begin by loosening the lug nuts on the wheel corresponding to the brake drum you are trying to remove. Don't remove them entirely yet; just break the tightness so you can unscrew them easily once the vehicle is lifted.
2. Lift the Vehicle Use a jack to lift the vehicle and support it with jack stands. Ensure that the vehicle is stable before proceeding.
how to remove brake drums when stuck

3. Remove the Wheel Once the vehicle is secure, remove the lug nuts completely and take off the wheel to expose the brake drum.
4. Inspect the Brake Drum Before attempting to remove the drum, inspect it for any visible signs of damage or wear. Check if the brake shoes might be pressing against the drum due to wear or improper adjustment.
5. Inspect the Adjuster There may be an adjuster on your drum brakes that controls the spacing between the drum and the brake shoes. Often, if the adjuster is tight, it can cause the drum to be stuck. Use pliers to adjust it back.
6. Use a Hammer Gently tap around the edge of the brake drum with a hammer or mallet. Be careful not to hit it too hard, as this could damage the drum or surrounding components. The goal is to breaks any rust or corrosion that might be holding the drum in place.
7. Install a Brake Drum Puller If the drum still won't budge, consider using a brake drum puller. This tool is designed specifically to remove stuck drums. Follow the manufacturer's instructions for securing the puller, and then turn the mechanism gradually until the drum releases.
8. Apply Lubricant Once you successfully remove the drum, clean the surface and apply anti-seize lubricant to the mounting surface to prevent future sticking. This can save you a lot of trouble during your next brake service.
9. Reinstall Everything After you’ve serviced or replaced the brake components, reinstall the drum and wheel. Tighten the lug nuts in a crisscross pattern to ensure even tightening.
Conclusion
Removing a stuck brake drum can require patience and persistence, but following these steps can simplify the process. If at any point you feel uncertain or if the drum remains stubbornly in place, don’t hesitate to consult a professional mechanic. Regular inspection and maintenance of your brake system will also help prevent future issues with stuck drums, ensuring your vehicle’s braking system operates safely and effectively.
-
Scania Brake Drums: OEM Quality for Optimal Safety & Durability
NewsAug.16,2025
-
R.V.I: Advanced Remote Visual Inspection for Precision
NewsAug.15,2025
-
Discover HYUNDA: Innovative Vehicles, Equipment & Solutions
NewsAug.14,2025
-
R.V.I: Unlock Advanced Insights & Real-time Performance
NewsAug.13,2025
-
Kamaz Brake Drum: Durable & Reliable for Heavy Duty Trucks
NewsAug.12,2025
-
Heavy Duty Iveco Brake Drum - Premium Quality & Safety
NewsAug.11,2025
