Oct . 31, 2024 11:09 Back to list
Guide to Removing Brake Drums on Heavy Trucks for Maintenance and Repair
Heavy Truck Brake Drum Removal A Comprehensive Guide
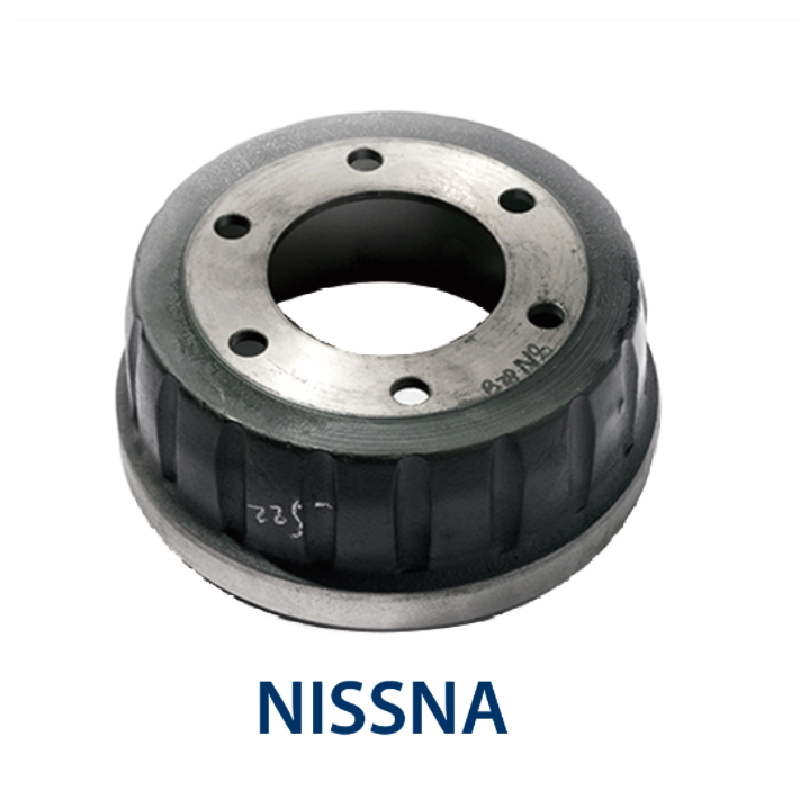
Removing the brake drum on a heavy truck is a vital maintenance task essential for ensuring optimal brake performance and safety. Over time, brake drums can wear out, become warped, or develop scoring due to friction, necessitating their replacement. This guide provides a step-by-step approach to effectively and safely remove brake drums from heavy trucks.
Safety Precautions
Before you begin the removal process, it’s crucial to prioritize safety. Ensure you have the following safety gear
1. Safety goggles Protect your eyes from debris and dust. 2. Gloves Use mechanic gloves to avoid cuts and bruises. 3. Steel-toed boots Protect your feet from heavy tools or equipment. 4. Reflective vest Wear it if you're working near traffic.
Additionally, park the truck on a flat surface and engage the parking brake to prevent any unexpected movement.
Tools Required
To successfully complete the removal, gather the necessary tools
- A wrench set - A socket set - A rubber mallet - Brake drum puller (if needed) - A torque wrench - A small brush for cleaning - Gloves and safety goggles
Step-by-Step Removal Process
1. Loosen the Wheel Nuts Start by slightly loosening the wheel nuts while the truck is still on the ground. Use a breaker bar for leverage if necessary. Do not completely remove them yet.
heavy truck brake drum removal

2. Lift the Truck Use a hydraulic jack to lift the truck. Secure it with jack stands to ensure stability while you work.
3. Remove the Wheel Once the truck is elevated, fully remove the wheel nuts and take the wheel off to expose the brake drum.
4. Inspect the Brake Assembly Before proceeding with drum removal, inspect the components of the brake assembly, such as brake shoes and springs, for any signs of wear. This is a good time to plan for replacements if necessary.
5. Remove Brake Drum If the brake drum has a lot of corrosion or is stuck, gently tap it with a rubber mallet to break the bond. If it still doesn’t budge, you may need to use a brake drum puller, which will give you leverage to pull the drum free without damaging any components.
6. Clean the Area After removing the drum, clean the hub and surrounding areas with a brush to remove dust and debris. This will help in the installation of the new drum and ensure optimal performance.
7. Inspect Components While the drum is off, take some time to inspect the brake shoes, springs, and other components for any damage or wear. Replace any parts as necessary.
8. Install New Brake Drum If you're replacing the brake drum, ensure that the new one matches the specifications required for your heavy truck. Installation is simply the reverse of removal. Place the drum onto the hub, ensuring it fits snugly.
9. Reinstall the Wheel Place the wheel back on and hand-tighten the wheel nuts. Lower the truck and then use the torque wrench to tighten the wheel nuts to the manufacturer’s specifications.
10. Test the Brakes Once everything is reassembled, it's important to test the brakes before taking the truck on the road. Pump the brake pedal a few times to ensure proper seating before driving.
Conclusion
Removing the brake drum from a heavy truck may seem like a daunting task, but with the right tools, proper safety precautions, and attention to detail, it can be accomplished effectively. Regular maintenance of the brake system is critical for safe operation, so don't hesitate to consult a professional mechanic if you encounter any complications during the process. Properly maintaining your heavy truck's brake system will ensure safety on the road and prolong the life of the vehicle.
-
Scania Brake Drums: OEM Quality for Optimal Safety & Durability
NewsAug.16,2025
-
R.V.I: Advanced Remote Visual Inspection for Precision
NewsAug.15,2025
-
Discover HYUNDA: Innovative Vehicles, Equipment & Solutions
NewsAug.14,2025
-
R.V.I: Unlock Advanced Insights & Real-time Performance
NewsAug.13,2025
-
Kamaz Brake Drum: Durable & Reliable for Heavy Duty Trucks
NewsAug.12,2025
-
Heavy Duty Iveco Brake Drum - Premium Quality & Safety
NewsAug.11,2025
