Aug . 20, 2024 01:10 Back to list
How to Free a Stuck Brake Drum Effectively and Safely
How to Remove a Stuck Brake Drum A Step-by-Step Guide
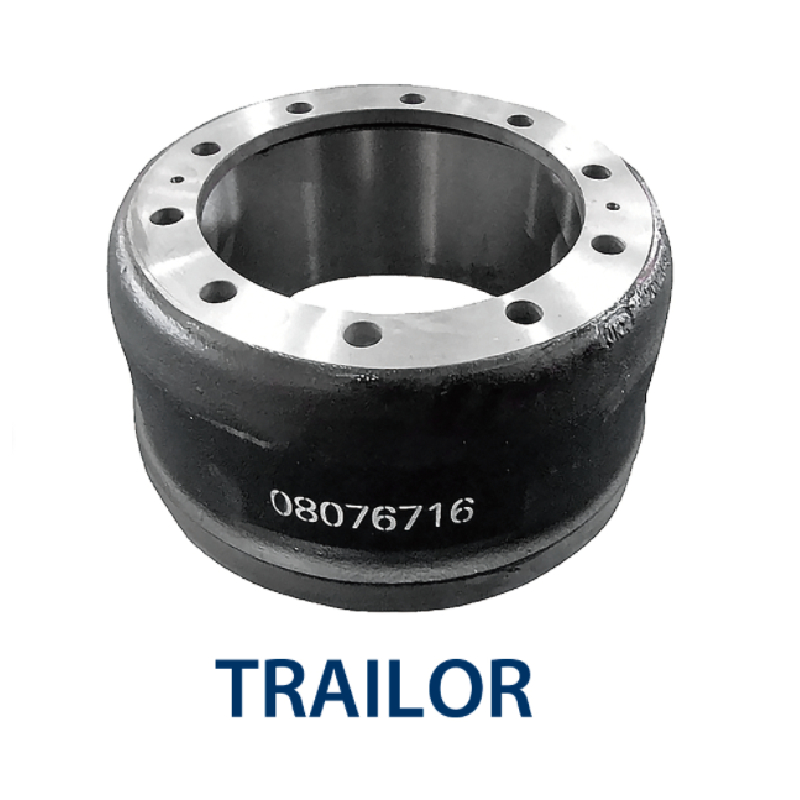
Brake drums are a critical component of a vehicle's braking system, providing the necessary friction to slow down and stop the wheels. However, over time, brake drums can become stuck due to rust, debris, or the buildup of brake dust, making it challenging to remove them for maintenance or replacement. This article provides a comprehensive guide on how to safely and effectively remove a stuck brake drum.
Understanding the Brake Drum
Before diving into the removal process, it’s essential to understand the brake drum's function. It works in conjunction with brake shoes to create friction and halt the wheel’s motion when the brakes are engaged. A stuck brake drum can result from corrosion, improper installation, or wear and tear. It is vital to address this issue promptly to ensure the safe operation of your vehicle.
Safety First
Before starting any work on your vehicle's brakes, ensure you are wearing appropriate safety gear, including gloves and safety glasses. Additionally, always work on a flat surface, and use wheel chocks to secure the wheels that will remain on the ground.
Step-by-Step Removal Process
2. Prepare the Vehicle Begin by loosening the lug nuts on the wheel with the stuck brake drum, but do not remove them entirely. Then, use the jack to lift the vehicle and place it securely on jack stands. Ensure the vehicle is stable before proceeding.
remove stuck brake drum

3. Remove the Wheel Now that the vehicle is secured, remove the lug nuts completely and take off the wheel to expose the brake drum.
4. Inspect the Drum Before attempting to remove the drum, take a moment to inspect it. Look for any signs of excessive rust or damage. Additionally, check if the brake shoes are making contact with the drum, which can also contribute to a stuck condition.
5. Apply Penetrating Oil Spray penetrating oil around the hub and the drum where they meet. Allow it to soak for a few minutes. This will help to loosen any rust or debris causing the drum to stick.
6. Tap the Drum Using a rubber mallet, gently tap around the circumference of the drum. This will help to break any bond created by rust or corrosion. Be careful not to hit too hard, as excessive force can damage the drum.
7. Use a Brake Drum Puller If the drum remains stuck after tapping, it may be necessary to use a brake drum puller. This tool is designed to exert a controlled force on the drum, helping to remove it without causing damage.
8. Remove the Drum Once the drum has loosened, it should slide off easily. If you encounter resistance, double-check that the adjustment of the brake shoes is not too tight, which can also cause sticking.
9. Reassemble and Test After successfully removing the drum, inspect it for wear and damage. If it appears to be in good condition, clean it thoroughly before reinstallation. If replacing, install the new drum according to the manufacturer’s specifications. Reattach the wheel, lower the vehicle, and tighten the lug nuts.
Conclusion
Removing a stuck brake drum can be a straightforward task with the right approach and tools. By following these steps, you can ensure the maintenance of your vehicle’s braking system, promoting safety and reliability on the road. Remember, if you encounter significant difficulties, do not hesitate to consult a professional mechanic. Regular maintenance and addressing issues promptly will prolong the lifespan of your vehicle's braking components.
-
Scania Brake Drums: OEM Quality for Optimal Safety & Durability
NewsAug.16,2025
-
R.V.I: Advanced Remote Visual Inspection for Precision
NewsAug.15,2025
-
Discover HYUNDA: Innovative Vehicles, Equipment & Solutions
NewsAug.14,2025
-
R.V.I: Unlock Advanced Insights & Real-time Performance
NewsAug.13,2025
-
Kamaz Brake Drum: Durable & Reliable for Heavy Duty Trucks
NewsAug.12,2025
-
Heavy Duty Iveco Brake Drum - Premium Quality & Safety
NewsAug.11,2025
