Aug . 29, 2024 18:44 Back to list
How to Remove a Stuck Rear Brake Drum - Step by Step Guide
How to Get a Stuck Rear Brake Drum Off
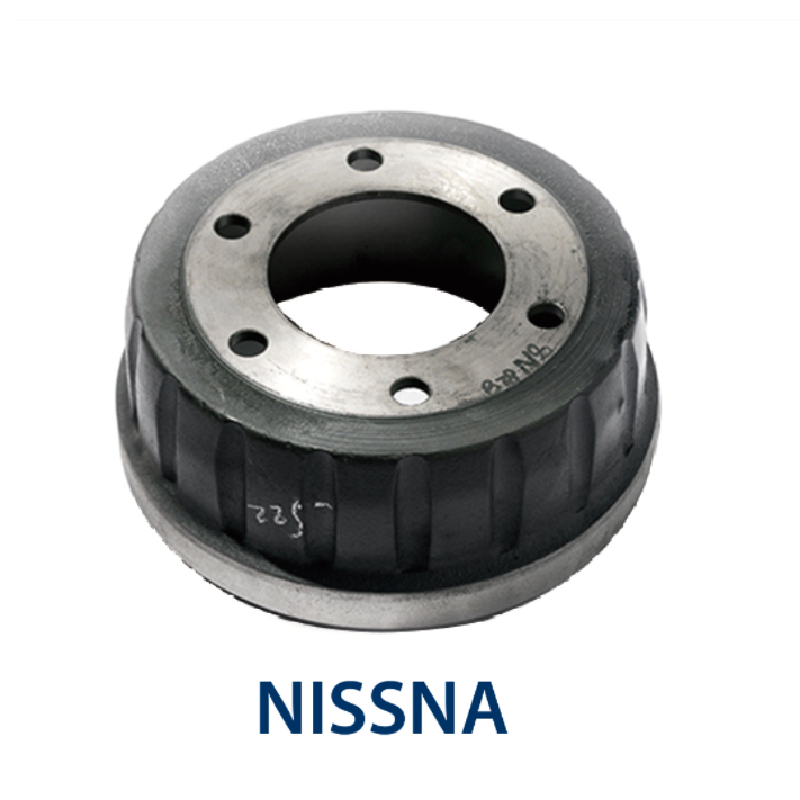
Removing a stuck rear brake drum can be a frustrating experience, but with the right tools and techniques, you can accomplish this task efficiently. The rear brake drum is an essential part of your vehicle's braking system, and over time, it can become stuck due to rust, corrosion, or debris. This article will guide you through the steps to safely and effectively remove a stuck rear brake drum.
Tools You'll Need Before you start, gather the following tools 1. Lug wrench for removing the wheel 2. Jack and jack stands for lifting the vehicle securely 3. Brake cleaner for cleaning components 4. Rubber mallet or hammer to tap the drum 5. Drum brake adjustment tool or flathead screwdriver for adjusting the brake shoes 6. Pry bar for leverage if necessary 7. Safety goggles and gloves to protect yourself
Step-by-Step Guide
1. Prepare the Vehicle Park your vehicle on a flat, stable surface and engage the parking brake. Loosen the lug nuts slightly but do not remove them yet.
2. Lift the Vehicle Use the jack to lift the rear of the vehicle and secure it with jack stands. Ensure the vehicle is stable before proceeding.
4. Inspect the Drum Before attempting to remove the drum, look for any retaining screws or clips. Some drums may have a retaining screw that needs to be removed first.
how to get a stuck rear brake drum off

5. Clean the Drum Spray brake cleaner around the drum’s outer edge. This helps remove dirt, grease, and rust that may be contributing to the drum sticking.
6. Adjust the Brake Shoes If the drum is stuck due to the brake shoes being too tight, use the drum brake adjustment tool or a flathead screwdriver to adjust the brake shoes. Turn the adjuster to loosen the shoes slightly, allowing more space for the drum to pull off.
7. Tap the Drum Using a rubber mallet or a hammer, gently tap around the edges of the brake drum. This can help break the seal caused by rust or corrosion. If you’re using a hammer, take care to avoid damaging the drum.
8. Use a Pry Bar If the drum still won’t budge, insert a pry bar between the backing plate and the drum. Apply gentle pressure to pry the drum away from the braking assembly. Make sure to do this carefully to avoid damaging any components.
9. Repeat if Necessary If the drum remains stuck, repeat the cleaning, adjustment, and tapping process until it breaks free.
10. Inspect and Clean Once the drum is off, inspect the brake components for wear and damage. Clean the inside of the drum and the brake assembly before reassembling or replacing parts.
Conclusion
Removing a stuck rear brake drum can be a simple task if approached methodically. Always wear safety gear and ensure the vehicle is securely lifted before beginning any work. If you encounter excessive difficulty or feel uncertain about any step, consider consulting a professional mechanic. With patience and the right techniques, you can successfully remove a stuck brake drum and maintain your vehicle’s braking system effectively.
-
ROR Web Development: Build Fast, Scalable, Secure Apps
NewsAug.17,2025
-
Scania Brake Drums: OEM Quality for Optimal Safety & Durability
NewsAug.16,2025
-
R.V.I: Advanced Remote Visual Inspection for Precision
NewsAug.15,2025
-
Discover HYUNDA: Innovative Vehicles, Equipment & Solutions
NewsAug.14,2025
-
R.V.I: Unlock Advanced Insights & Real-time Performance
NewsAug.13,2025
-
Kamaz Brake Drum: Durable & Reliable for Heavy Duty Trucks
NewsAug.12,2025
