Aug . 30, 2024 00:04 Back to list
how to take off brake drum
How to Take Off a Brake Drum A Step-by-Step Guide
Removing a brake drum might seem daunting, especially if you’re unfamiliar with automotive repairs. However, with the right tools and a little patience, you can do it yourself. This guide will walk you through the steps necessary to safely and effectively remove a brake drum.
Tools and Materials Needed
- Jack and jack stands - Lug wrench - Brake drum puller (optional, but recommended if the drum is seized) - Screwdriver - Brake cleaner - Rags - Protective gear (gloves and safety glasses)
Step 1 Prepare the Vehicle
Before you begin, ensure your vehicle is parked on a flat surface and the ignition is off. To prevent any accidents, engage the parking brake. Using the lug wrench, loosen the lug nuts on the wheel covering the brake drum but do not remove them completely at this point.
Step 2 Lift the Vehicle
Use a jack to raise the vehicle high enough to comfortably work underneath. Once the vehicle is elevated, secure it with jack stands to prevent it from falling. Now, remove the loosened lug nuts and take off the wheel.
Step 3 Inspect the Brake Drum
how to take off brake drum

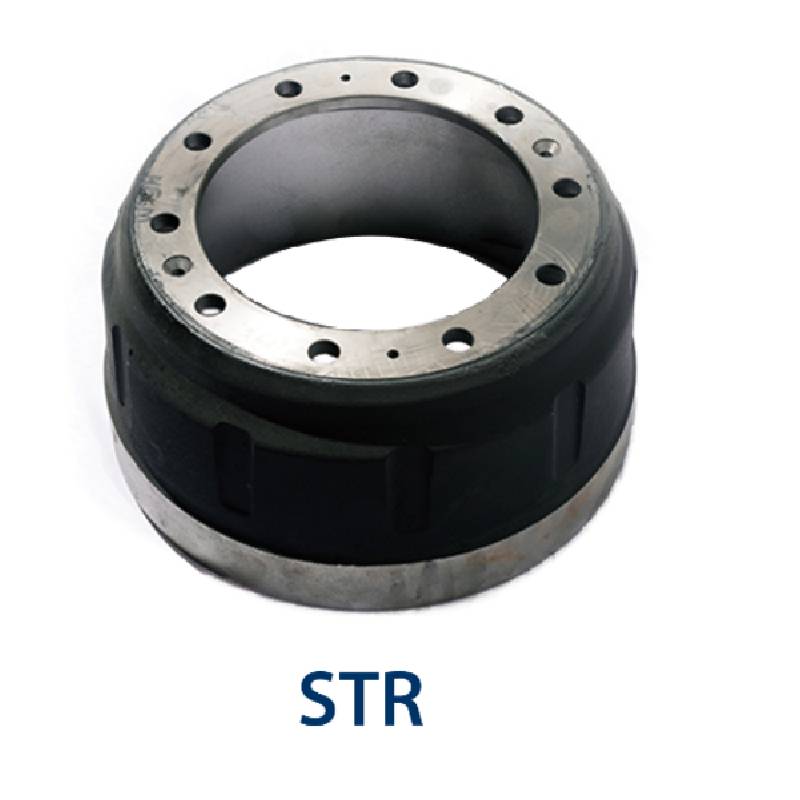
Once the wheel is removed, inspect the brake drum. Look for any visible wear or damage, as this can provide clues about the condition of your braking system. In most cases, the drum is held by two or more screws or may be pressed against the wheel hub.
Step 4 Remove the Brake Drum
If the drum is stuck, it may require a bit of wiggling or a puller tool to pry it off. Some drums have adjustment screws that need to be loosened to allow the drum to slide off more easily. If necessary, insert a screwdriver into the adjustment slot and turn it to retract the brake shoes slightly.
Step 5 Cleaning and Maintenance
Once the drum is removed, take the opportunity to clean it with brake cleaner and a rag. This will help to remove any brake dust or debris. Before reinstalling or replacing the drum, inspect the brake shoes and hardware for any signs of wear.
Step 6 Reinstallation
To reinstall, reverse the removal process. Slide the brake drum back onto the hub, ensuring it fits snugly. Replace any screws that were removed, and then reattach the wheel, followed by tightening the lug nuts securely.
Conclusion
By following these steps, you can successfully remove and replace a brake drum. Remember to prioritize safety and take your time. If you're unsure about any step, consult a professional or refer to service manuals specific to your vehicle model. Happy repairing!
-
ROR Web Development: Build Fast, Scalable, Secure Apps
NewsAug.17,2025
-
Scania Brake Drums: OEM Quality for Optimal Safety & Durability
NewsAug.16,2025
-
R.V.I: Advanced Remote Visual Inspection for Precision
NewsAug.15,2025
-
Discover HYUNDA: Innovative Vehicles, Equipment & Solutions
NewsAug.14,2025
-
R.V.I: Unlock Advanced Insights & Real-time Performance
NewsAug.13,2025
-
Kamaz Brake Drum: Durable & Reliable for Heavy Duty Trucks
NewsAug.12,2025
