Jul . 15, 2024 13:40 Back to list
How to take off brake drums on the vehicles in simple steps
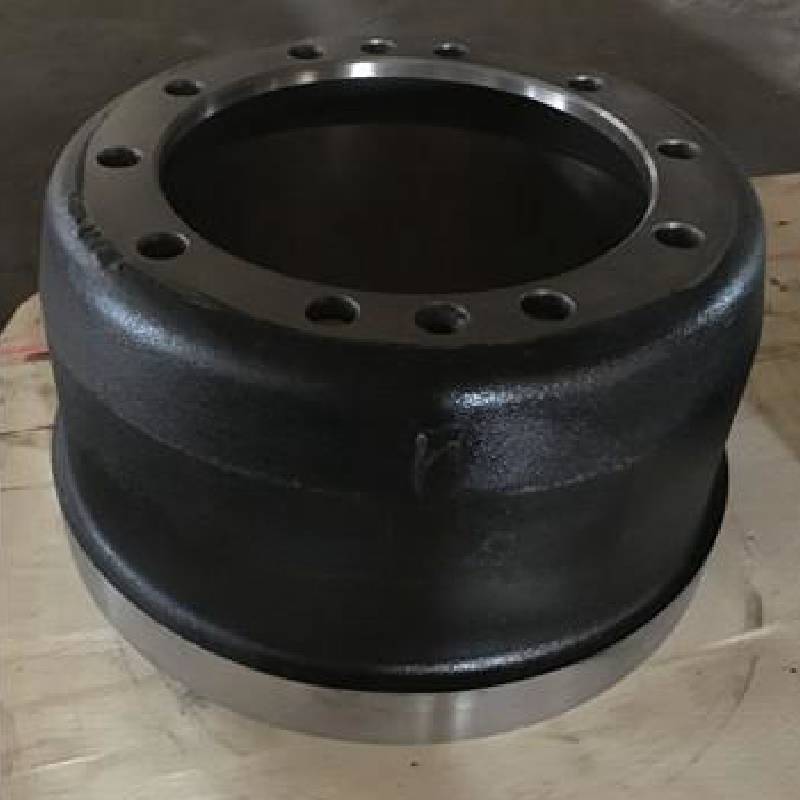
Brake drums are an essential part of a vehicle's braking system, as they help slow down and stop the vehicle when the brakes are applied. Over time, brake drums can become worn out or damaged and may need to be removed for maintenance or replacement. If you are experiencing issues with your brakes and need to remove the brake drums, follow these steps to safely and effectively complete the task.
1. Gather the necessary tools and materials Before you begin, make sure you have all the tools and materials you will need to remove the brake drums. This may include a lug wrench, jack stands, a jack, a hammer, a screwdriver, and possibly a brake drum puller.
2. Secure the vehicle Park the vehicle on a flat surface and engage the parking brake to prevent it from rolling. Place wheel chocks on the opposite end of the vehicle to further secure it. Loosen the lug nuts on the wheel that corresponds to the brake drum you are removing.
3. Lift the vehicle Using a jack, lift the vehicle off the ground and place jack stands under the frame for added stability. Make sure the vehicle is securely supported before crawling underneath.
5. Inspect the brake drum Before removing the brake drum, take a moment to inspect it for any signs of damage or wear. Look for cracks, grooves, or excessive wear on the drum surface. If you notice any significant damage, it may be time to replace the brake drum.
how to remove brake drums

6. Remove the brake drum Using a hammer, gently tap around the outer edge of the brake drum to loosen it from the wheel hub. If the drum is stuck, you may need to use a brake drum puller to remove it. Follow the manufacturer's instructions for using the puller to avoid damaging the drum or the wheel hub.
7. Clean the brake drum assembly Once the brake drum is removed, take the opportunity to clean the brake drum assembly. Remove any dirt, debris, or rust buildup from the drum surface and the wheel hub. This will help ensure proper brake function and longevity.
8. Reinstall or replace the brake drum Depending on the condition of the brake drum, you may choose to reinstall it if it is still in good condition, or replace it with a new one. Make sure the new drum fits securely on the wheel hub before proceeding.
9. Reassemble the brake system Once the brake drum is in place, reattach the wheel and tighten the lug nuts. Lower the vehicle off the jack stands and tighten the lug nuts to the manufacturer's specifications.
10. Test the brakes Before driving the vehicle, pump the brake pedal a few times to ensure proper brake function. Test the brakes at low speeds in a safe area to ensure they are working correctly.
Removing brake drums may seem like a daunting task, but with the right tools and a methodical approach, it can be done safely and effectively. If you are unsure about any part of the process, it is always best to consult a professional mechanic for assistance. Regular maintenance of your vehicle's braking system is essential for your safety and the safety of others on the road.
-
Scania Brake Drums: OEM Quality for Optimal Safety & Durability
NewsAug.16,2025
-
R.V.I: Advanced Remote Visual Inspection for Precision
NewsAug.15,2025
-
Discover HYUNDA: Innovative Vehicles, Equipment & Solutions
NewsAug.14,2025
-
R.V.I: Unlock Advanced Insights & Real-time Performance
NewsAug.13,2025
-
Kamaz Brake Drum: Durable & Reliable for Heavy Duty Trucks
NewsAug.12,2025
-
Heavy Duty Iveco Brake Drum - Premium Quality & Safety
NewsAug.11,2025
