Dec . 18, 2024 06:20 Back to list
How to Accurately Measure Brake Drums for Optimal Performance and Safety
How Do You Measure Brake Drums? A Comprehensive Guide
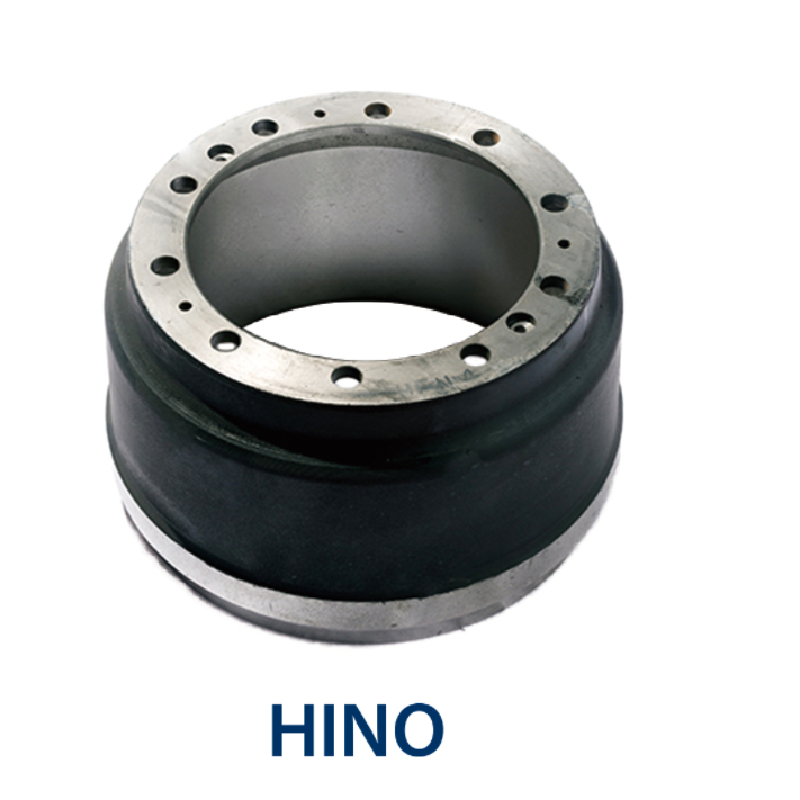
Brake drums are essential components of a vehicle's braking system, found primarily in older vehicles and heavy-duty industrial trucks. They work by providing a surface against which brake shoes press to slow down or stop the vehicle. Over time, brake drums can wear down, become warped, or sustain damage, necessitating proper measurement to ensure they are functioning effectively and safely. This article will guide you through the process of measuring brake drums in a way that is straightforward and effective.
Tools Needed
Before you start measuring brake drums, you’ll need a few essential tools
1. Caliper Gauge A digital or dial caliper is the best tool for measuring the diameter and inside surface of the brake drum. 2. Micrometer Useful for measuring the thickness of the drum material. 3. Ruler or Measuring Tape For rough measurements, a standard ruler can suffice. 4. Brake Drum Gauge Specifically designed tools for measuring the inside diameter and wear specifications, these can provide more accurate readings.
Steps to Measure Brake Drums
1. Safety First Before you begin, ensure that the vehicle is parked on a level surface and that the engine is turned off. Engage the parking brake for additional security. If you’re working on a vehicle with rear drum brakes, you may need to lift the rear or front using a jack and secure it with jack stands.
2. Remove the Wheel For accurate measurement, you must first remove the wheel covering the brake drum. This is typically done by loosening the lug nuts and then taking off the wheel.
how do you measure brake drums

3. Clean the Brake Drum Before measuring, clean the brake drum surface to remove any grease, dirt, or debris that could affect your measurements. Use a clean cloth or brake cleaner for this purpose.
4. Measure the Diameter Using your caliper gauge, measure the inside diameter of the brake drum. Ensure you measure at different points around the drum’s circumference to account for any irregularities such as warping. Record the smallest measurement, as this will indicate the minimum diameter you can work with safely.
5. Check the Thickness With a micrometer, check the thickness of the brake drum at several points around the drum. This measurement is crucial because brake drums can wear unevenly. The minimum thickness specification is usually printed on the drum itself or may be specified in the vehicle’s maintenance manual. If your measurement falls below this threshold, the drum must be replaced.
6. Inspect for Damage In addition to measuring, inspect the drum for signs of cracking, scoring, or other damage. If any irregularities are found, further inspection may be required, and the drum should potentially be replaced even if measurements indicate it is still within tolerance.
7. Reinstall the Wheel After taking measurements and inspection, reinstall the wheel, tightening the lug nuts in a star pattern to ensure even pressure. Lower the vehicle from the jack stands and repeat the process if you have other wheels to measure.
Conclusion
Measuring brake drums is a straightforward process that requires careful attention to detail and the right tools. Regularly checking the condition of your brake drums is vital for ensuring the safety and efficiency of your braking system. It is advisable to consult a professional mechanic or refer to your vehicle’s service manual if uncertain about any aspect of the measuring process or required specifications. Keeping your brake drums in optimal condition not only contributes to your vehicle’s performance but also enhances overall road safety for you and other drivers.
-
Scania Brake Drums: OEM Quality for Optimal Safety & Durability
NewsAug.16,2025
-
R.V.I: Advanced Remote Visual Inspection for Precision
NewsAug.15,2025
-
Discover HYUNDA: Innovative Vehicles, Equipment & Solutions
NewsAug.14,2025
-
R.V.I: Unlock Advanced Insights & Real-time Performance
NewsAug.13,2025
-
Kamaz Brake Drum: Durable & Reliable for Heavy Duty Trucks
NewsAug.12,2025
-
Heavy Duty Iveco Brake Drum - Premium Quality & Safety
NewsAug.11,2025
