Oct . 21, 2024 22:09 Back to list
Steps to Properly Adjust Brake Drum Shoes for Optimal Performance
How to Adjust Brake Drum Shoes A Comprehensive Guide
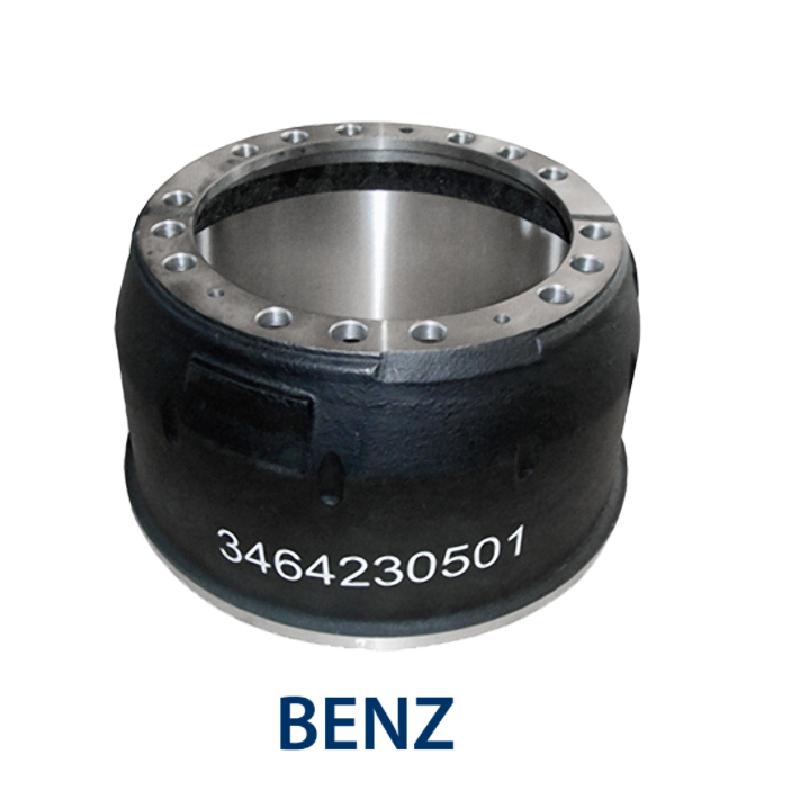
Brake drum shoes are a critical component of a vehicle's braking system. They work alongside the brake drum to create friction that slows down or stops the vehicle. Over time, the brake shoes can wear down or become misaligned, affecting their performance. Properly adjusting your brake drum shoes is essential for ensuring safe and efficient braking. Here’s a detailed guide on how to adjust brake drum shoes effectively.
Understanding Brake Drum Shoes
Before diving into the adjustment process, it’s important to understand how brake drum shoes function. Unlike disc brakes where pads squeeze against a rotor, drum brakes use shoes that expand against the inner surface of a cylindrical drum. This creates the necessary friction to slow down the vehicle. As the shoes wear, they need to be adjusted or replaced to maintain proper clearance and braking efficiency.
Tools You’ll Need
To adjust brake drum shoes, gather the following tools
- Jack and jack stands - Lug wrench - Brake adjusting tool (or flathead screwdriver) - Clean cloth - Brake cleaner - Safety goggles
Step-by-Step Guide to Adjusting Brake Drum Shoes
1. Safety First Before beginning any maintenance work, ensure the vehicle is on a flat surface. Engage the parking brake and wear safety goggles to protect your eyes.
2. Remove the Wheel Using a lug wrench, loosen the lug nuts and remove the wheel to expose the brake drum.
how to adjust brake drum shoes

3. Inspect the Brake Shoes Check the condition of the brake shoes for any signs of excessive wear or damage. If they are worn down significantly or have any cracks, it’s time to replace them.
4. Locate the Adjustment Mechanism Behind the brake drum, look for the adjusting mechanism. This could be a star wheel or a lever, depending on the vehicle model.
5. Adjust the Brake Shoes - For Star Wheel Adjusters Use a brake adjusting tool or a flathead screwdriver to turn the star wheel. Turn it clockwise to expand the shoes and counterclockwise to retract them. Adjust until the shoes are snug against the drum but can still rotate freely. - For Lever Adjusters Depending on the vehicle, you might need to pull or push the lever to either tighten or loosen the shoe position.
6. Check for Proper Clearance After adjusting, spin the brake drum by hand to ensure that the shoes are not dragging. There should be a slight gap between the shoes and the drum when not engaged.
7. Reassemble the Brake Components Once you’ve made the adjustments, carefully reattach the brake drum, ensuring it sits flat against the backing plate. Then, replace the wheel and hand-tighten the lug nuts.
8. Lower the Vehicle Use the jack to lift the vehicle slightly, then remove the jack stands and lower it back to the ground.
9. Test the Brakes Before hitting the road, pump the brake pedal several times to ensure that the brake shoes are seated correctly. Take the vehicle for a short test drive at low speed to check the braking performance.
Conclusion
Regular maintenance of your brake system is crucial for vehicle safety. Adjusting your brake drum shoes not only enhances braking efficiency but also prolongs the life of your braking components. By following this guide, you can ensure that your brake shoes are properly adjusted, giving you peace of mind on the road. If at any point you feel uncertain about the process, consulting a professional mechanic is always a wise choice to ensure your vehicle's braking system is in top condition. Remember, safe driving starts with a well-maintained brake system.
-
Scania Brake Drums: OEM Quality for Optimal Safety & Durability
NewsAug.16,2025
-
R.V.I: Advanced Remote Visual Inspection for Precision
NewsAug.15,2025
-
Discover HYUNDA: Innovative Vehicles, Equipment & Solutions
NewsAug.14,2025
-
R.V.I: Unlock Advanced Insights & Real-time Performance
NewsAug.13,2025
-
Kamaz Brake Drum: Durable & Reliable for Heavy Duty Trucks
NewsAug.12,2025
-
Heavy Duty Iveco Brake Drum - Premium Quality & Safety
NewsAug.11,2025
