Nov . 11, 2024 09:30 Back to list
how to adjust brake drums on cars
How to Adjust Brake Drums on Cars
Brake drums play a crucial role in a vehicle's braking system, particularly in older cars that utilize drum brakes instead of disc brakes. Proper adjustment of brake drums is essential for ensuring optimal performance, enhancing safety, and improving the lifespan of the braking components. This guide will provide you with step-by-step instructions on how to adjust brake drums effectively.
Understanding Brake Drums
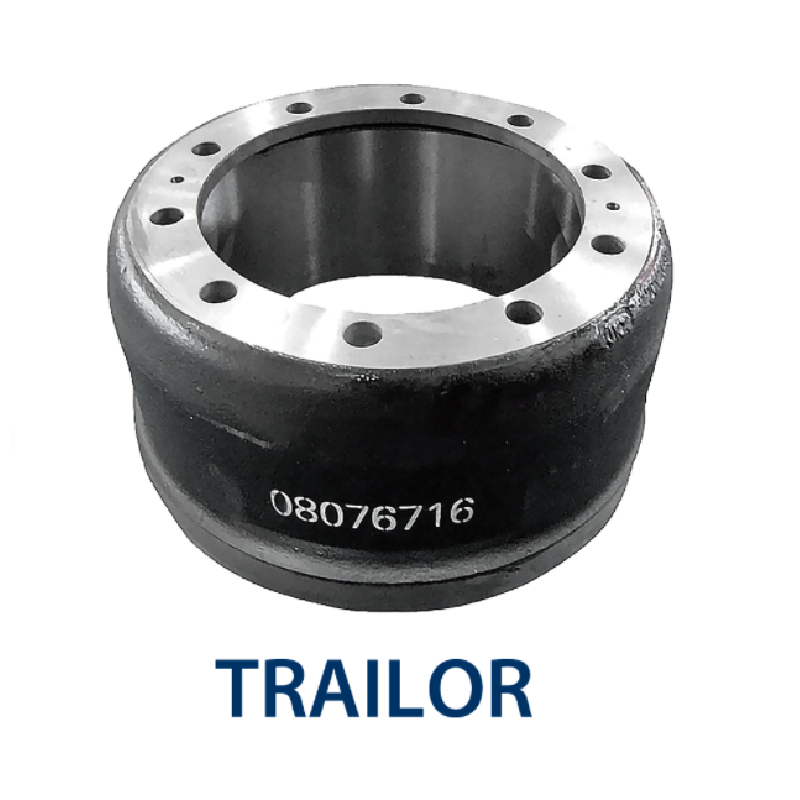
Before we delve into the adjustment process, it’s important to understand what brake drums are and how they function. Brake drums are circular metal components that house the brake shoes. When you press the brake pedal, hydraulic pressure forces the brake shoes against the inner surface of the drums, creating friction that slows down or stops the vehicle. Over time, brake shoes can wear down, and the drum spacing can change, which necessitates adjustments.
Tools Needed
Before you begin, ensure you have the following tools - A jack and jack stands - A lug wrench - A brake drum adjusting tool or a flathead screwdriver - A tire gauge (optional) - Replacement brake shoes (if necessary) - Safety gloves and goggles
Step-by-Step Process to Adjust Brake Drums
1. Safety First Park the vehicle on a flat surface and engage the parking brake. This precaution keeps the car from rolling during the adjustment. If you're working with the rear brakes, consider placing wheel chocks behind the front wheels.
2. Loosen the Lug Nuts Before raising the vehicle, slightly loosen the lug nuts of the wheels with drum brakes. Do not remove them completely; just break the initial resistance to make it easier when the wheel is off the ground.
3. Jack Up the Vehicle Use a jack to lift the vehicle and secure it with jack stands. Always follow the car's manual for proper jacking points to avoid any structural damage.
how to adjust brake drums on cars

4. Remove the Wheel Once the vehicle is securely elevated, remove the loosened lug nuts and take off the wheel to expose the brake drum.
5. Inspect the Brake Drum Check the brake drum for wear and damage. If it appears uneven or excessively worn, it may need to be replaced or resurfaced.
6. Locate the Adjuster Most drum brake systems have an adjusting wheel or lever located at the bottom of the brake assembly. It’s usually accessible through an opening in the backing plate. If necessary, refer to your vehicle's manual to locate this component.
7. Adjust the Brake Shoes Use the brake drum adjusting tool or a flathead screwdriver to turn the adjuster. Turning it clockwise usually tightens the shoes, and counterclockwise loosens them. Adjust the shoes until the distance between the shoes and the drum is minimal but does not cause friction when the drum is turned. A slight drag may indicate a proper adjustment.
8. Reassemble the Brake Components Once the adjustment is satisfactory, reinstall everything in reverse order. Place the brake drum back onto the hub, tighten any fasteners, and put the wheel back on.
9. Lower the Vehicle Carefully remove the jack stands and lower the vehicle back to the ground. Tighten the lug nuts in a star pattern to ensure an even distribution of pressure.
10. Test the Brakes Before hitting the road, pump the brake pedal several times to seat the brake shoes against the drum. This action re-establishes the correct spacing for effective braking. Once done, take the vehicle for a short, cautious test drive to ensure the brakes function properly and adjust if necessary.
Conclusion
Regular maintenance of your vehicle’s braking system is vital for safety and performance. Adjusting drum brakes might seem challenging at first, but with the right tools and procedures, it can be safely accomplished at home. Always refer to your vehicle’s manual for specific guidance on your model, and if you're uncertain about any step in the process or if adjustments do not improve braking performance, consulting with a professional mechanic is advisable. Keeping your brakes in optimal condition will ensure that your vehicle remains safe on the road for years to come.
-
HINO Industrial Solutions - ¡Ң���ຽ��е��������˾ | Advanced Technology&Reliability
NewsJul.13,2025
-
HINO Industrial Efficiency-Jiangsu Hino Industrial|Productivity Optimization&Cost Reduction
NewsJul.12,2025
-
HINO-¡Ң���ຽ��е��������˾|Advanced Industrial Solutions&Energy Efficiency
NewsJul.12,2025
-
Premium Brake Drum Iveco – Durable Drum Brake Drum & Brake Shoe Solutions
NewsJul.08,2025
-
High-Performance Brake Drum Liza for Enhanced Safety Reliable Drum Brake Drum & Brake Shoe Solutions
NewsJul.08,2025
-
High-Quality Brake Drum MAZ – Durable Drum Brake Drum & Brake Drum and Brake Shoe for Optimal Performance
NewsJul.07,2025
