Nov . 14, 2024 17:22 Back to list
how to change brake drums
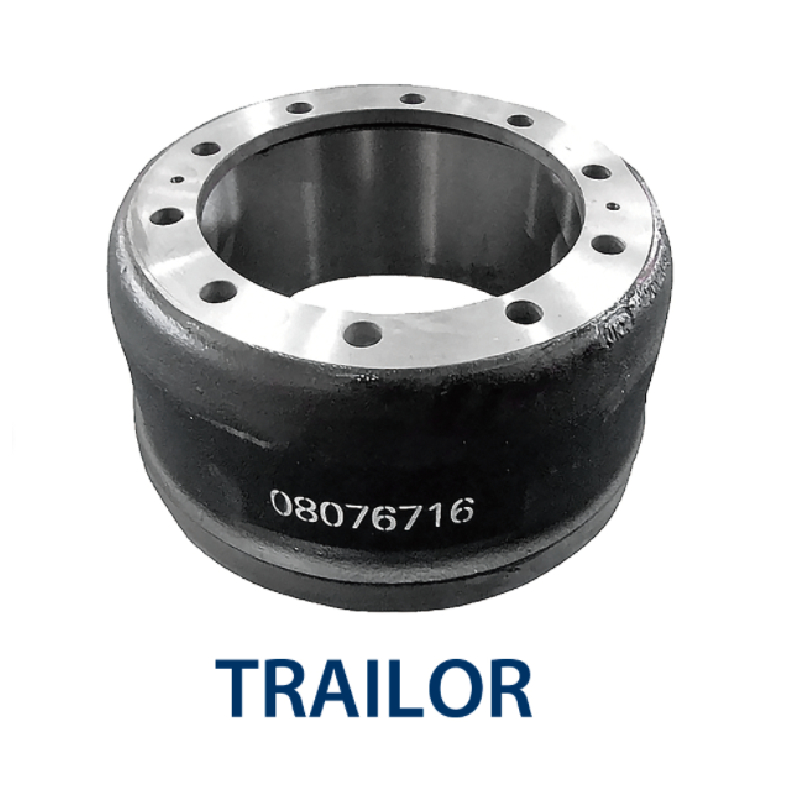
How to Change Brake Drums A Step-by-Step Guide
Changing brake drums is an essential skill for any car owner or mechanic. Over time, brake drums can wear down or become damaged, causing decreased braking efficiency and potentially compromising safety. In this article, we will provide a comprehensive step-by-step guide on how to change brake drums efficiently and safely.
Tools and Materials Needed
Before starting the process, gather all the necessary tools and materials to ensure a smooth operation. Here’s what you’ll need
- New brake drums - Brake shoes (if necessary) - Brake cleaner - Ratchet and socket set - Screwdrivers (flathead and Phillips) - Pliers - A hammer - Adjustable wrench - Jack and jack stands - Safety goggles and gloves
Step 1 Gather Safety Equipment
Safety should always be the top priority when working on a vehicle. Before you begin, wear safety goggles and gloves to protect your eyes and hands from dust, debris, and chemicals.
Step 2 Secure the Vehicle
Park the vehicle on a level surface and turn off the engine. Engage the parking brake to prevent the car from rolling. Then, use the jack to lift the rear of the vehicle and secure it with jack stands to ensure stability while you work.
Step 3 Remove Wheel Lug Nuts
Using a lug wrench, loosen and remove the lug nuts from the wheels that cover the brake drums. It’s often easiest to do this while the vehicle is still on the ground, as the weight prevents the wheel from spinning. Once the nuts are removed, take off the wheel and set it aside.
Step 4 Remove the Brake Drum
With the wheel removed, you can access the brake drum. In many cases, the drum will be secured by retaining screws or clips. If so, use a screwdriver or a ratchet to remove them. If the drum is stuck due to rust or dirt, gently tap it with a hammer to break the bond. Be cautious not to damage the drum.
Step 5 Inspect the Old Components
how to change brake drums

Before installing the new drum, take a moment to inspect the old brake shoes and hardware. If the brake shoes show significant wear or if the lining is less than 1/4 inch thick, now is the time to replace them. Remove the old brake shoes by disconnecting the springs and any brackets holding them in place. Make sure to note how everything is assembled for reinstallation.
Step 6 Clean the Work Area
Using brake cleaner, thoroughly clean the inside of the brake drum and the backing plate. This is important to remove any dust and debris that can affect performance. Allow it to dry completely before proceeding.
Step 7 Install New Brake Shoes (If Necessary)
If you decided to replace the brake shoes, install the new ones now. Follow the assembly method you noted earlier to ensure everything is correctly positioned. Make sure to secure all springs and clips properly to avoid any issues while braking.
Step 8 Install the New Brake Drum
Once you have everything cleaned and any new components in place, it’s time to install the new brake drum. Slide the drum onto the wheel hub and ensure it is seated properly. If your drum has retaining screws, replace them at this time.
Step 9 Reinstall the Wheel
After the brake drum is securely in place, reinstall the wheel. Start by hand-tightening the lug nuts to ensure that the wheel is flush against the drum. Lower the vehicle slightly to ensure the wheel is supported by the ground before fully tightening the lug nuts in a star pattern. This ensures even distribution of pressure.
Step 10 Test the Brakes
Once everything is back in place, it’s essential to test the brakes before taking the vehicle on the road. Pump the brake pedal a few times to seat the new brake shoes against the drum. Then, take the car for a short, cautious drive to test the braking performance. Listen for any unusual noises and check for proper functionality.
Conclusion
Changing brake drums is a manageable task for those with basic mechanical skills and the right tools. Regular maintenance of your braking system is vital for your safety and the longevity of your vehicle. Always consult your vehicle’s manual for specific instructions related to your model, and when in doubt, don’t hesitate to seek professional help. Drive safely!
-
ROR Web Development: Build Fast, Scalable, Secure Apps
NewsAug.17,2025
-
Scania Brake Drums: OEM Quality for Optimal Safety & Durability
NewsAug.16,2025
-
R.V.I: Advanced Remote Visual Inspection for Precision
NewsAug.15,2025
-
Discover HYUNDA: Innovative Vehicles, Equipment & Solutions
NewsAug.14,2025
-
R.V.I: Unlock Advanced Insights & Real-time Performance
NewsAug.13,2025
-
Kamaz Brake Drum: Durable & Reliable for Heavy Duty Trucks
NewsAug.12,2025
