Nov . 16, 2024 03:23 Back to list
how to change brake drums to discs
How to Change Brake Drums to Discs A Comprehensive Guide
Upgrading your vehicle's braking system from drums to discs can significantly enhance stopping power, reduce weight, and improve overall safety. This transition is not only beneficial for performance enthusiasts but also offers benefits in terms of maintenance and longevity. In this article, we will guide you through the steps needed to change brake drums to discs, ensuring that you undertake this modification effectively and safely.
Understanding the Differences
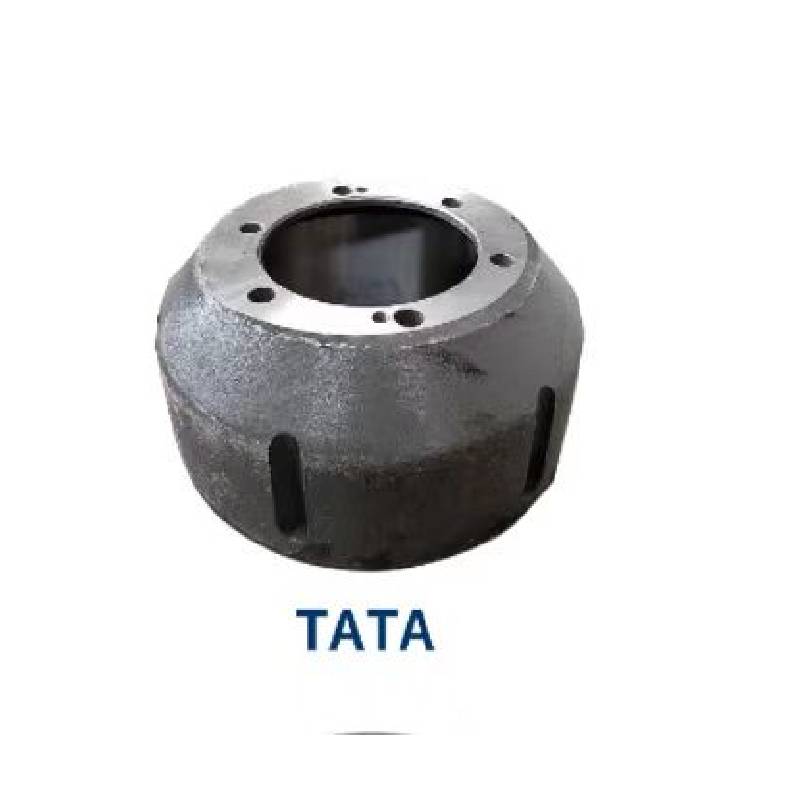
Before making the switch, it’s important to understand the differences between drum and disc brakes. Drum brakes consist of a cylindrical drum that rotates with the wheel, while brake shoes press against the inner surface of the drum to create friction. In contrast, disc brakes use a flat rotor that is clamped by brake pads to slow down the vehicle. Disc brakes are known for their superior heat dissipation, better performance during wet conditions, and reduced fade during prolonged use.
Tools and Materials Needed
To successfully convert your brake system, you’ll need a variety of tools and materials, including
- Disc brake conversion kit (specific to your vehicle) - Hydraulic floor jack and jack stands - Lug wrench - Socket set and wrenches - Brake cleaner - Torque wrench - Brake fluid - Safety glasses and gloves
Step-by-Step Process
1. Preparation Park your vehicle on a flat surface and engage the parking brake. Loosen the lug nuts slightly, but do not remove them.
2. Lifting the Vehicle Use a hydraulic jack to lift the car. Secure it with jack stands to ensure safety while you work underneath.
how to change brake drums to discs

3. Removing the Wheels Take off the lug nuts and remove the wheels to expose the brake components.
4. Removing the Old Brake Drums - Locate the drum brakes; these are typically enclosed by the drum assembly. - Carefully detach the brake drum by removing the retaining screws and sliding it off. You may need to tap it gently with a hammer if it’s stuck due to rust or debris.
5. Disassembling the Brake Components - Remove the brake shoes, springs, and any other components attached to the drum brake system. Take pictures for reference during reassembly. - Make sure to clean the brake assembly area with brake cleaner to remove dust and debris.
6. Installing the Disc Brake Kit - Follow the instructions provided with your disc brake conversion kit, as they may vary based on the manufacturer and your vehicle model. - Install the new brake rotors and calipers in the designated spots. Secure them tightly using a torque wrench to meet manufacturer specifications.
7. Installing Brake Pads Place the brake pads into the calipers and ensure they are properly seated. Reattach any clips or retaining mechanisms provided in the kit.
8. Connecting Brake Lines If your conversion kit requires new brake lines, carefully attach them as guided. Bleed the brake system to remove any air pockets, which can be done by having an assistant pump the brake pedal while you open the bleeder valve on each caliper.
9. Reassembling the Wheel Place the wheels back on and hand-tighten the lug nuts. Lower the vehicle back to the ground and use the torque wrench to tighten the lug nuts to the manufacturer's specifications.
10. Final Checks Before driving, pump the brake pedal a few times to ensure the pads are seated properly against the rotors. Check the brake fluid level and add more if necessary.
Conclusion
Changing from brake drums to discs is a valuable upgrade that can enhance your vehicle’s performance and safety. While the process requires some mechanical skills and tools, following these steps carefully will ensure a successful conversion. If you feel unsure or encounter any difficulties, consider seeking assistance from a professional mechanic. Safety should always be your top priority when working on your vehicle's braking system.
-
Scania Brake Drums: OEM Quality for Optimal Safety & Durability
NewsAug.16,2025
-
R.V.I: Advanced Remote Visual Inspection for Precision
NewsAug.15,2025
-
Discover HYUNDA: Innovative Vehicles, Equipment & Solutions
NewsAug.14,2025
-
R.V.I: Unlock Advanced Insights & Real-time Performance
NewsAug.13,2025
-
Kamaz Brake Drum: Durable & Reliable for Heavy Duty Trucks
NewsAug.12,2025
-
Heavy Duty Iveco Brake Drum - Premium Quality & Safety
NewsAug.11,2025
