Oct . 07, 2024 18:53 Back to list
how to check brake drums
How to Check Brake Drums A Comprehensive Guide
Maintaining your vehicle's brake system is crucial for safe driving. One of the often-overlooked components are the brake drums. Brake drums are essential for the functioning of drum brakes, and ensuring they are in good condition is vital for your safety on the road. In this article, we will guide you on how to check brake drums effectively.
1. Understanding Brake Drums
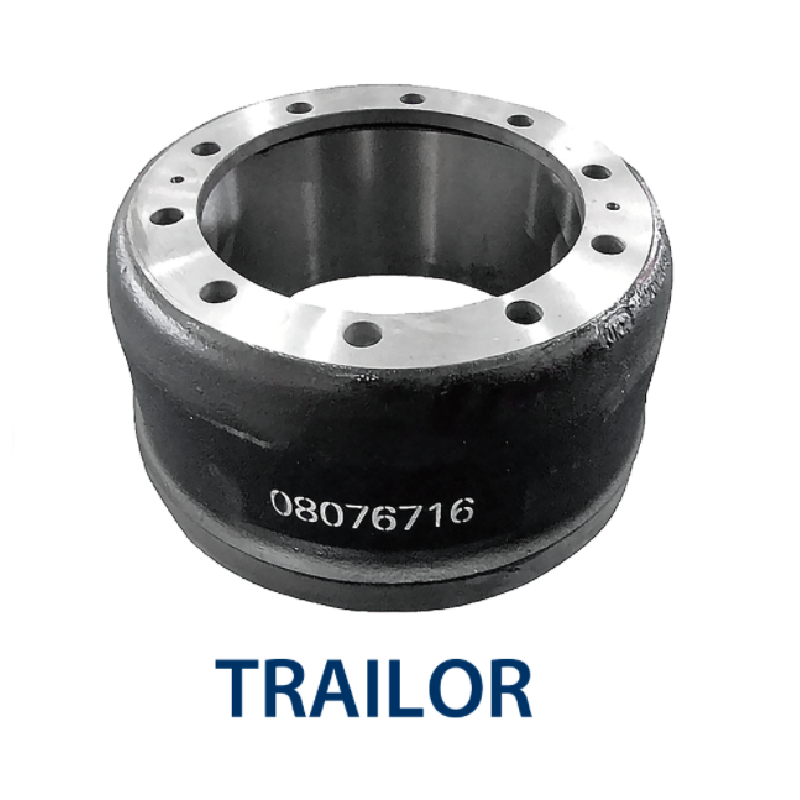
Brake drums are cylindrical components that house the brake shoes. When you press the brake pedal, hydraulic pressure forces the brake shoes against the inside of the drum, creating friction and slowing down the vehicle. Over time, these drums can wear out, become warped, or suffer from heat damage. Regular inspection is necessary to ensure they perform properly.
2. Signs of Worn Brake Drums
Before you begin your inspection, it’s crucial to recognize the signs that may indicate your brake drums are in need of checking. Look for
- Unusual Noises When braking, listen for any grinding, squealing, or thumping sounds. These noises often indicate that the brake shoes are worn down and may be damaging the drums. - Vibration If you feel a vibration when braking, it may suggest that the drums are warped or out of round. - Pulling to One Side If your vehicle pulls to one side when you apply the brakes, it could indicate uneven wear or a malfunction within the brake system.
3. Tools Needed for Inspection
Before you start, gather the following tools
- A jack and jack stands - A lug wrench - A screwdriver - A tape measure or caliper - Brake cleaner - A flashlight
4. Step-by-Step Inspection Process
Step 1 Secure the Vehicle
Ensure the vehicle is parked on a flat surface. Engage the parking brake and place wheel chocks behind the rear wheels.
how to check brake drums

Step 2 Lift the Vehicle
Using the jack, raise the vehicle and secure it with jack stands. Always ensure your safety first.
Step 3 Remove the Wheel
With the lug wrench, remove the lug nuts and take off the wheel to access the brake drum.
Step 4 Inspect the Brake Drum
Look for visible signs of wear such as grooves, cracks, or discoloration on the surface of the drum. Using a flashlight can help you identify any damage or excessive wear.
Step 5 Measure the Drum
Using a tape measure or caliper, measure the diameter of the brake drum. Refer to your vehicle’s specifications to determine the maximum allowable diameter. If the drum exceeds this limit, it’s time for replacement.
Step 6 Check for Warping
Spin the drum slowly while observing it closely. Any wobbling or uneven movement can indicate warping, which requires further assessment or replacement.
5. Conclusion
Regularly checking your brake drums can save you from potential accidents and costly repairs. If you find any signs of wear or damage during your inspection, consult a professional mechanic to assess the condition and perform necessary repairs. Keeping your brake system in optimal shape is essential for ensuring your safety on the road. Remember, a well-maintained vehicle not only enhances your safety but also improves longevity and performance.
-
Scania Brake Drums: OEM Quality for Optimal Safety & Durability
NewsAug.16,2025
-
R.V.I: Advanced Remote Visual Inspection for Precision
NewsAug.15,2025
-
Discover HYUNDA: Innovative Vehicles, Equipment & Solutions
NewsAug.14,2025
-
R.V.I: Unlock Advanced Insights & Real-time Performance
NewsAug.13,2025
-
Kamaz Brake Drum: Durable & Reliable for Heavy Duty Trucks
NewsAug.12,2025
-
Heavy Duty Iveco Brake Drum - Premium Quality & Safety
NewsAug.11,2025
