
Oct . 11, 2024 12:44 Back to list
Guidelines for Measuring Brake Drum Thickness and Ensuring Safety
How to Check Brake Drum Thickness A Comprehensive Guide
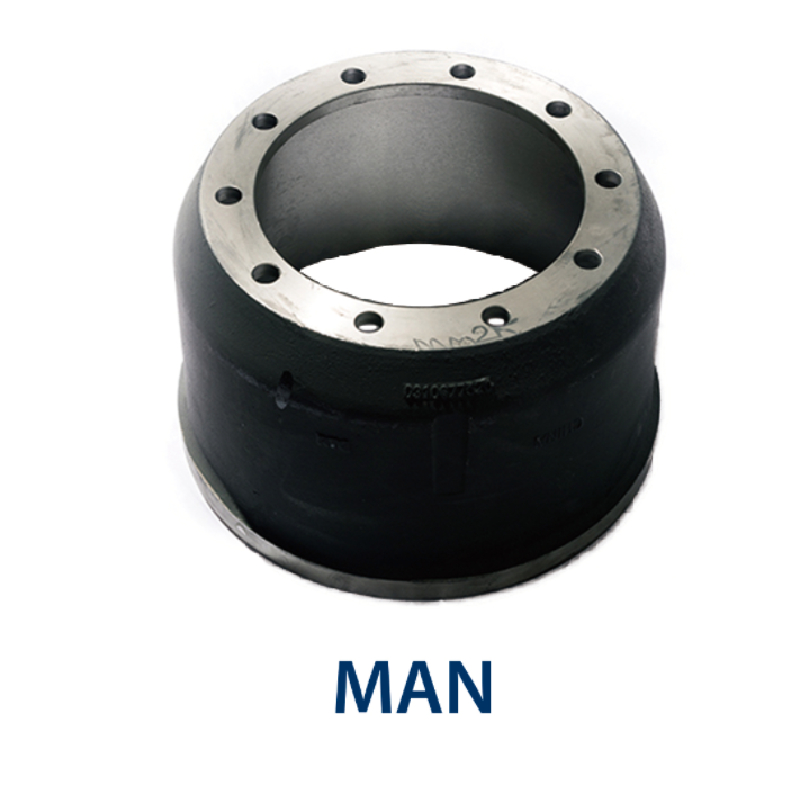
Brake drums play a crucial role in your vehicle's braking system, providing the surface against which the brake shoes press to slow down or stop the vehicle. Over time, brake drums can wear down, which can lead to decreased performance and safety issues. Therefore, regular inspection of brake drum thickness is essential for maintaining the efficiency and safety of your vehicle. This article will guide you through the steps of checking brake drum thickness and when to consider replacing them.
Understanding Brake Drum Specifications
Before we dive into the checking process, it's important to understand that each vehicle has specific manufacturer specifications regarding the minimum allowable thickness for brake drums. This information can typically be found in the vehicle's service manual or through the manufacturer's website. Knowing the minimum thickness will help you determine whether your brake drums need replacement.
Tools Needed
To check the brake drum thickness, you will need
1. Micrometer or Caliper These tools will help you measure the thickness accurately. 2. Brake Drum Gauge Specialized gauges can provide precise measurements and are designed specifically for checking brake drums. 3. Wrench Set Useful for removing the wheels and accessing the drums. 4. Safety Gear Gloves and safety glasses to protect yourself while working.
Step-by-Step Process
Step 1 Prepare Your Vehicle
1. Park on Level Ground Ensure your vehicle is parked on a flat surface to prevent rolling. 2. Engage the Parking Brake This will prevent the vehicle from moving while you are working. 3. Loosen Lug Nuts Before jacking up the vehicle, slightly loosen the lug nuts of the wheel covering the brake drum you wish to inspect.
Step 2 Remove the Wheel
how to check brake drum thickness
1. Jack Up the Vehicle Using a jack, lift the vehicle, ensuring it is secure on jack stands. 2. Remove the Wheel Once the vehicle is secure, remove the lug nuts completely and take off the wheel to expose the brake drum.
Step 3 Inspect the Brake Drum
1. Visual Inspection Before measuring, visually inspect the brake drum for cracks, deep grooves, or discoloration, which can affect performance. 2. Measure the Thickness Using the micrometer or caliper, measure the thickness of the brake drum at several points around the surface. This is important because brake drums can wear unevenly. 3. Compare to Specifications Take the measurements and compare them with the manufacturer specifications. If the thickness is at or below the minimum limit, it is time to replace the drum.
Step 4 Check for Other Issues
While inspecting the brake drum, also check the brake shoes for wear and the condition of the wheel cylinder and springs. Any signs of leakage or wear here should be addressed to ensure a complete brake system inspection.
When to Replace Brake Drums
If your measurements show that the brake drum is below the minimum thickness, you should replace it immediately. Other circumstances that warrant replacement include
- Visible damage such as cracks or severe grooves. - Unequal wear that could impact braking efficiency. - Signs of overheating, like discoloration or warping.
Conclusion
Regular inspection of your brake drums is essential for safe driving and overall vehicle maintenance. By following the steps outlined above, you can easily check the brake drum thickness and ensure your vehicle's braking system is functioning correctly. If you find that your brake drums need replacement, it's advisable to consult a professional mechanic to ensure the job is done correctly and safely. Remember, the integrity of your brake system is paramount to your safety on the road. Don't take any chances; regular checks can save you from potential accidents and costly repairs in the future.
-
IVEKO High-Performance Brake Drums Durable & Precision-Engineered
NewsMay.17,2025
-
Brake Drum Man High-Quality Drum Brake & Shoe Solutions
NewsMay.17,2025
-
Brake Drum Man Premium Drum Brake & Shoe Solutions OEM-Compliant
NewsMay.16,2025
-
Brake Drum Man High-Quality Drum Brake & Shoe Kits for Vehicles
NewsMay.16,2025
-
Brake Drum Man High-Quality Drum Brake Parts & Expert Solutions
NewsMay.16,2025
-
Brake Drum Man High-Quality Drum Brake & Shoe Solutions
NewsMay.15,2025