Nov . 02, 2024 14:26 Back to list
how to convert brake drum to disc brakes
How to Convert Brake Drum to Disc Brakes
Converting brake drums to disc brakes can enhance the braking performance of your vehicle, providing better stopping power and improved heat dissipation. While the process may seem intimidating, with the right tools and knowledge, it can be accomplished by DIY enthusiasts. Here’s a step-by-step guide on how to perform this conversion effectively.
Understanding the Benefits
Before diving into the conversion process, it's essential to understand why disc brakes are often preferred over drum brakes. Disc brakes typically provide better performance in terms of braking efficiency, reduced brake fade, and shorter stopping distances. Additionally, disc brakes are less susceptible to water and dirt contamination, which can affect braking performance in drum systems.
Tools and Materials Needed
To successfully convert your drum brakes to disc brakes, you will need the following
1. Disc brake conversion kit - This typically includes disc rotors, calipers, pads, and mounting brackets. 2. Basic hand tools - Wrenches, sockets, and screwdrivers. 3. Jack and jack stands - For safely lifting and supporting the vehicle. 4. Brake fluid - To refill the system after the conversion. 5. Torque wrench - To ensure all components are tightened to manufacturer specifications. 6. Safety gear - Gloves and goggles to protect yourself during the process.
Step-by-Step Conversion Process
1. Preparation Start by safely elevating the vehicle using the jack and securing it with jack stands. Remove the rear wheels to access the drum brakes.
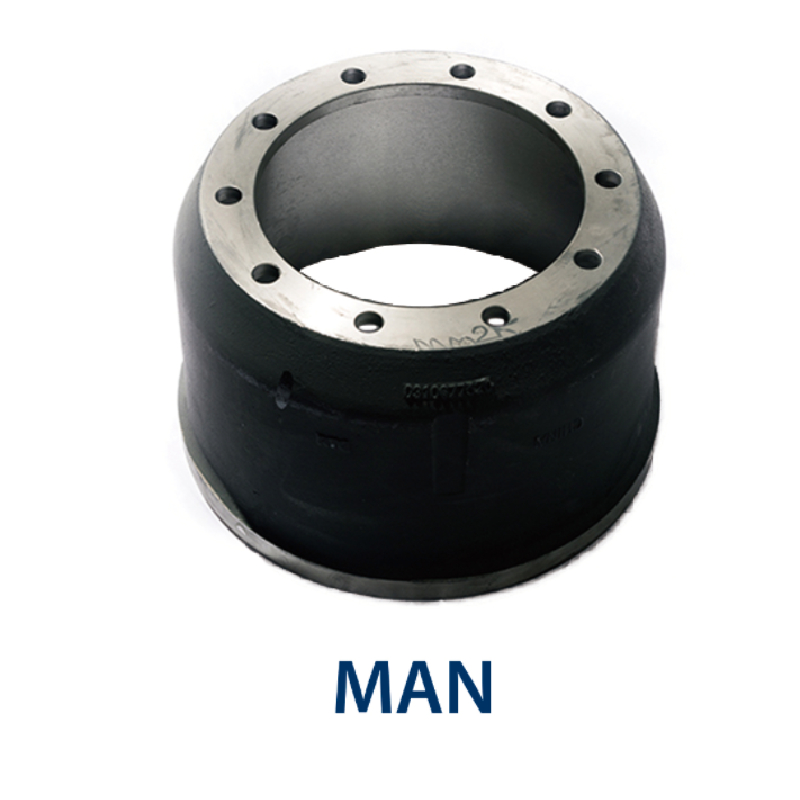
2. Remove the Drum Brakes Detach the drum brake components, including the drum itself, shoes, springs, and backing plate. It might help to take photographs of the assembly for reference when reinstalling.
how to convert brake drum to disc brakes

3. Install the Conversion Kit Follow the instructions provided with your disc brake conversion kit. Begin by mounting the new brackets onto the axle housing. Ensure they are aligned correctly and securely fastened.
4. Attach the Disc Rotors Install the disc rotors onto the mounted brackets. Make sure they fit snugly and are aligned properly with the caliper mounting points.
5. Mount the Brake Calipers Attach the calipers over the disc rotors. Ensure that they are correctly positioned and securely bolted in place. Check the manufacturer’s specifications for the proper torque levels.
6. Install Brake Pads Slide the brake pads into the calipers according to the kit instructions. Make sure they are seated correctly against the rotors.
7. Connect Brake Lines If your conversion requires new brake lines, install them now. Ensure they are free of kinks and secure connections are made to prevent leaks.
8. Refill Brake Fluid After everything is in place, bleed the brake lines to remove any air bubbles and refill the brake fluid reservoir as needed. This step is crucial for ensuring optimal brake performance.
9. Test the System Before taking the vehicle on the road, test the new brake system in a safe environment. Check for any unusual noises or pulling to one side, and adjust as necessary.
Conclusion
Converting from drum brakes to disc brakes can significantly improve your vehicle's braking performance and reliability. While the process requires careful attention to detail and proper safety precautions, it can be a rewarding project for those looking to upgrade their vehicle's braking system. Always refer to your vehicle’s service manual and consider consulting a professional if you are unsure about any step of the process. With patience and diligence, you can enjoy the benefits of enhanced braking power for years to come.
-
Explore Japan: Ultimate Travel Guide & Authentic Experiences
NewsAug.19,2025
-
Your Brake Drum Man: Premium & Reliable Brake Drums for Sale
NewsAug.18,2025
-
ROR Web Development: Build Fast, Scalable, Secure Apps
NewsAug.17,2025
-
Scania Brake Drums: OEM Quality for Optimal Safety & Durability
NewsAug.16,2025
-
R.V.I: Advanced Remote Visual Inspection for Precision
NewsAug.15,2025
-
Discover HYUNDA: Innovative Vehicles, Equipment & Solutions
NewsAug.14,2025
