Dec . 04, 2024 18:38 Back to list
how to deglaze brake drums
How to Deglaze Brake Drums A Step-by-Step Guide
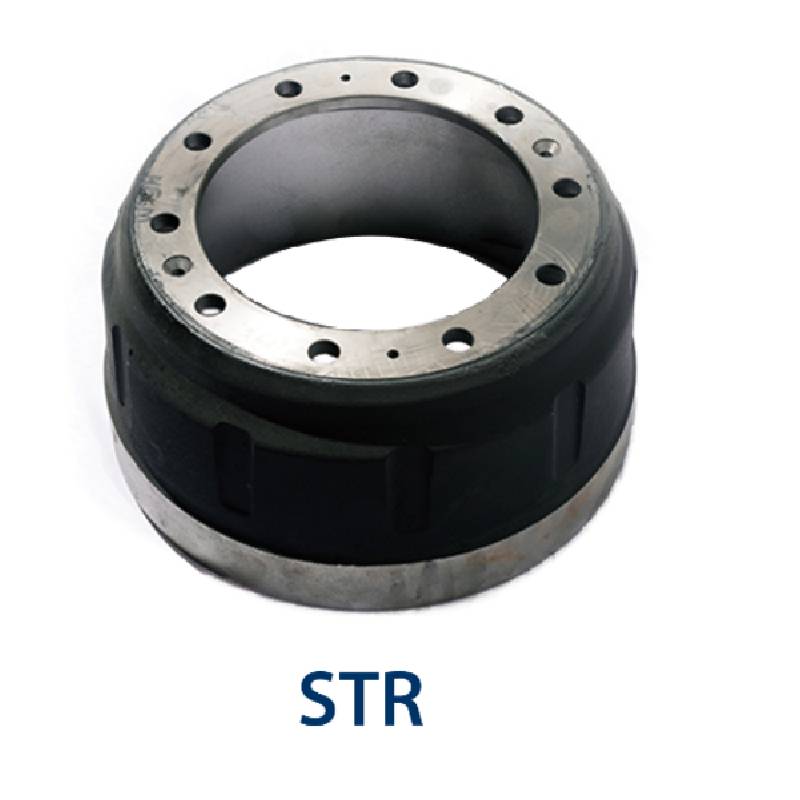
Brake drums are an essential component of a vehicle's braking system, particularly in older cars and some commercial vehicles. Over time, brake drums can accumulate a layer of glaze due to excessive heat and wear, leading to reduced braking performance. Deglazing is the process of restoring the surface of the brake drum to ensure optimal contact with the brake shoes, ultimately improving braking efficiency. This guide will walk you through the steps needed to deglaze brake drums safely and effectively.
Understanding Brake Drum Glazing
Glazing occurs when the brake shoes overheat, leading to a smooth, glass-like surface on the drum. While some glazing is normal, excessive glazing can cause problems, including increased stopping distances and pedal fade. Signs of glazing include a squeaking noise during braking, a spongy brake pedal, and diminished braking power.
Tools and Materials Needed
To successfully deglaze brake drums, you'll need the following tools and materials
- Jack and jack stands - Lug wrench - Brake cleaner - Sandpaper (100 to 200 grit) - Brake drum gauge (optional) - Protective eyewear and gloves - Torque wrench - Clean rags
Step-by-Step Process for Deglazing Brake Drums
Step 1 Safety First
Before starting any work on your vehicle, make sure you're in a safe environment. Park the vehicle on a flat surface, turn off the engine, and set the parking brake. Wear protective eyewear and gloves to keep yourself safe from debris and chemicals.
Step 2 Lift the Vehicle
Using a lug wrench, loosen the lug nuts on the wheels where you will be working, then use a jack to lift the vehicle. Once elevated, secure it with jack stands. Ensure that the vehicle is stable before proceeding.
Step 3 Remove the Wheel and Access the Brake Drum
Completely remove the lug nuts and take off the wheel to access the brake drum. Inspect the surrounding area for any signs of wear or damage before moving on.
how to deglaze brake drums

Step 4 Inspect the Brake Drum
Once the drum is exposed, carefully examine it for glazing and excessive wear. If the surface feels smooth to the touch or has a glass-like finish, it needs deglazing. Measure the drum thickness using a brake drum gauge, if available, to ensure it meets the manufacturer's specifications.
Step 5 Clean the Brake Drum
Start by spraying brake cleaner onto the drum surface to remove any dust and debris. Wipe it down with a clean rag to ensure that it is free of contaminants that could interfere with the sanding process.
Step 6 Deglaze the Drum
Using sandpaper with a grit between 100 and 200, gently sand the surface of the drum in a circular motion. Sanding removes the glazed layer and promotes better pad contact. Be sure to maintain a consistent pressure and avoid going too deep; the goal is to create a roughened surface without compromising the drum's structure.
Step 7 Inspect Again
After sanding, inspect the drum surface again. It should feel rough to the touch, resembling a slightly textured finish. Remove any dust created during sanding with a clean rag and more brake cleaner.
Step 8 Reassemble and Test
Reinstall the brake drum, ensuring that it fits snugly. Replace the wheel, hand-tightening the lug nuts before lowering the vehicle. After lowering, use a torque wrench to tighten the lug nuts to the manufacturer's recommended torque specifications.
Step 9 Final Inspection
Before driving, ensure that all components are functioning properly. Pump the brake pedal a few times to seat the shoes against the drum and check for any unusual noises or issues.
Conclusion
Deglazing brake drums is a vital maintenance task that can enhance your vehicle's braking performance. By following this step-by-step guide, you can effectively restore your brake drums and ensure safer driving. Always remember that if you are unsure or uncomfortable performing this task, consulting a professional mechanic is the best option for your safety and the longevity of your vehicle. Regular maintenance and inspections of your braking system will contribute significantly to your vehicle’s performance and your safety on the road.
-
ROR Web Development: Build Fast, Scalable, Secure Apps
NewsAug.17,2025
-
Scania Brake Drums: OEM Quality for Optimal Safety & Durability
NewsAug.16,2025
-
R.V.I: Advanced Remote Visual Inspection for Precision
NewsAug.15,2025
-
Discover HYUNDA: Innovative Vehicles, Equipment & Solutions
NewsAug.14,2025
-
R.V.I: Unlock Advanced Insights & Real-time Performance
NewsAug.13,2025
-
Kamaz Brake Drum: Durable & Reliable for Heavy Duty Trucks
NewsAug.12,2025
