
Feb . 11, 2025 18:25 Back to list
how to deglaze brake drums
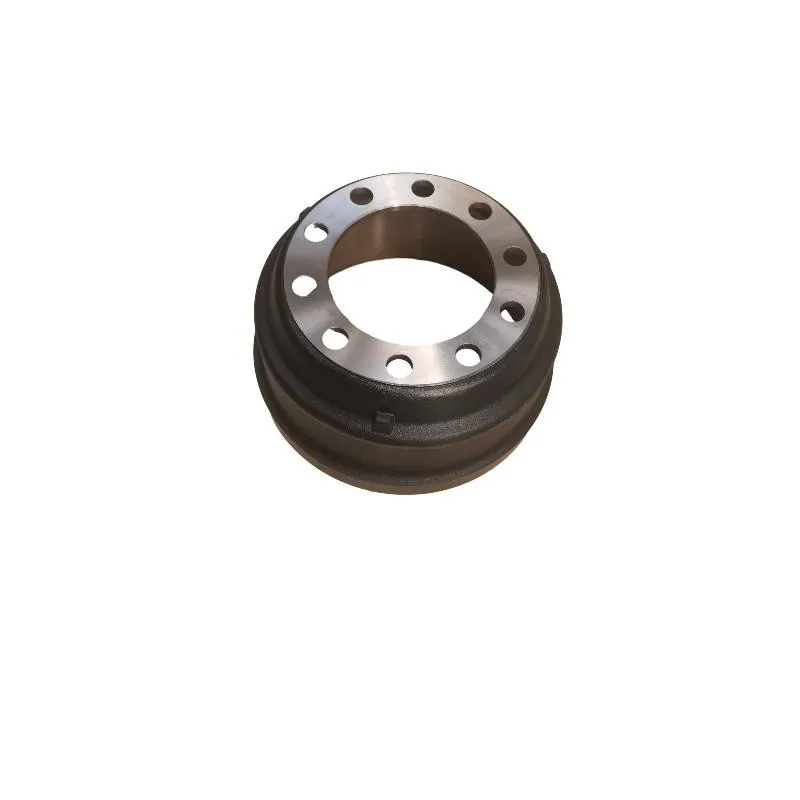
Deglazing brake drums is an essential maintenance procedure that can improve braking performance and extend the life of your brake system. As a part of routine vehicle care, this process removes glaze caused by heat and friction over time, which can significantly decrease braking efficiency. Here's a detailed guide on how to properly deglaze brake drums, drawing from real-world experience and professional expertise.
During the deglazing process, maintaining an even pressure is crucial to avoid creating uneven surfaces that might cause vibrations and noise. Experienced technicians often suggest turning the drum by hand or on the vehicle's axle to ensure thorough and even deglazing. After the deglazing is complete, it's essential to clean the brake drum thoroughly to remove any dust or debris created during the process. Use a high-quality brake cleaner and a clean cloth to wipe down the drum and surrounding components. This step ensures that no particles interfere with the brake system upon reassembly. Reassemble the brake components carefully, ensuring that all parts are correctly aligned and secured. This precision not only enhances the longevity of your brake system but also guarantees safety and performance. Experts emphasize the importance of testing the brakes after reassembly. Before taking your vehicle back on the road, perform a low-speed test to confirm the brakes' responsiveness and stopping power have been restored. Understanding the technical nuances of deglazing brake drums is paramount for automotive enthusiasts and professionals alike. Beyond the immediate performance benefits, this routine maintenance task contributes to the vehicle's overall safety and reliability. By applying the outlined steps, vehicle owners can confidently maintain their brake systems with the expertise and authority that professionals emphasize. Incorporating regular inspections and deglazing into vehicle maintenance routines, drivers can ensure sustained optimal performance. With each successful deglazing, trustworthiness in one's vehicle increases, drawing from the technical authority showcased in the precision of care applied to such critical components. This attention to detail resonates with both novice drivers and seasoned experts, emphasizing the importance of professional knowledge in everyday automotive care.

During the deglazing process, maintaining an even pressure is crucial to avoid creating uneven surfaces that might cause vibrations and noise. Experienced technicians often suggest turning the drum by hand or on the vehicle's axle to ensure thorough and even deglazing. After the deglazing is complete, it's essential to clean the brake drum thoroughly to remove any dust or debris created during the process. Use a high-quality brake cleaner and a clean cloth to wipe down the drum and surrounding components. This step ensures that no particles interfere with the brake system upon reassembly. Reassemble the brake components carefully, ensuring that all parts are correctly aligned and secured. This precision not only enhances the longevity of your brake system but also guarantees safety and performance. Experts emphasize the importance of testing the brakes after reassembly. Before taking your vehicle back on the road, perform a low-speed test to confirm the brakes' responsiveness and stopping power have been restored. Understanding the technical nuances of deglazing brake drums is paramount for automotive enthusiasts and professionals alike. Beyond the immediate performance benefits, this routine maintenance task contributes to the vehicle's overall safety and reliability. By applying the outlined steps, vehicle owners can confidently maintain their brake systems with the expertise and authority that professionals emphasize. Incorporating regular inspections and deglazing into vehicle maintenance routines, drivers can ensure sustained optimal performance. With each successful deglazing, trustworthiness in one's vehicle increases, drawing from the technical authority showcased in the precision of care applied to such critical components. This attention to detail resonates with both novice drivers and seasoned experts, emphasizing the importance of professional knowledge in everyday automotive care.
Latest news
-
Scania Brake Drums: OEM Quality for Optimal Safety & Durability
NewsAug.16,2025
-
R.V.I: Advanced Remote Visual Inspection for Precision
NewsAug.15,2025
-
Discover HYUNDA: Innovative Vehicles, Equipment & Solutions
NewsAug.14,2025
-
R.V.I: Unlock Advanced Insights & Real-time Performance
NewsAug.13,2025
-
Kamaz Brake Drum: Durable & Reliable for Heavy Duty Trucks
NewsAug.12,2025
-
Heavy Duty Iveco Brake Drum - Premium Quality & Safety
NewsAug.11,2025