Dec . 05, 2024 00:36 Back to list
Steps to Remove a Stuck Rear Brake Drum Easily and Safely
How to Get a Stuck Rear Brake Drum Off
If you’ve ever faced the frustrating situation of a stuck rear brake drum, you know how infuriating it can be. Brake drums, designed to provide efficient stopping power, can sometimes seize due to rust, corrosion, or the remnants of brake shoe material. In this article, we will discuss a step-by-step guide on how to safely and effectively remove a stuck rear brake drum.
Understanding Brake Drum Mechanics
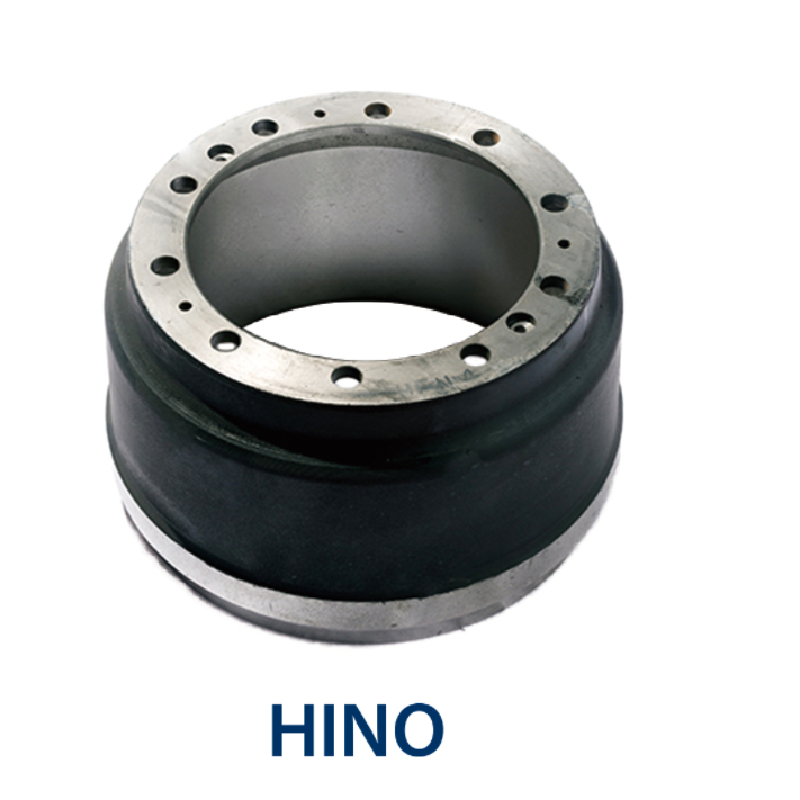
Before diving into the removal process, it's crucial to understand how brake drums function. The brake drum is part of the drum brake system, which includes the brake shoes and wheel cylinder. When you press the brake pedal, hydraulic pressure pushes the wheel cylinder, forcing the brake shoes against the inside of the drum to create friction that slows the vehicle down. Over time, moisture, heat, and wear can cause the drum to become stuck, making removal challenging.
Tools You Will Need
To get started, gather the following tools to facilitate the removal process
- A large hammer or mallet - Brake drum puller - WD-40 or penetrating oil - Screwdrivers (flathead and Phillips) - Work gloves - Safety goggles
Step-by-Step Removal Process
Step 1 Safety First
Before you begin, ensure that the vehicle is parked on a level surface, and the parking brake is released. Wear safety goggles and work gloves to protect yourself from any debris or sharp edges.
Step 2 Access the Brake Drum
Start by removing the wheel. Use a lug wrench to loosen the lug nuts, then lift the vehicle using a jack and secure it with jack stands. Remove the lug nuts completely and take off the wheel to access the brake drum.
Step 3 Inspect the Drum and Shoes
how to get a stuck rear brake drum off

Inspect the brake drum for visible signs of rust or damage. Check to see if the brake shoes are worn down or have any debris accumulated. This inspection will help you understand if any underlying issues might need addressing once you get the drum off.
Step 4 Apply Penetrating Oil
Spray a generous amount of penetrating oil around the outer edge of the drum where it meets the wheel hub. Allow the oil to soak in for about 10 to 15 minutes, as this can significantly aid in loosening stubborn parts.
Step 5 Tap the Drum
Once the penetrating oil has had time to work, take a large hammer or mallet and gently tap around the circumference of the brake drum. This step helps break loose any rust or debris that may have caused the drum to stick. Be sure to hit it evenly to avoid damaging the drum.
Step 6 Use a Brake Drum Puller
If the drum still refuses to budge, it may be time to employ a brake drum puller. This tool is specifically designed to pull the drum off the hub without causing damage. Position the puller’s arms against the drum and tighten the center bolt. Gradually apply pressure; the drum should start to come loose. If you hear cracking sounds, don't panic; it’s likely just the rust breaking apart.
Step 7 Check the Brake Shoes
Once you have successfully removed the brake drum, take a moment to inspect the brake shoes for wear. If they appear worn down or damaged, consider replacing them while you have the drum off. It’s a good practice to check your brake’s condition periodically to ensure safe driving.
Step 8 Clean and Reassemble
Before reassembling, clean the brake components, including the drum, with brake cleaner to remove any dust, debris, or old grease. Once everything is clean, replace the drum, brake shoes (if necessary), and wheel. Tighten the lug nuts on the wheel and lower the vehicle.
Conclusion
Removing a stuck rear brake drum can be a frustrating task, but with the right tools and techniques, it can be accomplished safely. Always prioritize safety, inspect your components, and take the time to perform regular maintenance on your brake system. By following these steps, you can effectively manage brake drum removal and ensure optimal performance for your vehicle's braking system.
-
ROR Web Development: Build Fast, Scalable, Secure Apps
NewsAug.17,2025
-
Scania Brake Drums: OEM Quality for Optimal Safety & Durability
NewsAug.16,2025
-
R.V.I: Advanced Remote Visual Inspection for Precision
NewsAug.15,2025
-
Discover HYUNDA: Innovative Vehicles, Equipment & Solutions
NewsAug.14,2025
-
R.V.I: Unlock Advanced Insights & Real-time Performance
NewsAug.13,2025
-
Kamaz Brake Drum: Durable & Reliable for Heavy Duty Trucks
NewsAug.12,2025
