Nov . 01, 2024 03:44 Back to list
Steps to Remove Rear Brake Drum for Vehicle Maintenance and Repair
How to Get Rear Brake Drum Off A Step-by-Step Guide
Removing the rear brake drum from your vehicle may seem daunting, but with the right tools and steps, it can be a straightforward process. Whether you're doing a brake inspection, replacing worn parts, or performing maintenance, this guide will walk you through the essential steps to safely and effectively remove the rear brake drum.
Tools and Materials Needed
Before you begin, make sure you have the following tools on hand - A jack and jack stands - Lug wrench - Brake drum removal tool (if necessary) - Screwdriver or pry bar - WD-40 or penetrating oil - Safety glasses and gloves
Step 1 Safety First
Ensure your vehicle is parked on a flat surface, and engage the parking brake. Always wear safety glasses and gloves when working on your vehicle to protect yourself from debris and sharp edges.
Step 2 Loosen the Lug Nuts
Using a lug wrench, loosen the lug nuts of the rear wheel before lifting the vehicle. Do not completely remove them at this stage—just break the initial tightness.
Step 3 Lift the Vehicle
Once the lug nuts are loosened, use a jack to lift the rear of the vehicle. Securely position jack stands under the vehicle to ensure it remains stable while you work.
Step 4 Remove the Wheel
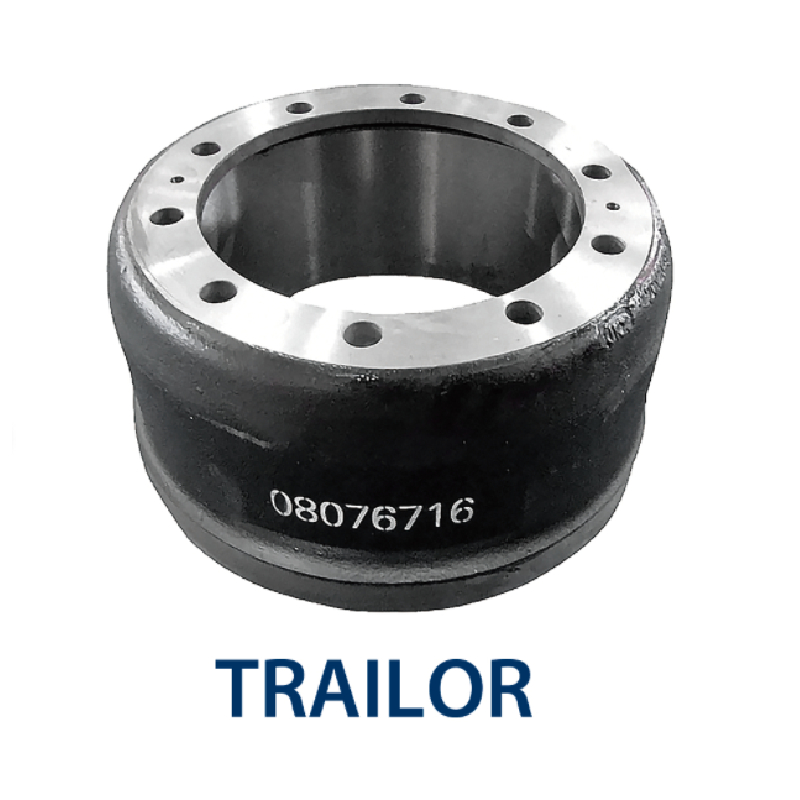
how to get rear brake drum off

Now that the vehicle is safely elevated, completely remove the lug nuts and take off the rear wheel. This will expose the brake drum.
Step 5 Inspect the Brake Assembly
Before removing the brake drum, inspect the brake assembly for any visible issues. Look for signs of wear on the brake shoes and check the overall condition. If the shoes look intact, you can proceed with removing the drum.
Step 6 Remove the Brake Drum
The rear brake drum is typically held in place by a few retaining screws or is simply pressed onto the hub. If there are screws, remove them with a screwdriver. If the drum is stuck, spray a little WD-40 or penetrating oil around the edges and let it sit for a few minutes to loosen any corrosion.
If the drum is still stubborn, you might use a brake drum removal tool to gently pull it off. Alternatively, you can tap gently around the drum's circumference with a rubber mallet to help break it loose.
Step 7 Carefully Pull Off the Drum
Once the drum is loosened, grasp it firmly and pull it straight off the hub. Ensure that the brake shoes do not come off with the drum, as they should remain attached to the backing plate.
Conclusion
Now that you have successfully removed the rear brake drum, you can perform your necessary maintenance or inspection. Remember to keep everything clean and organized for reinstallation. When you’re ready to put everything back together, reverse the steps above. With practice, you’ll find this task becomes quicker and easier. Always consult your vehicle’s manual for any specific instructions related to your make and model. Happy repairing!
-
ROR Web Development: Build Fast, Scalable, Secure Apps
NewsAug.17,2025
-
Scania Brake Drums: OEM Quality for Optimal Safety & Durability
NewsAug.16,2025
-
R.V.I: Advanced Remote Visual Inspection for Precision
NewsAug.15,2025
-
Discover HYUNDA: Innovative Vehicles, Equipment & Solutions
NewsAug.14,2025
-
R.V.I: Unlock Advanced Insights & Real-time Performance
NewsAug.13,2025
-
Kamaz Brake Drum: Durable & Reliable for Heavy Duty Trucks
NewsAug.12,2025
