Nov . 09, 2024 01:36 Back to list
Steps to Remove the Rear Brake Drum Safely and Efficiently
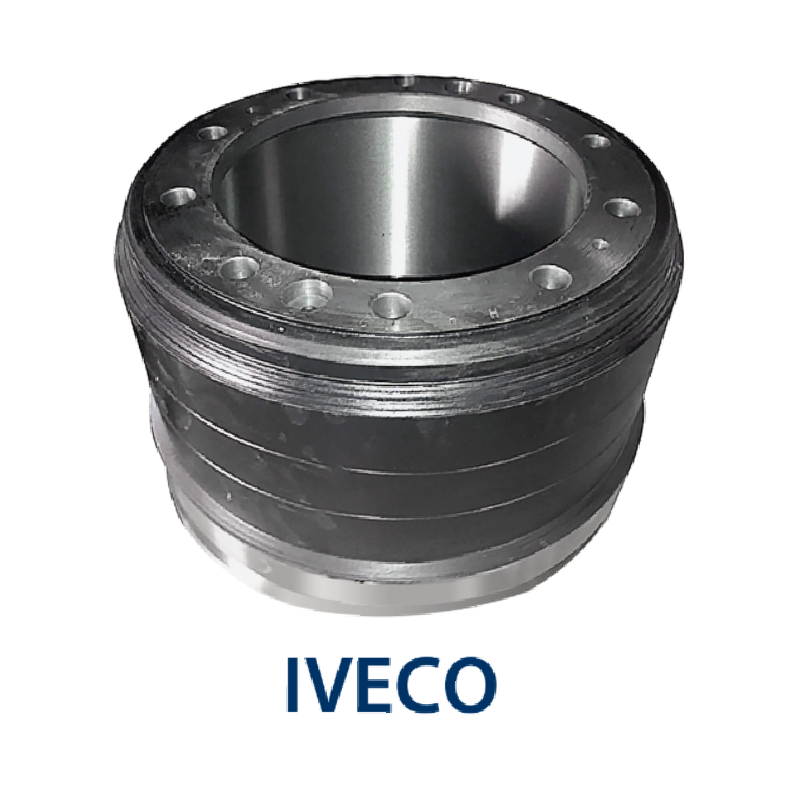
How to Get the Rear Brake Drum Off
Removing the rear brake drum from a vehicle can seem like a daunting task, especially if you have never done it before. However, with the right tools and a step-by-step approach, you can successfully complete this task. This guide will provide you with detailed instructions on how to safely and effectively remove the rear brake drum from your vehicle.
Tools and Materials Needed
Before you start, it's essential to gather the necessary tools and materials
1. Jack and Jack Stands To lift the rear of the vehicle safely. 2. Lug Wrench To remove the wheel lug nuts. 3. Brake Drum Puller A specialized tool that can help you remove the drum if it's stuck. 4. Pry Bar Useful for separating the drum from the hub. 5. Brake Cleaner To clean any debris from the components. 6. Replacement Parts Such as new brake shoes or springs, if necessary. 7. Gloves and Safety Glasses For personal protection.
Step-by-Step Instructions
Step 1 Prepare the Vehicle
1. Ensure Safety Park the vehicle on a flat, level surface. Turn on the hazard lights to alert other drivers. 2. Loosen Lug Nuts Using the lug wrench, slightly loosen the lug nuts on the rear wheel where you will be removing the brake drum. Do not remove them completely at this point.
Step 2 Lift the Vehicle
1. Jack Up the Rear Position the jack under a suitable lifting point and raise the rear of the vehicle. Always refer to the owner’s manual for proper jacking points. 2. Secure with Jack Stands Once elevated, place jack stands under the vehicle to ensure it is securely supported. Never rely solely on a jack.
Step 3 Remove the Wheel
1. Remove Lug Nuts Now that the vehicle is safely supported, remove the lug nuts completely and take the wheel off. Set the wheel aside in a safe place.
how to get rear brake drum off

Step 4 Inspect the Brake Drum
1. Visual Inspection Before attempting to remove the drum, inspect it for any visible damage or significant wear. Check for rust or debris that may impede the removal process.
Step 5 Remove the Brake Drum
1. Try Pulling the Drum Off Gently pull on the brake drum. If it comes off easily, great! If not, further steps are needed. 2. Use a Brake Drum Puller If the drum is stuck, you may need to use a brake drum puller. Attach the puller to the drum, following the manufacturer’s instructions. Tighten the central screw until the drum starts to loosen. Be cautious as it may take some force. 3. Pry the Drum Off If you do not have access to a puller, a pry bar can help. Carefully insert it between the drum and the backing plate. Gently pry the drum loose, rotating slightly as you apply pressure.
Step 6 Clean and Inspect Components
1. Clean the Area Once the drum is off, clean the area with brake cleaner to remove dust and debris. This will help in preventing future issues. 2. Inspect Brake Shoes and Hardware Check the condition of the brake shoes, springs, and other components. If they are worn or damaged, this is the ideal time to replace them.
Step 7 Reinstallation
1. Reinstall the Brake Drum If you are not replacing it, carefully place the drum back onto the hub, ensuring it fits snugly. If you replaced the brake shoes or other components, ensure everything is correctly aligned before reinstalling the drum. 2. Put the Wheel Back On Align the wheel with the hub, replace the lug nuts, and hand-tighten them.
Step 8 Lower the Vehicle
1. Remove Jack Stands Carefully lower the vehicle back to the ground using the jack. 2. Tighten Lug Nuts Once on the ground, tighten the lug nuts in a crisscross pattern to ensure even pressure.
Conclusion
Removing the rear brake drum may require some effort, especially if it's rusted or stuck, but by following these steps and using the right tools, you can accomplish the task efficiently and safely. Remember to always prioritize safety, wear proper protective equipment, and consult your vehicle’s manual for specific instructions regarding your make and model. With practice, you’ll become more comfortable working on your brakes and may even save on repair costs in the future.
-
Explore Japan: Ultimate Travel Guide & Authentic Experiences
NewsAug.19,2025
-
Your Brake Drum Man: Premium & Reliable Brake Drums for Sale
NewsAug.18,2025
-
ROR Web Development: Build Fast, Scalable, Secure Apps
NewsAug.17,2025
-
Scania Brake Drums: OEM Quality for Optimal Safety & Durability
NewsAug.16,2025
-
R.V.I: Advanced Remote Visual Inspection for Precision
NewsAug.15,2025
-
Discover HYUNDA: Innovative Vehicles, Equipment & Solutions
NewsAug.14,2025
