Dec . 26, 2024 13:53 Back to list
A Guide to Machining Brake Drums for Optimal Performance and Safety
A Comprehensive Guide on How to Machine Brake Drums
Brake drums are essential components of a vehicle's braking system, particularly in drum brake systems. Over time, they can become worn or warped due to heat and friction, leading to decreased braking performance and potential safety hazards. Machining brake drums is a common and effective method to restore them to their original specifications, ensuring reliable braking power. This article provides a step-by-step guide on how to machine brake drums.
Understanding Brake Drums
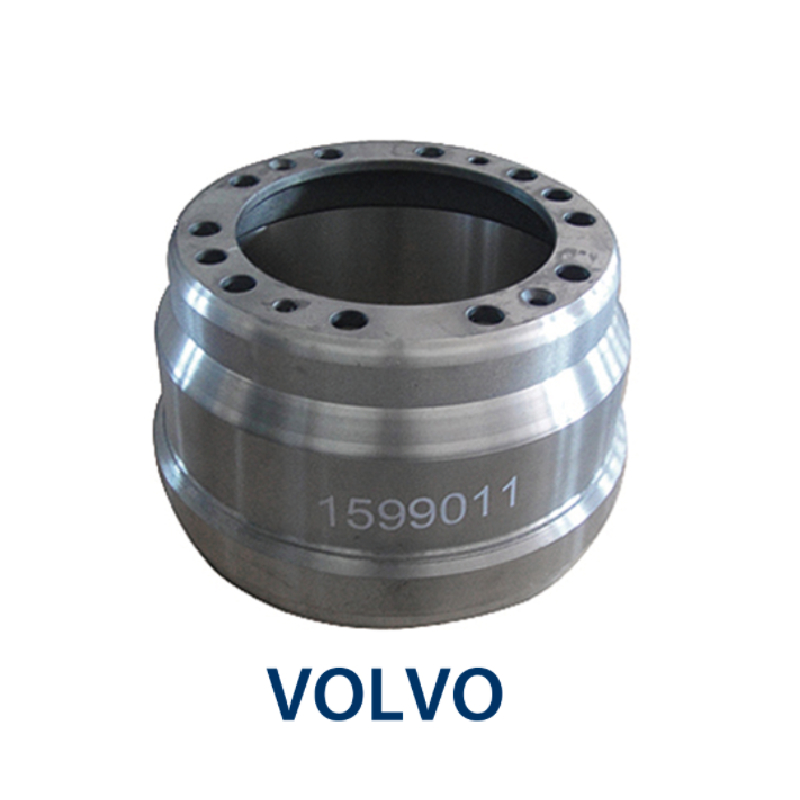
Before delving into the machining process, it's important to understand what brake drums are. These are circular metal components that house the brake shoes. When the brakes are applied, the shoes expand against the inner surface of the drum, creating the friction necessary to slow down or stop the vehicle. Regular inspection and maintenance of brake drums are crucial for vehicle safety.
Tools and Equipment Needed
To machine brake drums, you will need the following tools and equipment
1. Brake Drum Lathe A specialized machine for machining brake drums. 2. Calipers For measuring the drum's dimensions. 3. Gauges To check for any warping or wear. 4. Safety Goggles and Gloves Personal protective equipment to ensure safety during the process. 5. Clean Rags and Brake Cleaner For cleaning the drums before machining.
Step-by-Step Machining Process
1. Safety First Before starting any work, ensure you are wearing appropriate safety gear, including safety goggles and gloves. Work in a well-ventilated area.
2. Remove the Wheels Lift the vehicle using a jack and secure it with jack stands. Remove the wheel nuts and take off the wheels to access the brake drums.
how to machine brake drums

3. Inspect the Brake Drums Use calipers and gauges to measure the thickness of the brake drums. Check for any visible signs of wear, warping, or scoring. If the drum is below the minimum thickness specified by the manufacturer, it may be necessary to replace it.
4. Clean the Brake Drums Before machining, clean the outer and inner surfaces of the drums using brake cleaner and clean rags. This step is crucial as it removes any dust or debris that could affect the machining process.
5. Set Up the Brake Drum Lathe Place the drum on the lathe, ensuring it is properly secured. Adjust the lathe settings according to the manufacturer's specifications for the particular drum you are working with.
6. Machining the Drum Operate the lathe to machine the drum. Ensure that you make even cuts, maintaining a consistent depth. Monitor the process closely to avoid removing too much material, which can lead to an unsafe thickness.
7. Check for Proper Alignment Throughout the machining process, make sure the drum remains aligned to prevent any imbalances. An unbalanced drum can cause vibrations and reduce braking efficiency.
8. Measure and Inspect Again After machining, measure the drum's thickness again to confirm it meets specifications. Inspect the surface for a smooth finish, ensuring there are no grooves or defects.
9. Reassembly Once the machining is complete and the drum meets specifications, reassemble the brake components. Reinstall the wheels, lower the vehicle, and tighten the wheel nuts to the manufacturer's specifications.
10. Test Drive After everything is reassembled, take the vehicle for a test drive in a safe area to ensure that the brakes are functioning correctly. Listen for any unusual noises and check for proper braking performance.
Conclusion
Machining brake drums is a vital maintenance task that can significantly enhance the safety and performance of a vehicle. By following the proper steps and maintaining safety standards, you can effectively machine brake drums, ensuring reliable braking for your vehicle’s needs. Regular inspection and maintenance will not only prolong the life of your brake components but also secure your safety on the road.
-
ROR Web Development: Build Fast, Scalable, Secure Apps
NewsAug.17,2025
-
Scania Brake Drums: OEM Quality for Optimal Safety & Durability
NewsAug.16,2025
-
R.V.I: Advanced Remote Visual Inspection for Precision
NewsAug.15,2025
-
Discover HYUNDA: Innovative Vehicles, Equipment & Solutions
NewsAug.14,2025
-
R.V.I: Unlock Advanced Insights & Real-time Performance
NewsAug.13,2025
-
Kamaz Brake Drum: Durable & Reliable for Heavy Duty Trucks
NewsAug.12,2025
