Dec . 01, 2024 15:56 Back to list
how to measure brake drum out of round
How to Measure Brake Drum Out of Round
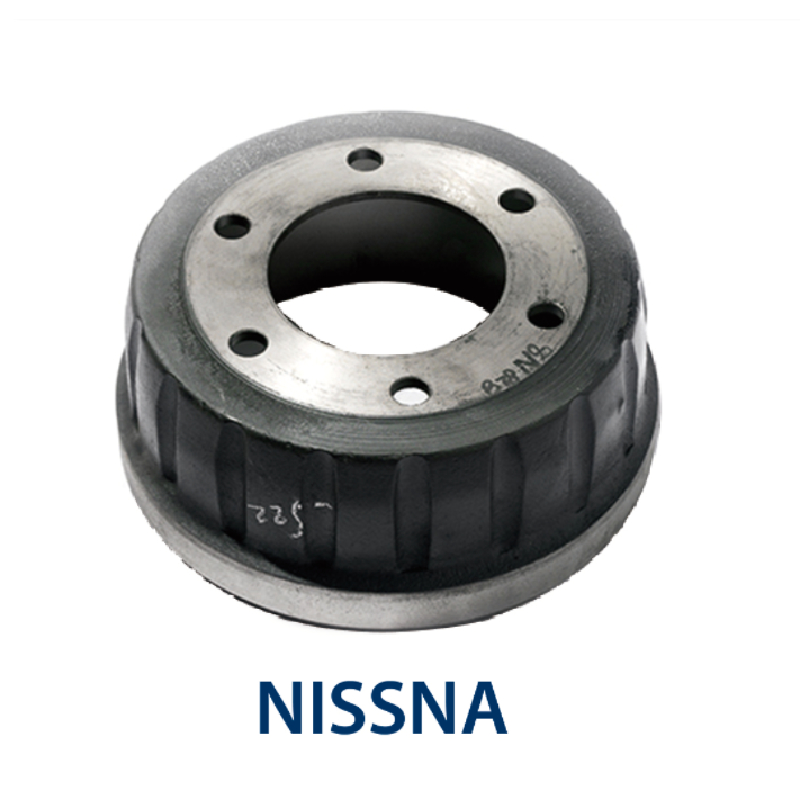
Brake drums play a crucial role in a vehicle's braking system, providing the necessary friction to stop the wheels from turning. Over time, with continuous use and exposure to heat, these drums may become out of round, affecting braking performance and safety. Measuring the out-of-round condition of a brake drum is essential for proper maintenance and ensuring your vehicle operates safely. In this article, we will guide you through the steps to measure brake drum out of round, aiding in effective vehicle maintenance.
Understanding Out of Round
Before diving into the measurement process, it's essential to understand what out of round means. A brake drum is said to be out of round if its circular shape is compromised, leading to an uneven surface. This can result from wear, overheating, or that the drum has been machined improperly. An out-of-round drum can cause vibrations, uneven wear of brake shoes, and decreased stopping power.
Tools You Will Need
To measure a brake drum's roundness, you will need a few specific tools
1. Micrometer or Caliper This will help you measure the drum's diameter at various points. 2. Dial Indicator A dial indicator can provide precise measurements of any variation in the drum's surface. 3. Brake Drum Measuring Tool This specialized tool is designed to measure the runout of the brake drum accurately. 4. Straightedge A straightedge can aid in checking for warping or irregularities.
Measuring the Brake Drum
Follow these steps to accurately measure the brake drum's out-of-round condition
1. Remove the Brake Drum For accurate measurement, remove the brake drum from the wheel hub. Ensure you follow safety protocols, including the use of jack stands and wearing protective gear.
how to measure brake drum out of round

2. Clean the Drum Clean the surface of the drum and inspect it for any visible damage. Debris, dirt, or brake dust can give false readings, so removing these elements is crucial.
3. Inspect for Warping Place a straightedge across the surface of the drum at several points. Look for gaps between the straightedge and drum, which indicate warping. Ideally, there should be little to no gap.
4. Using a Micrometer or Caliper Measure the diameter of the brake drum at various points around its circumference. Make sure to take at least four measurements (top, bottom, left, and right). This will give you a baseline to understand the drum’s shape.
5. Using a Dial Indicator Mount the dial indicator securely on a stable part of the brake assembly. Rotate the drum slowly and observe the indicator reading. The variation (or runout) shown on the dial will reveal how much the drum is out of round. A rule of thumb is that a runout exceeding 0.030 inches may be considered excessive.
6. Document Your Findings Record all your measurements systematically. This documentation will help you determine if the drum needs resurfacing or replacement.
Conclusion and Recommendations
Measuring the out-of-round condition of a brake drum is a straightforward process that can have significant implications for vehicle safety. Regular inspection and maintenance can help prevent brake failure and ensure that your vehicle operates smoothly.
If your brake drum is found to be out of round, the recommended course of action is to have it resurfaced or replaced. Resurfacing can restore the drum to a usable condition, but if the drum is excessively worn or damaged, replacement is the safest option. Always consult your vehicle’s service manual for specific measurements and procedures related to your particular model.
Keep in mind that brake components are essential for safe driving. If you're unsure about performing this measurement yourself, consider seeking assistance from a professional mechanic. Regular maintenance and timely repairs will enhance your vehicle's performance, ensuring a safer driving experience for you and others on the road.
-
Scania Brake Drums: OEM Quality for Optimal Safety & Durability
NewsAug.16,2025
-
R.V.I: Advanced Remote Visual Inspection for Precision
NewsAug.15,2025
-
Discover HYUNDA: Innovative Vehicles, Equipment & Solutions
NewsAug.14,2025
-
R.V.I: Unlock Advanced Insights & Real-time Performance
NewsAug.13,2025
-
Kamaz Brake Drum: Durable & Reliable for Heavy Duty Trucks
NewsAug.12,2025
-
Heavy Duty Iveco Brake Drum - Premium Quality & Safety
NewsAug.11,2025
