Nov . 09, 2024 01:58 Back to list
Guidelines for Assessing Wear on Brake Drums and Maintaining Vehicle Safety
How to Measure Brake Drum Wear
Brake system maintenance is essential for ensuring vehicle safety, and one of the key components in this system is the brake drum. Over time, brake drums can wear down due to friction, heat, and general usage, leading to reduced braking efficiency and potential safety hazards. Therefore, knowing how to measure brake drum wear is crucial for every vehicle owner or mechanic. In this article, we will outline the process of measuring brake drum wear, the tools required, and some important considerations to keep in mind.
Understanding Brake Drums
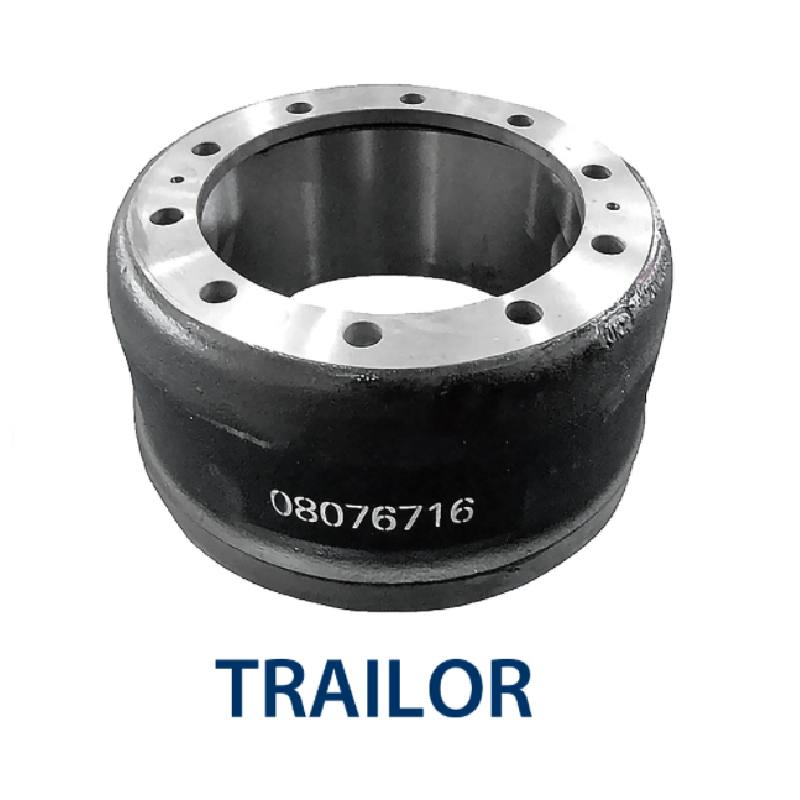
Brake drums are part of a drum brake system, which uses friction to slow down or stop the vehicle. The brake shoes press against the inner surface of the drum, generating friction to create stopping power. Over time, this friction causes wear on the brake drum, altering its shape and size. Monitoring this wear is vital to maintain optimal braking performance and ensure the safety of the vehicle.
Tools Required
Before embarking on the task of measuring brake drum wear, it is essential to gather the necessary tools
1. Caliper Gauge This tool is used to measure the diameter of the brake drum accurately. 2. Micrometer A more precise instrument that can provide detailed measurements of drum thickness. 3. Dial Indicator For checking any out-of-roundness, which may affect the performance of the brake system. 4. Ruler or Measuring Tape A basic tool for rough measurements. 5. Protective Gear Gloves and safety glasses to ensure safety during the inspection process.
Steps to Measure Brake Drum Wear
1. Prepare the Vehicle Start by parking the vehicle on a level surface and ensuring the parking brake is engaged. This safety step prevents the vehicle from rolling while you work.
how to measure brake drum wear

2. Remove the Wheel To access the brake drum, you must first remove the wheel. Use a lug wrench to loosen and remove the lug nuts, and then safely lift the vehicle with a jack.
3. Inspect the Brake Drum Once the wheel is removed, visually inspect the brake drum for signs of wear, cracking, or scoring. Look for any noticeable grooves or a discolored surface, which can indicate wear.
4. Measure the Diameter Use a caliper gauge to measure the outer diameter of the brake drum. Take multiple measurements around the drum since it can wear unevenly. The acceptable maximum diameter is typically specified by the manufacturer and is often found in the vehicle’s service manual.
5. Check for Out-of-Roundness Using a dial indicator, check for any out-of-roundness in the drum. Place the dial indicator against the surface of the drum and rotate it. Any significant variation in the readings may indicate that the drum is out of round and requires machining or replacement.
6. Measure the Thickness With a micrometer, measure the thickness of the brake drum. Make sure to measure at multiple points to ensure even wear. Again, compare these measurements to the manufacturer's specifications. Most manufacturers will provide minimum thickness tolerances, and if the drum is worn beyond this threshold, it must be replaced.
7. Document the Measurements Keep a record of all measurements taken for future reference and to assist in the decision-making process regarding repairs or replacements.
Conclusion
Measuring brake drum wear is critical in maintaining a vehicle’s braking system. By regularly inspecting and measuring brake drums, vehicle owners can ensure that their brakes remain effective and safe. Remember to consult the vehicle’s service manual for specific measurements and guidelines and always follow safety procedures while performing vehicle maintenance. If you find that the brake drums are excessively worn or damaged, it is advisable to consult a professional mechanic for further inspection and necessary repairs. Regular maintenance not only enhances safety but also prolongs the lifespan of your vehicle’s braking system, ensuring a smooth and worry-free driving experience.
-
ROR Web Development: Build Fast, Scalable, Secure Apps
NewsAug.17,2025
-
Scania Brake Drums: OEM Quality for Optimal Safety & Durability
NewsAug.16,2025
-
R.V.I: Advanced Remote Visual Inspection for Precision
NewsAug.15,2025
-
Discover HYUNDA: Innovative Vehicles, Equipment & Solutions
NewsAug.14,2025
-
R.V.I: Unlock Advanced Insights & Real-time Performance
NewsAug.13,2025
-
Kamaz Brake Drum: Durable & Reliable for Heavy Duty Trucks
NewsAug.12,2025
