Dec . 17, 2024 11:41 Back to list
Methods for Determining the Size of Trailer Brake Drum Components
How to Measure Trailer Brake Drum Size
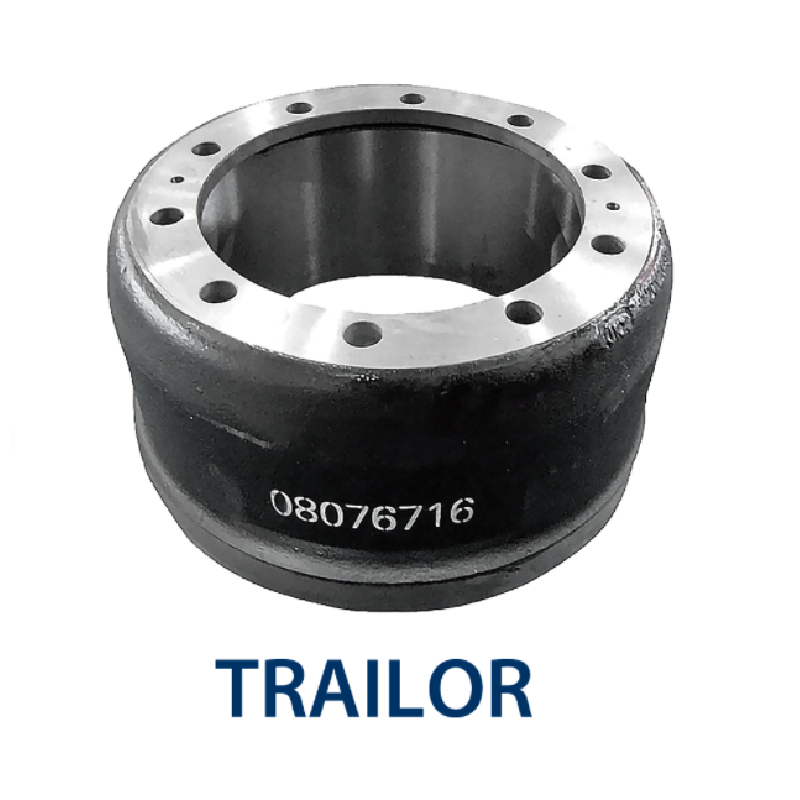
When it comes to maintaining your trailer, one of the essential components to consider is the brake system, specifically the brake drums. Accurately measuring the brake drum size is crucial for proper replacement and repair. Whether you are replacing old drums or upgrading to better-performing ones, knowing how to measure them is key. In this guide, we will walk you through the steps to accurately measure trailer brake drum size.
Understanding Brake Drum Basics
Before diving into the measurement process, it’s important to understand what a brake drum is. The brake drum is part of the drum brake system, which uses friction to slow down or stop the trailer. Each drum houses a set of brake shoes that press against the inside of the drum to create friction when you apply the brakes. Choosing the right size drum ensures that the braking system operates efficiently and safely.
Tools You Will Need
To measure the brake drum size, gather the following tools 1. Caliper or Measuring Tape A digital caliper is preferred for precision, but a standard measuring tape can also work. 2. Flat Surface Ensure the trailer is on a level surface to prevent any movement while measuring. 3. Safety Gear Gloves and safety glasses for protection.
Steps to Measure Brake Drum Size
1. Prepare the Trailer Ensure that the trailer is securely parked and the wheels are chocked to prevent any movement. Also, make sure to wear your safety gear.
how to measure trailer brake drum size

2. Remove the Wheel To access the brake drums, you will need to remove the wheel. Use a jack to lift the trailer and secure it with jack stands for safety. Once the trailer is stable, remove the lug nuts and take off the wheel to expose the brake drum.
3. Clean the Brake Drum Before measuring, clean the brake drum’s surface to remove any dirt or debris. This allows for more accurate measurements.
4. Measure the Diameter - Use your caliper or measuring tape to measure the diameter of the brake drum. Place the measuring tool across the widest part of the drum, ensuring that it is perpendicular to the axis of the drum. - Note the measurement in inches or millimeters, depending on your preference or the specifications provided by the manufacturer.
5. Measure the Width - Next, measure the width of the drum. Again, use your caliper or tape measure. Place it across the width from one side to the other, ensuring that it is straight and not angled. - Record this measurement as well.
6. Check for Additional Measurements Some brake drums may require additional measurements, such as the hub diameter or bolt pattern. If necessary, measure these dimensions as well, as they are critical for ensuring proper fitment with the brake assembly.
7. Record Your Measurements Make sure to write down all measurements clearly. This data will be crucial when purchasing new drums or consulting with a technician.
Conclusion
Measuring the trailer brake drum size may seem like a daunting task, but it is a manageable one that is crucial for ensuring the safety and functionality of your trailer. By taking the time to accurately measure the diameter and width of the brake drums, you will be able to make informed decisions when it comes to replacements or upgrades. Remember, proper maintenance of your trailer's braking system not only improves performance but also enhances overall safety on the road. If you are unsure or uncomfortable with measuring the brake drum yourself, consult with a professional mechanic who can assist you. Safe travels!
-
ROR Web Development: Build Fast, Scalable, Secure Apps
NewsAug.17,2025
-
Scania Brake Drums: OEM Quality for Optimal Safety & Durability
NewsAug.16,2025
-
R.V.I: Advanced Remote Visual Inspection for Precision
NewsAug.15,2025
-
Discover HYUNDA: Innovative Vehicles, Equipment & Solutions
NewsAug.14,2025
-
R.V.I: Unlock Advanced Insights & Real-time Performance
NewsAug.13,2025
-
Kamaz Brake Drum: Durable & Reliable for Heavy Duty Trucks
NewsAug.12,2025
