Sep . 28, 2024 13:53 Back to list
how to measure trailer brake drum size
How to Measure Trailer Brake Drum Size
Measuring the brake drum size of a trailer is an essential task for maintaining safety and ensuring optimal performance. Accurate measurements help in selecting the right replacement parts, improving braking efficiency, and extending the lifespan of the braking system. Here’s a step-by-step guide on how to measure trailer brake drum size properly.
Tools Needed
Before you begin, gather the necessary tools - A tape measure or caliper - A ruler (if necessary) - A notepad and pen for taking notes
Step 1 Safety First
Before you proceed with measuring, make sure to park the trailer on a level surface and engage the parking brake. If you have access to jack stands, consider lifting the trailer to get better access to the brake drums. Make sure to wear appropriate safety gear, such as gloves and safety glasses.
Step 2 Locate the Brake Drum
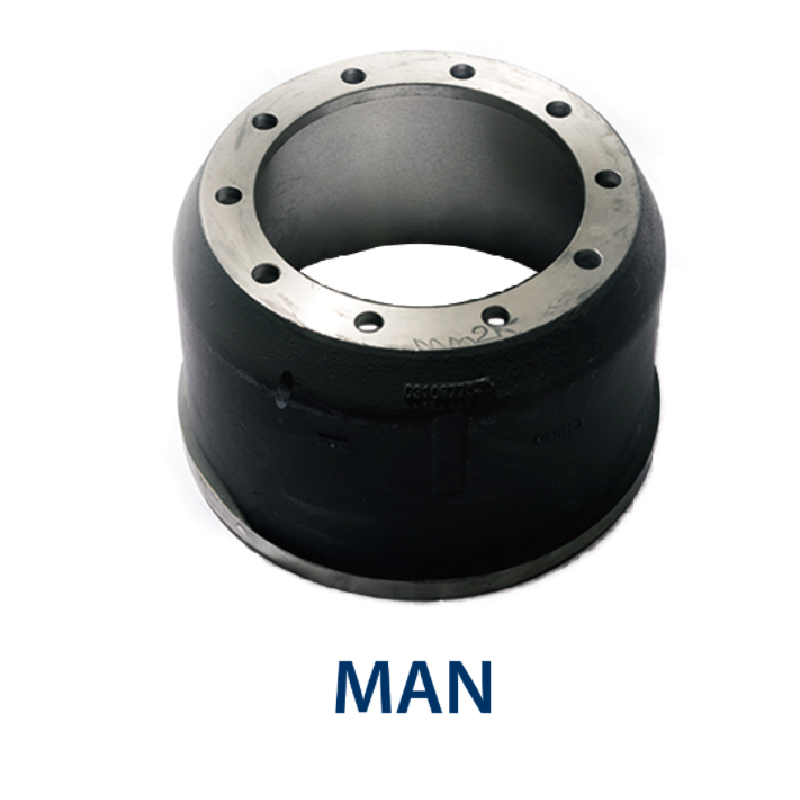
Typically, the brake drums are located behind the wheel hubs. You may need to remove a wheel to access the brake drum easily. Use a lug wrench to loosen and remove the wheel nuts, then carefully take off the wheel.
Step 3 Measure the Diameter
To measure the diameter of the brake drum, you’ll want to take an accurate measurement across the widest part of the drum. Here’s how
how to measure trailer brake drum size

1. Position the Tape Measure Place the tape measure or caliper at one edge of the drum and extend it straight across to the opposite edge. 2. Record the Measurement Make sure the measurement is taken at the widest point and note down the diameter. Brake drums are typically measured in inches, so ensure your measurement reflects this accurately.
Step 4 Measure the Width
Next, you’ll want to determine the width of the drum
1. Measuring Width Measure the width by placing the tape measure along the edge of the drum going inwards, perpendicular to the diameter measurement. 2. Note the Width Like with the diameter, record the width in inches.
Step 5 Check for Part Numbers
In some cases, you may find identifying numbers or stamps on the drum itself. If present, these numbers can be extremely useful for determining the appropriate replacement part. Take clear notes or photographs of any part numbers you find.
Step 6 Comparison with Specifications
Once you have the measurements, compare them to the specifications of your trailer’s brake system. This information may be found in the owner's manual or through your trailer manufacturer’s website. Ensure that the sizes match to confirm that the drums are the correct fit for your braking system.
Conclusion
Measuring the brake drum size on your trailer is a straightforward process that can save you time and money when replacing parts. With the right tools and a bit of care, you can ensure that your braking system remains functional and safe, allowing for a smoother and more secure towing experience. Regular checks and maintenance of your trailer’s braking components are vital for safe travels on the road.
-
ROR Web Development: Build Fast, Scalable, Secure Apps
NewsAug.17,2025
-
Scania Brake Drums: OEM Quality for Optimal Safety & Durability
NewsAug.16,2025
-
R.V.I: Advanced Remote Visual Inspection for Precision
NewsAug.15,2025
-
Discover HYUNDA: Innovative Vehicles, Equipment & Solutions
NewsAug.14,2025
-
R.V.I: Unlock Advanced Insights & Real-time Performance
NewsAug.13,2025
-
Kamaz Brake Drum: Durable & Reliable for Heavy Duty Trucks
NewsAug.12,2025
