Dec . 20, 2024 23:53 Back to list
how to remove a brake drum
How to Remove a Brake Drum A Step-by-Step Guide
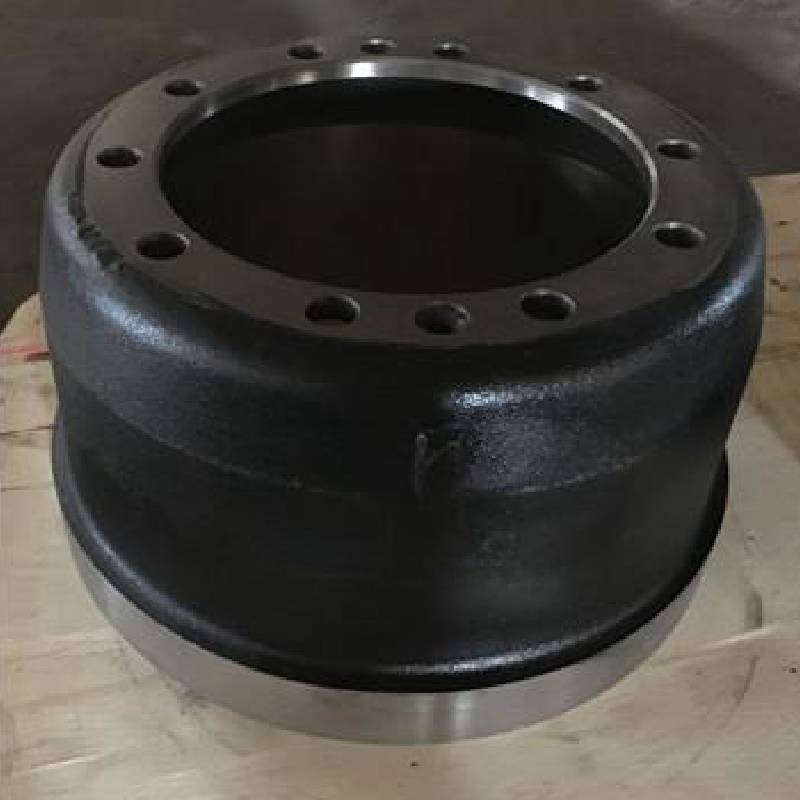
Removing a brake drum may seem daunting, but with the right tools and a bit of patience, you can complete this task yourself. Brake drums are a crucial component of a vehicle's braking system, especially in older models. If you're experiencing issues such as noise or a lack of stopping power, it might be time to inspect or replace your brake drums. Here’s a comprehensive guide to help you remove a brake drum safely and effectively.
Tools and Materials Needed
Before you begin, gather the necessary tools and materials
- A jack and jack stands - A lug wrench - A brake drum puller (if required) - A screwdriver - A hammer - Clean rag - Brake cleaner - Safety goggles - Gloves
Step-by-Step Removal Process
1. Safety First Begin by placing your safety goggles and gloves on. Safety is paramount when performing any auto repair.
2. Loosen the Lug Nuts If your vehicle has hubcaps, remove them to access the lug nuts. Using the lug wrench, slightly loosen the lug nuts on the wheel where you need to remove the brake drum. Do not remove them completely at this stage.
3. Lift the Vehicle Using the jack, lift the vehicle and secure it with jack stands. Make sure the vehicle is stable before crawling underneath or working on it.
how to remove a brake drum

4. Remove the Wheel Now that the vehicle is securely lifted, finish removing the lug nuts and take off the wheel. Set the wheel aside in a safe location.
5. Inspect the Brake Drum Before removing the drum, inspect it for any external damage or wear. In some cases, rust or debris can make removal difficult.
6. Remove the Brake Drum - In many cases, the drum can be pulled off by hand. Grasp the edges of the drum and pull it straight outwards. If it resists, it may be due to rust or dirt buildup. - If the drum is stuck, use a hammer to gently tap around the drum's perimeter. This can help break the bond of rust and allow for easier removal. - In situations where the drum is particularly stubborn, a brake drum puller may be necessary. Follow the manufacturer's instructions to attach the puller and remove the drum without damaging other components.
7. Check the Shoes and Hardware Once the drum is removed, check the brake shoes and hardware for wear and tear. This is a good opportunity to inspect the condition of the springs, adjusters, and wheel cylinder.
8. Cleaning Before proceeding with installation or replacement of parts, clean the brake drum and area with a brake cleaner. Make sure to remove any debris or grease to ensure smooth operation.
9. Installation or Replacement If you plan to install a new drum or replace the brake shoes, do so according to the manufacturer’s specifications. Ensure that all components fit snugly and that the hardware is secure.
10. Reassembly Reattach the wheel to the hub, tightening the lug nuts by hand. Once everything is back in place, lower the vehicle and tighten the lug nuts to the manufacturer’s torque specification.
Conclusion
Removing a brake drum is a manageable task if you approach it methodically. Remember that safety should always be your priority—working on a vehicle can pose risks if the correct precautions are not taken. By following these steps, you can effectively inspect, clean, or replace your brake drum, helping to ensure your vehicle operates safely and efficiently. If at any point you feel unsure, don’t hesitate to consult a professional mechanic for assistance.
-
ROR Web Development: Build Fast, Scalable, Secure Apps
NewsAug.17,2025
-
Scania Brake Drums: OEM Quality for Optimal Safety & Durability
NewsAug.16,2025
-
R.V.I: Advanced Remote Visual Inspection for Precision
NewsAug.15,2025
-
Discover HYUNDA: Innovative Vehicles, Equipment & Solutions
NewsAug.14,2025
-
R.V.I: Unlock Advanced Insights & Real-time Performance
NewsAug.13,2025
-
Kamaz Brake Drum: Durable & Reliable for Heavy Duty Trucks
NewsAug.12,2025
