Nov . 14, 2024 01:55 Back to list
how to remove a stuck brake drum
How to Remove a Stuck Brake Drum A Comprehensive Guide
Removing a stuck brake drum can be a daunting task for both novice and experienced DIYers. However, with the right tools, techniques, and a little patience, you can successfully detach the drum and get back to your automotive project. This guide will walk you through the steps involved in safely and efficiently removing a stuck brake drum.
Understanding Brake Drums
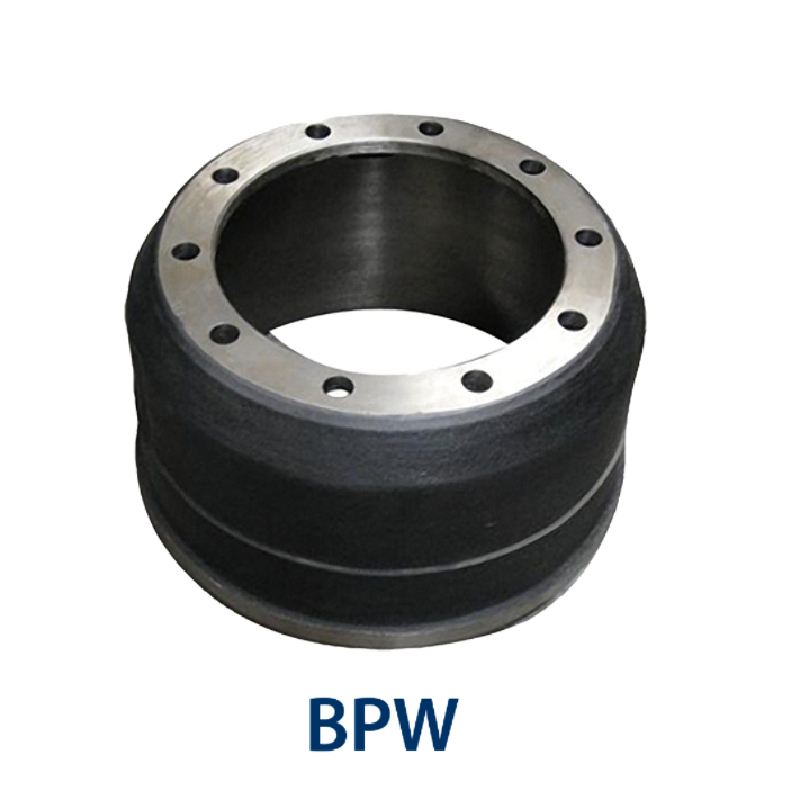
Brake drums are essential components of a vehicle's braking system, particularly in older models and some trucks. They house the brake shoes, which press against the drum to create the friction needed to slow down or stop the vehicle. Over time, corrosion, rust, or the wearing out of the brake shoes can cause the drum to become stuck, making removal difficult.
Tools You’ll Need
Before you start, gather the following tools
- Jack and jack stands - Lug wrench - Screwdriver (flat-head and Phillips) - Brake drum puller - Hammer - Spray lubricant (like WD-40) - Safety goggles and gloves
Steps to Remove a Stuck Brake Drum
1. Safety First Park your vehicle on a flat surface, engage the parking brake, and wear safety goggles and gloves throughout the process to protect yourself from debris and sharp edges.
2. Loosen the Wheel Lug Nuts Use a lug wrench to loosen the lug nuts slightly while the vehicle is still on the ground. Do not remove them yet; just break the initial resistance.
3. Lift the Vehicle Using the jack, lift the vehicle at the appropriate lifting points. Once elevated, secure it with jack stands to ensure it remains stable during the process.
how to remove a stuck brake drum

4. Remove the Wheel Finish removing the loosened lug nuts and take off the wheel to expose the brake assembly and drum.
5. Inspect the Brake Assembly Before attempting to remove the drum, check for any visible damage or issues with the brake shoes. Press on the brake pedal gently to see if the shoes are retracting properly.
6. Apply Lubricant If the drum appears stuck due to rust or corrosion, spray a generous amount of lubricant around the drum where it meets the backing plate. Allow it to seep in for a few minutes.
7. Use a Hammer Gently tap around the circumference of the drum with a hammer. This can help to break the rust bond. Be careful not to hit too hard, as this could damage the drum or the brake assembly.
8. Install a Brake Drum Puller If the drum still won’t budge, consider using a brake drum puller. Attach the puller to the drum according to the manufacturer's instructions. Slowly turn the central screw to apply pressure, which should help pry the drum off.
9. Check for Adjuster Sometimes, the brake shoes’ adjusters can also prevent the drum from coming off. Locate the adjuster wheel (often accessible through an opening in the drum) and turn it to retract the shoes slightly.
10. Remove the Drum After applying lubricant, tapping, and using the puller, the drum should come free. If it doesn’t, recheck for any other retaining screws or clips that may be holding it in place.
11. Clean and Inspect Once removed, clean the inside of the drum and inspect it for wear or damage. This is a good time to replace the brake shoes or any other worn components.
Conclusion
Removing a stuck brake drum can be challenging, but by following the steps outlined above, you can tackle this task with confidence. Always prioritize safety and take your time to avoid damage to the drum or brake components. If you continue to experience difficulty even after trying these techniques, it’s wise to consult a professional mechanic for assistance. With patience and the right approach, you’ll have your brake system back in top shape in no time.
-
Scania Brake Drums: OEM Quality for Optimal Safety & Durability
NewsAug.16,2025
-
R.V.I: Advanced Remote Visual Inspection for Precision
NewsAug.15,2025
-
Discover HYUNDA: Innovative Vehicles, Equipment & Solutions
NewsAug.14,2025
-
R.V.I: Unlock Advanced Insights & Real-time Performance
NewsAug.13,2025
-
Kamaz Brake Drum: Durable & Reliable for Heavy Duty Trucks
NewsAug.12,2025
-
Heavy Duty Iveco Brake Drum - Premium Quality & Safety
NewsAug.11,2025
