Dec . 06, 2024 16:04 Back to list
Steps to Take Off a Trailer Brake Drum Efficiently and Safely
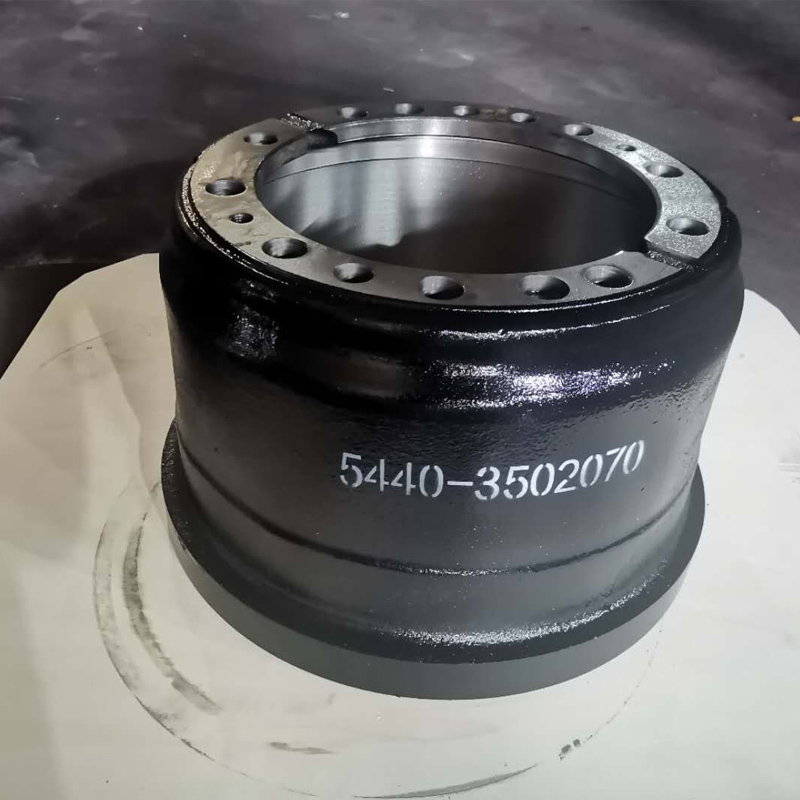
How to Remove a Trailer Brake Drum
Removing a trailer brake drum can seem daunting, but with the right tools and techniques, it can be accomplished effectively and safely. This guide will walk you through the steps needed to remove a trailer brake drum, ensuring you are well-prepared for the process.
Tools and Materials Needed
Before beginning the removal process, gather the following tools and materials
- Socket set - Wrenches - Screwdrivers (flathead and Phillips) - Brake cleaner - Wire brush - Safety glasses - Mechanic's gloves - Hammer (if necessary) - Replacement parts (if applicable)
Having everything ready will make the process smoother and more efficient.
Step-by-Step Guide
1. Safety First
Start by ensuring your safety. Make sure the trailer is parked on a level surface, and engage the parking brake. Use wheel chocks to prevent the trailer from rolling. Wear safety glasses and gloves to protect yourself from debris and sharp edges.
2. Remove the Wheel
Before accessing the brake drum, you need to remove the wheel. To do this
- Loosen the lug nuts slightly while the wheel is still on the ground. - Lift the trailer using a jack and secure it with jack stands. - Fully remove the lug nuts and take off the wheel.
3. Inspect the Brake Components
With the wheel removed, inspect the brake components for any visible damage or wear. It’s a good opportunity to check the brake pads, shoes, and overall condition before proceeding to remove the drum.
how to remove a trailer brake drum

4. Remove the Brake Drum
The next step is to detach the brake drum
- Look for the retaining screws or bolts securing the drum to the hub. Use the appropriate socket or wrench to remove these. - If the drum appears stuck, it might be due to rust or residual brake dust. Gently tap around the drum's perimeter with a hammer to free it. - If after tapping it doesn't budge, try using a drum puller, which can help in applying even pressure to remove the drum more easily.
5. Clean the Brake Components
Once the drum is removed, take the opportunity to clean the brake components. Use brake cleaner and a wire brush to remove dust and debris from the drum, shoes, and backing plate. This helps maintain the overall performance of your braking system and ensures longevity.
6. Inspect and Replace Parts
After cleaning, inspect the brake drum for any signs of wear or damage. Look for grooves, cracks, or excessive scoring. If the drum is worn beyond specifications, it may need to be resurfaced or replaced entirely. Check the brake shoes as well; if they are worn to or below the manufacturer's specifications, they should also be replaced.
7. Reassemble
If everything is in good condition, reassemble the brake system by reversing the removal process. Attach the drum securely, ensuring that any retaining screws or bolts are tightened to the manufacturer's specifications. Reinstall the wheel, ensuring all lug nuts are tightened properly.
8. Test the Trailer Brakes
Before you hit the road, test the trailer brakes by carefully lowering the trailer back to the ground and applying the brakes to ensure everything is functioning correctly.
Conclusion
Removing a trailer brake drum is a straightforward process that, when done correctly, can help maintain the efficiency and safety of your trailer’s braking system. Always remember to prioritize safety and consider consulting a professional if you’re unsure about any step in the process. Regular maintenance of your trailer brakes can save you from costly repairs in the long run and keep you safe on the road.
-
ROR Web Development: Build Fast, Scalable, Secure Apps
NewsAug.17,2025
-
Scania Brake Drums: OEM Quality for Optimal Safety & Durability
NewsAug.16,2025
-
R.V.I: Advanced Remote Visual Inspection for Precision
NewsAug.15,2025
-
Discover HYUNDA: Innovative Vehicles, Equipment & Solutions
NewsAug.14,2025
-
R.V.I: Unlock Advanced Insights & Real-time Performance
NewsAug.13,2025
-
Kamaz Brake Drum: Durable & Reliable for Heavy Duty Trucks
NewsAug.12,2025
