Nov . 24, 2024 07:25 Back to list
Steps to Effectively Remove a Brake Drum for Vehicle Maintenance and Repair
How to Remove a Brake Drum A Step-by-Step Guide
Removing a brake drum might seem daunting, but with the right tools and a little patience, it can be accomplished by any DIY enthusiast. This guide will walk you through the process, ensuring your safety and the correct handling of your vehicle's braking system. Remember, working on your brakes is crucial for your vehicle's safety and performance, so proceed with care.
Tools and Materials Needed
Before you start, gather the following tools and materials
- Jack and jack stands - Lug wrench - Brake cleaner - Pliers - Screwdriver - Rubber mallet (optional) - Torque wrench (for reassembly)
Step 1 Preparation
1. Ensure Safety First Make sure your car is parked on a flat surface, and engage the parking brake. Placing wheel chocks behind the front wheels (if you're working on the rear) can help prevent any movement.
2. Loosen the Lug Nuts Use the lug wrench to slightly loosen the lug nuts on the wheel that is attached to the brake drum. Do not remove them completely at this stage.
3. Lift the Vehicle Using a jack, lift the vehicle off the ground and securely position jack stands underneath it. Ensure that the stands are stable before continuing.
4. Remove the Wheel Now that the vehicle is secure, remove the loosened lug nuts entirely and take the wheel off to expose the brake drum.
Step 2 Remove the Brake Drum
1. Check for Retaining Screws Some brake drums are held in place by retaining screws. If you see one, use a screwdriver to remove it. If the screw is stuck, a little penetrating oil can help ease it off.
2. Inspect for Rust or Debris If the drum appears stuck, it may be due to rust or debris. A brake cleaner can help here. Spray it around the drum's edges and let it sit for a few minutes.
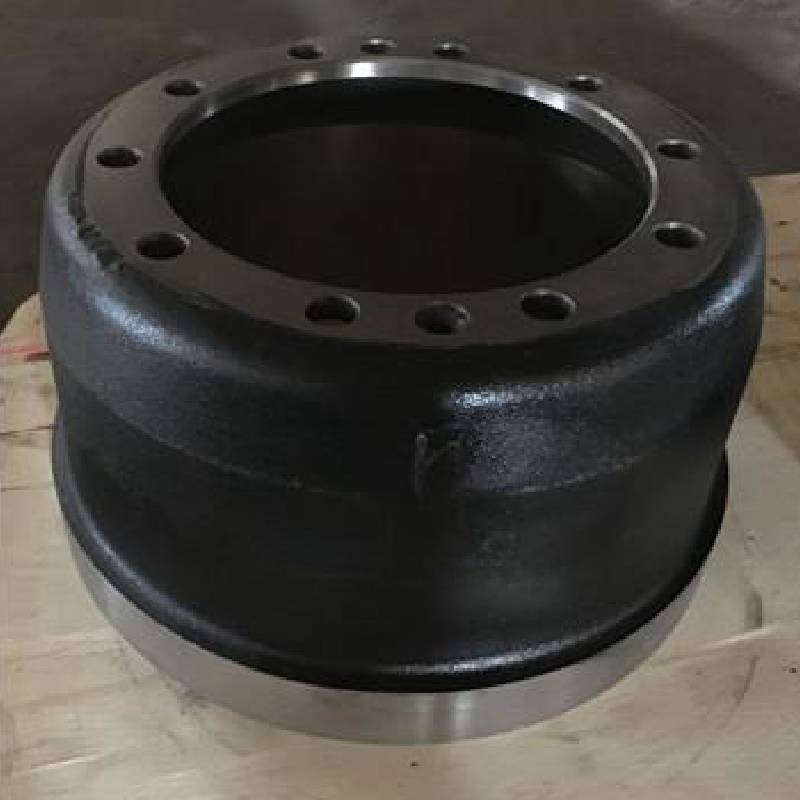
how to remove brake drum

3. Try Prizing It Off Gently wiggle and pull the brake drum while applying a little force. In case it still doesn’t budge, you might need to tap it lightly with a rubber mallet to break any corrosion or debris bond.
4. Use the Adjuster (if necessary) If the drum is still stuck, locate the adjuster mechanism (usually visible through a small access hole in the drum or backing plate). Turn the adjuster to retract the brake shoes slightly, creating more space for the drum to come off easily.
5. Remove the Drum Once you feel the drum loosen, you can pull it off completely. If you encounter resistance, check for any remaining retaining screws or obstructions.
Step 3 Inspect and Clean
1. Inspect Brake Shoes With the drum off, examine the brake shoes for wear and damage. If they’re worn beyond manufacturer specifications, it's advisable to replace them.
2. Clean the Drums If you plan to reuse the drum, clean it thoroughly with brake cleaner to remove dust, grease, and debris. This helps maintain effective braking performance.
Step 4 Reassembly
1. Reinstall the Drum If everything looks good and clean, place the brake drum back onto the hub, ensuring it sits evenly.
2. Secure with Retaining Screws If applicable, replace any retaining screws, and make sure they are snug.
3. Reattach the Wheel Place the wheel back over the drum, hand-tighten the lug nuts, and then use a torque wrench to tighten them to the manufacturer’s specifications.
4. Lower the Vehicle Carefully remove the jack stands and lower the vehicle back to the ground.
5. Final Checks After reassembly, pump the brake pedal a few times to ensure proper placement and functionality of the brake components.
By following these steps, you can successfully remove and inspect your brake drum, making maintenance simpler and safer for your vehicle. Remember, if you feel uncomfortable at any point, it’s always a good idea to consult a professional mechanic. Safe driving!
-
ROR Web Development: Build Fast, Scalable, Secure Apps
NewsAug.17,2025
-
Scania Brake Drums: OEM Quality for Optimal Safety & Durability
NewsAug.16,2025
-
R.V.I: Advanced Remote Visual Inspection for Precision
NewsAug.15,2025
-
Discover HYUNDA: Innovative Vehicles, Equipment & Solutions
NewsAug.14,2025
-
R.V.I: Unlock Advanced Insights & Real-time Performance
NewsAug.13,2025
-
Kamaz Brake Drum: Durable & Reliable for Heavy Duty Trucks
NewsAug.12,2025
