
Feb . 14, 2025 07:44 Back to list
how to remove brake drum
Removing a brake drum is a task that many DIY enthusiasts and professional mechanics encounter. Despite being a fundamental maintenance procedure, it requires a blend of practical experience, technical expertise, authoritative guidelines, and trust in the methods used. Here is a comprehensive guide crafted to provide essential insights into how to remove a brake drum safely and effectively.
5. Releasing the Brake Drum The brake drum may be held in place due to rust or debris. This is where the rubber mallet comes in. Lightly tap around the perimeter of the drum to break any bonds created by rust and corrosion. If the drum remains firmly in place, proceed with using a brake drum puller. Attach the puller to the drum and carefully tighten it to apply pressure, gradually pulling the drum away from the axle. 6. Addressing Stubborn Drums Some drums are more challenging to remove due to embedded rust or wear. If standard methods don’t work, use a penetrating oil to help loosen the drum. Allow the penetrating oil sufficient time to work its way between the drum and the hub, making subsequent attempts at removal easier. 7. Final Removal Once the drum is loosened, continue gently pulling and tapping until it comes free. Be cautious to prevent damage to surrounding components and to protect against injury from sharp edges or sudden movements of the parts. 8. Post-Removal Inspection With the brake drum successfully removed, it's crucial to inspect the inside of the drum and the brake shoes. Check for wear and ensure that all components are in optimal condition. If replacement or repair is needed, now is the time to address it. This methodical approach to removing a brake drum leverages a combination of practical experience and technical insight, providing a roadmap that is both authoritative and trustworthy. It's important to maintain an environment of safety and precision throughout the task, taking care to avoid shortcuts that compromise results. Regular maintenance, including the removal and inspection of brake drums, is vital to vehicle safety and performance, reinforcing the reliability and efficiency of your vehicle's braking system.

5. Releasing the Brake Drum The brake drum may be held in place due to rust or debris. This is where the rubber mallet comes in. Lightly tap around the perimeter of the drum to break any bonds created by rust and corrosion. If the drum remains firmly in place, proceed with using a brake drum puller. Attach the puller to the drum and carefully tighten it to apply pressure, gradually pulling the drum away from the axle. 6. Addressing Stubborn Drums Some drums are more challenging to remove due to embedded rust or wear. If standard methods don’t work, use a penetrating oil to help loosen the drum. Allow the penetrating oil sufficient time to work its way between the drum and the hub, making subsequent attempts at removal easier. 7. Final Removal Once the drum is loosened, continue gently pulling and tapping until it comes free. Be cautious to prevent damage to surrounding components and to protect against injury from sharp edges or sudden movements of the parts. 8. Post-Removal Inspection With the brake drum successfully removed, it's crucial to inspect the inside of the drum and the brake shoes. Check for wear and ensure that all components are in optimal condition. If replacement or repair is needed, now is the time to address it. This methodical approach to removing a brake drum leverages a combination of practical experience and technical insight, providing a roadmap that is both authoritative and trustworthy. It's important to maintain an environment of safety and precision throughout the task, taking care to avoid shortcuts that compromise results. Regular maintenance, including the removal and inspection of brake drums, is vital to vehicle safety and performance, reinforcing the reliability and efficiency of your vehicle's braking system.
Latest news
-
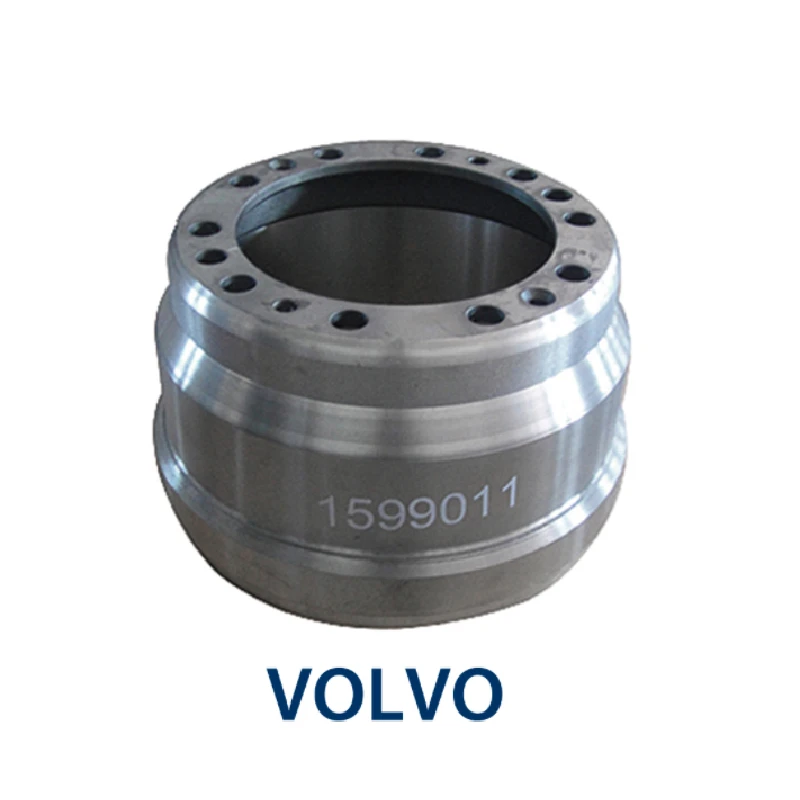
Volvo Brake Drum: OEM Quality, Optimal Safety
NewsAug.27,2025
-
Durable Brake Drum MAZ for Heavy Duty Trucks | High Performance
NewsAug.26,2025
-
FUWA: Premium Quality, Reliable Performance & Innovative Solutions
NewsAug.25,2025
-
Liza Brake Drum: Superior Quality & Performance for Safe Driving
NewsAug.24,2025
-
Iveco Brake Drum | Premium OE Quality for Daily & Eurocargo
NewsAug.22,2025
-
Your Brake Drum Man: Quality & Performance Parts
NewsAug.21,2025