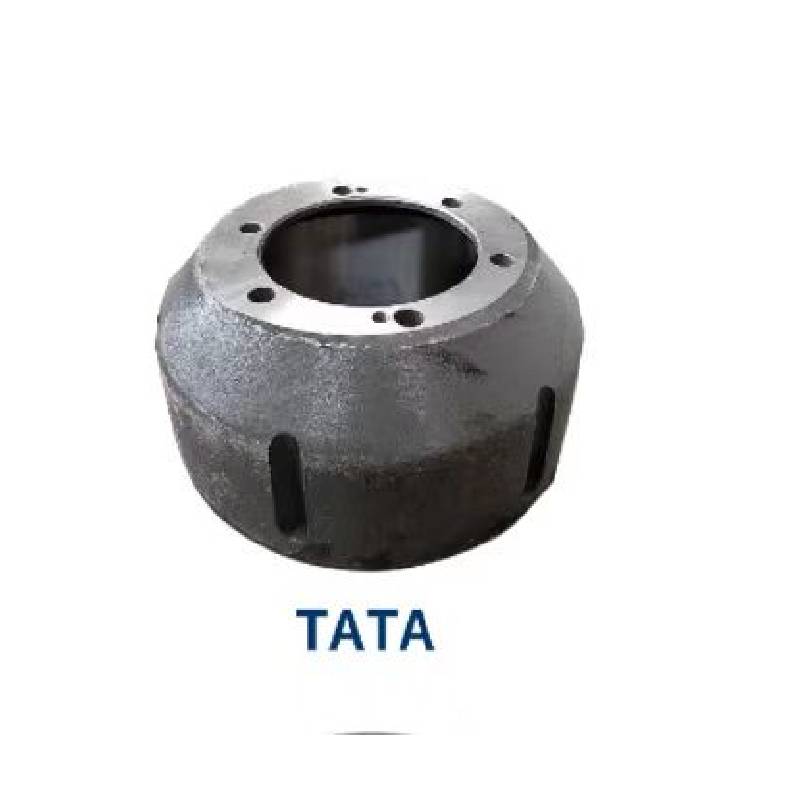
Oct . 08, 2024 11:53 Back to list
Steps for Safely Removing a Brake Drum from Your Vehicle
How to Remove a Brake Drum A Step-by-Step Guide
Removing a brake drum may seem like a daunting task, but with the right tools and some patience, you can do it yourself. Whether you’re replacing your brake shoes or inspecting your brakes, this guide will walk you through the process safely and effectively.
Tools and Materials Needed
Before you start, gather the following tools - Jack and jack stands - Lug wrench - Brake drum puller (if necessary) - Basic hand tools (screwdriver, pliers, etc.) - Brake cleaner - Rags or towels
Safety First
Always prioritize safety when working on your vehicle. Park the car on a flat surface, engage the parking brake, and wear appropriate safety gear, such as gloves and goggles.
Step 1 Loosen the Lug Nuts
Begin by using the lug wrench to loosen the lug nuts on the wheel corresponding to the brake drum you intend to remove. Loosen them slightly but do not remove them yet.
Step 2 Lift the Vehicle
Next, use a jack to lift the car off the ground. Once elevated, place jack stands under the vehicle to ensure it is securely supported. Make sure the car is stable before proceeding.
Step 3 Remove the Wheel
Now it’s time to remove the wheel. Finish loosening the lug nuts and remove them completely. Carefully take off the wheel and set it aside. With the wheel off, you should have direct access to the brake drum.
Step 4 Inspect the Brake Drum
Before removing the brake drum, inspect its condition. Look for any signs of wear or damage. If it appears to be abnormal, consider replacing it instead of just removing it.
how to remove brake drum

Step 5 Remove the Brake Drum
In most cases, the brake drum can be pulled off easily. If it’s stuck, you may need to use a brake drum puller. Attach the puller according to its instructions and gradually tighten it until the drum loosens and can be removed.
If you do not have a puller and the drum is stuck, you can also try tapping the drum with a mallet gently around the edges to help loosen it.
Step 6 Clean the Area
Once the drum is off, take the opportunity to clean the brake assembly and the drum itself. Use brake cleaner and a rag to remove any dust or debris, as this will help maintain the functionality of your brakes.
Step 7 Install New Brake Shoes (if applicable)
If you’re also replacing brake shoes, this is the perfect time to do so. Follow the manufacturer's instructions for installation, ensuring everything is fitted correctly.
Step 8 Reassemble
After you’ve completed any necessary work, reassemble the brake drum by reversing the removal steps. Place the brake drum back onto the hub, and then reinstall the wheel.
Step 9 Lower the Vehicle
Finally, lower the vehicle back to the ground using the jack and remove the jack stands. Tighten the lug nuts securely in a crisscross pattern to ensure they are evenly tightened.
Conclusion
Removing a brake drum is a manageable task for any DIY enthusiast. By following these steps and taking your time, you can ensure that your brakes function safely and efficiently. If you encounter any difficulties, don’t hesitate to consult a professional mechanic for assistance.
-
ROR Web Development: Build Fast, Scalable, Secure Apps
NewsAug.17,2025
-
Scania Brake Drums: OEM Quality for Optimal Safety & Durability
NewsAug.16,2025
-
R.V.I: Advanced Remote Visual Inspection for Precision
NewsAug.15,2025
-
Discover HYUNDA: Innovative Vehicles, Equipment & Solutions
NewsAug.14,2025
-
R.V.I: Unlock Advanced Insights & Real-time Performance
NewsAug.13,2025
-
Kamaz Brake Drum: Durable & Reliable for Heavy Duty Trucks
NewsAug.12,2025
