Dec . 17, 2024 07:50 Back to list
how to remove brake drum from trailer
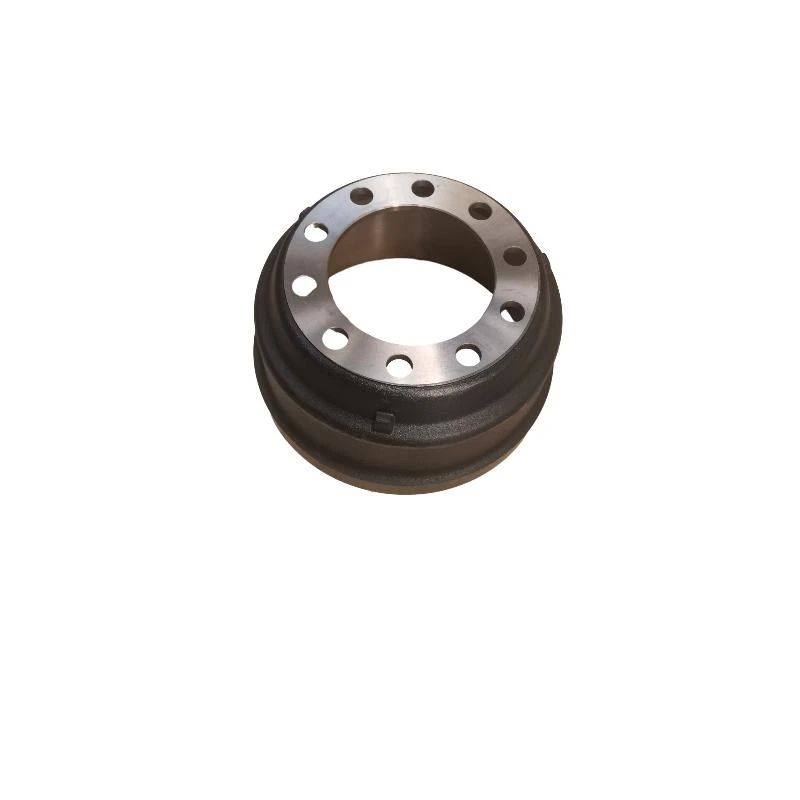
How to Remove Brake Drum from a Trailer A Step-by-Step Guide
Removing the brake drum from a trailer can seem daunting, especially for those who may not have extensive mechanical experience. However, with the right tools and a systematic approach, you can accomplish this task safely and efficiently. This guide will walk you through the necessary steps to remove the brake drum from your trailer.
Tools and Materials You Will Need
1. Jack and Jack Stands To lift the trailer securely. 2. Lug Wrench For removing the tire. 3. Brake Drum Puller Useful for easier drum removal, especially if the drum is stuck. 4. Hammer To help break any corrosion or rust bond. 5. Pliers For removing clips or springs if necessary. 6. Cleaning Cloths For wiping any grease or debris.
Safety First
Before you begin, always prioritize safety. Ensure that your trailer is on a flat, stable surface. Engage the parking brake and use wheel chocks to prevent any movement. Wear gloves and safety glasses to protect your hands and eyes from debris.
Step-by-Step Instructions
Step 1 Jack Up the Trailer
Begin by loosening the lug nuts slightly while the wheel is still on the ground. Once loosened, use the jack to lift the trailer and secure it with jack stands. Ensure the trailer is stable before moving on to the next step.
Step 2 Remove the Wheel
Using the lug wrench, fully remove the lug nuts and take off the wheel. Set the wheel aside in a safe place. At this point, you should have clear access to the brake drum.
Step 3 Inspect for Any Cotter Pins or Retaining Clips
how to remove brake drum from trailer

Before attempting to remove the brake drum, inspect the assembly for any cotter pins or retaining clips that may be holding the drum in place. If present, use pliers to carefully remove them. Keep these components in a safe spot for reassembly later.
Step 4 Attempt to Remove the Brake Drum
Try to pull the brake drum straight off the hub. If it does not come off easily, it may be stuck due to corrosion or wear. In such cases, you can use a brake drum puller to apply even pressure and help free the drum. Follow the tool instructions carefully.
Step 5 Use a Hammer if Necessary
If the drum still won’t budge, gently tap around the edges of the drum with a hammer. This can help to break the rust seal. Be cautious; excessive force can damage the brake components. Maintain a steady, controlled approach.
Step 6 Clean and Inspect
Once you have removed the brake drum, take the time to clean the area around the brakes. Inspect the drum and brake shoes for wear or damage. This is a good opportunity to replace any parts if necessary. Always consult your trailer’s manual for specific replacement parts and recommendations.
Step 7 Reinstallation
When you’re ready to reinstall the brake drum, simply reverse the removal process. Ensure that everything is clean and properly aligned. Don’t forget to reinsert any clips or cotter pins.
Conclusion
Removing a brake drum from a trailer is a manageable task that can be undertaken with the right tools and a little patience. Always follow safety precautions and refer to your trailer’s manual for specific instructions. With practice, maintaining your trailer’s braking system will become second nature, enhancing both your skills and safety on the road.
-
Scania Brake Drums: OEM Quality for Optimal Safety & Durability
NewsAug.16,2025
-
R.V.I: Advanced Remote Visual Inspection for Precision
NewsAug.15,2025
-
Discover HYUNDA: Innovative Vehicles, Equipment & Solutions
NewsAug.14,2025
-
R.V.I: Unlock Advanced Insights & Real-time Performance
NewsAug.13,2025
-
Kamaz Brake Drum: Durable & Reliable for Heavy Duty Trucks
NewsAug.12,2025
-
Heavy Duty Iveco Brake Drum - Premium Quality & Safety
NewsAug.11,2025
