
Feb . 12, 2025 01:43 Back to list
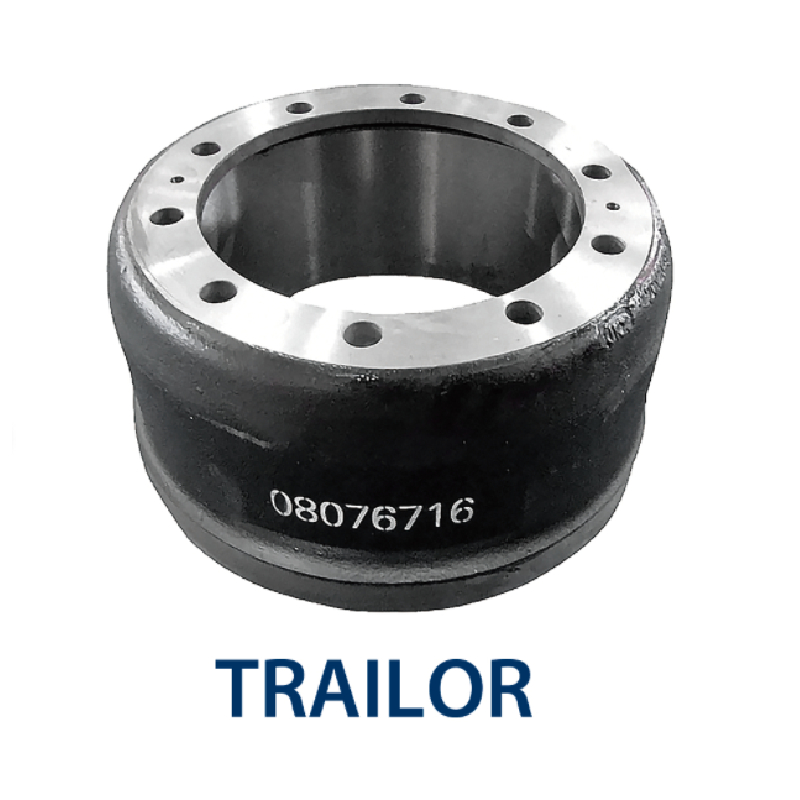
2014 mitsubishi mirage brake drum
Operating a Kawasaki Mule requires regular maintenance to ensure optimal performance and safety. One crucial aspect of maintenance is understanding how to remove the brake drum. This comprehensive guide delves into the precise steps and essential tips needed to accomplish this task professionally, drawing upon years of hands-on experience and mechanical expertise.
Once the brake drum is released, it's pivotal to conduct a thorough inspection of the inner components. Check the brake shoes and other related components for excessive wear or damage. Any segments showing signs of wear should be replaced to maintain optimal braking performance and safety. Reassembling the brake drum necessitates cleanliness and precision. Ensure that all components are free from dirt and debris before reinstallation. Position the brake drum back over the shoes and gently ensure it sits flush against the hub. Replace the wheel, hand-tightening the lug nuts to secure it temporarily. Removing the jack stand, cautiously lower the Mule back to its original position. Tighten the lug nuts in a crisscross pattern to ensure even pressure and avoid warping the wheel. Use a torque wrench for the best results, adhering to the manufacturer's specified torque settings for the Kawasaki Mule. Undertaking this task independently not only fosters a deeper understanding of your vehicle but also saves on repair costs. Yet, it's vital to recognize one’s own mechanical limitations and consult a professional mechanic if there are doubts or complications beyond personal expertise. Commitment to routine maintenance and meticulous attention to detail serves as the backbone to the longevity and performance of a Kawasaki Mule. By understanding and executing the correct procedures for brake drum removal, operators contribute towards safe and efficient vehicle operation, bolstering confidence in every journey they undertake.

Once the brake drum is released, it's pivotal to conduct a thorough inspection of the inner components. Check the brake shoes and other related components for excessive wear or damage. Any segments showing signs of wear should be replaced to maintain optimal braking performance and safety. Reassembling the brake drum necessitates cleanliness and precision. Ensure that all components are free from dirt and debris before reinstallation. Position the brake drum back over the shoes and gently ensure it sits flush against the hub. Replace the wheel, hand-tightening the lug nuts to secure it temporarily. Removing the jack stand, cautiously lower the Mule back to its original position. Tighten the lug nuts in a crisscross pattern to ensure even pressure and avoid warping the wheel. Use a torque wrench for the best results, adhering to the manufacturer's specified torque settings for the Kawasaki Mule. Undertaking this task independently not only fosters a deeper understanding of your vehicle but also saves on repair costs. Yet, it's vital to recognize one’s own mechanical limitations and consult a professional mechanic if there are doubts or complications beyond personal expertise. Commitment to routine maintenance and meticulous attention to detail serves as the backbone to the longevity and performance of a Kawasaki Mule. By understanding and executing the correct procedures for brake drum removal, operators contribute towards safe and efficient vehicle operation, bolstering confidence in every journey they undertake.
Latest news
-
Explore Japan: Ultimate Travel Guide & Authentic Experiences
NewsAug.19,2025
-
Your Brake Drum Man: Premium & Reliable Brake Drums for Sale
NewsAug.18,2025
-
ROR Web Development: Build Fast, Scalable, Secure Apps
NewsAug.17,2025
-
Scania Brake Drums: OEM Quality for Optimal Safety & Durability
NewsAug.16,2025
-
R.V.I: Advanced Remote Visual Inspection for Precision
NewsAug.15,2025
-
Discover HYUNDA: Innovative Vehicles, Equipment & Solutions
NewsAug.14,2025