Nov . 10, 2024 05:29 Back to list
Tips for Removing Stuck Brake Drums Effectively and Safely
How to Remove Stuck Brake Drums A Step-by-Step Guide
Brake drums play a crucial role in a vehicle's braking system, especially in older cars. However, over time, they can become stuck due to rust, debris, or worn-out components. Removing a stuck brake drum can be challenging, but with the right tools and techniques, you can accomplish this task safely and effectively. This guide will provide you with a comprehensive step-by-step process for removing stuck brake drums.
Tools and Materials Needed
1. Safety gear Gloves and safety goggles. 2. Basic tools A lug wrench, ratchet, and socket set. 3. Brass hammer or rubber mallet For tapping stubborn drums. 4. Brake cleaner To clean the drum and backing plate. 5. Pry bar or flathead screwdriver For leverage. 6. Drum puller (optional) For extra leverage, if needed. 7. Lubricant Penetrating oil for rusted components.
Step-by-Step Process
1. Safety First Before starting any work on your vehicle, ensure it is parked on a flat surface, and the parking brake is engaged. Wear safety gloves and goggles to protect yourself from debris and sharp edges.
2. Remove the Wheel Using the lug wrench, loosen the lug nuts on the wheel covering the brake drum. It’s often easier to loosen them while the vehicle is still on the ground. Once loosened, lift the vehicle with a jack and support it with jack stands for safety. Completely remove the lug nuts and take off the wheel to access the brake drum.
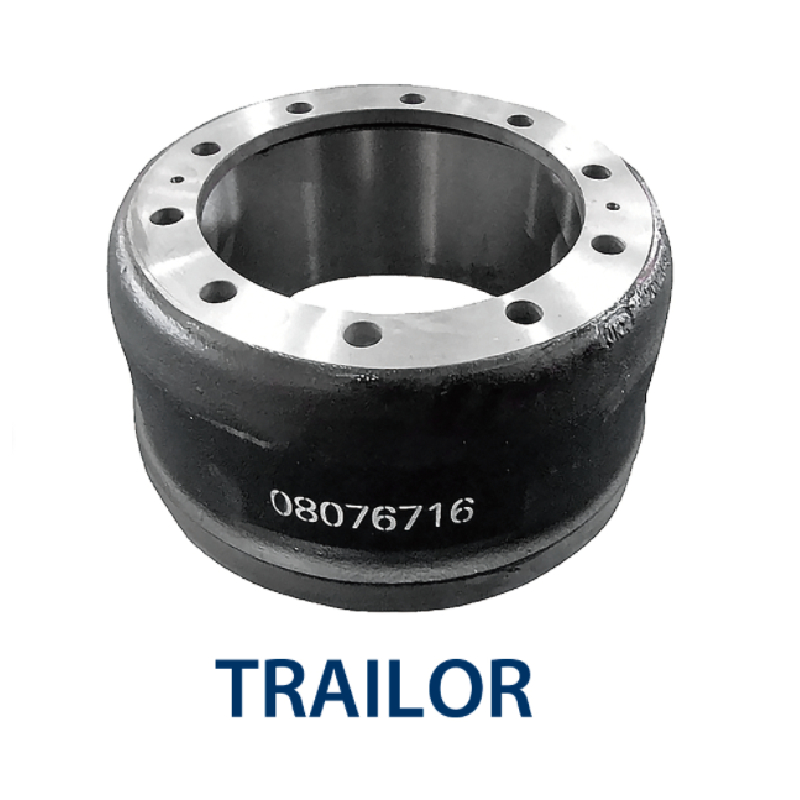
how to remove brake drums when stuck

3. Inspect the Drum Examine the brake drum for any visible damage or debris. Sometimes, dirt and rust can cause it to stick. If there is visible rust, spraying penetrating oil around the edges can help loosen it.
4. Tap the Drum Using a brass hammer or rubber mallet, gently tap around the circumference of the drum. Make sure to hit it evenly to avoid bending the drum. This might help break any corrosion or debris that is holding it in place.
5. Use a Pry Bar If tapping does not work, take a pry bar or flathead screwdriver and carefully insert it between the drum and the backing plate. Gently pry while being cautious not to damage the backing plate or brake components. Start at one point and move around the drum while applying even pressure.
6. Drum Puller (If Needed) If the drum still refuses to budge, consider using a drum puller. This tool provides even more leverage and can often pop stubborn drums loose. Follow the manufacturer’s instructions for the specific tool you are using.
7. Clean and Maintain Once you have successfully removed the drum, clean it with brake cleaner. Inspect the brake shoes, springs, and other components for wear or damage. If everything looks good, you can proceed with reinstallation or maintenance.
8. Reinstall the Drum If you are reinstalling the same drum, make sure to slide it back into place. If you are replacing it, align the new drum with the brake assembly and ensure it fits snugly. Replace the wheel, lower the vehicle, and securely tighten the lug nuts.
Conclusion Removing a stuck brake drum can be a straightforward process if approached with the right tools and techniques. Always prioritize safety and take your time to ensure proper handling. If you find that the drum remains stuck despite your best efforts, it might be worth consulting a professional mechanic for assistance. Regular maintenance of your braking system can prevent future stickiness and ensure safe driving. Happy wrenching!
-
Scania Brake Drums: OEM Quality for Optimal Safety & Durability
NewsAug.16,2025
-
R.V.I: Advanced Remote Visual Inspection for Precision
NewsAug.15,2025
-
Discover HYUNDA: Innovative Vehicles, Equipment & Solutions
NewsAug.14,2025
-
R.V.I: Unlock Advanced Insights & Real-time Performance
NewsAug.13,2025
-
Kamaz Brake Drum: Durable & Reliable for Heavy Duty Trucks
NewsAug.12,2025
-
Heavy Duty Iveco Brake Drum - Premium Quality & Safety
NewsAug.11,2025
