
Feb . 12, 2025 10:17 Back to list
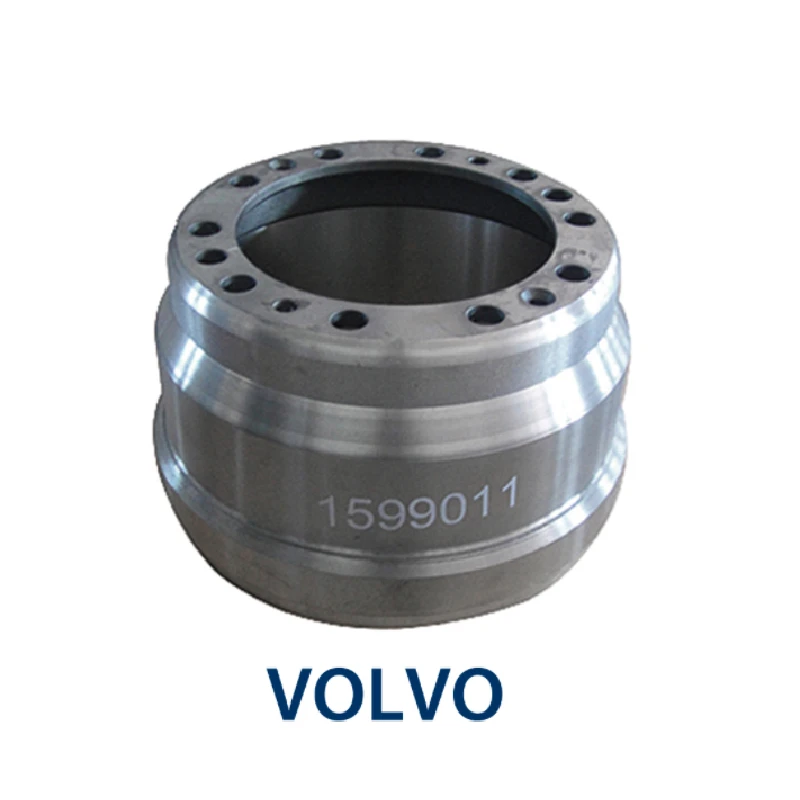
2014 mitsubishi mirage rear brake drums
Removing stuck brake drums can be a daunting task, especially for those who lack professional mechanical training. However, with the right approach and some practical know-how, the task becomes manageable even for a home mechanic. The following guide provides expert insight into successfully freeing and removing stuck brake drums, emphasizing safety and efficiency.
6. Threaded Holes Utilization Many brake drums feature threaded holes designed for removal assistance. Insert the appropriate bolts into these holes and gradually tighten them. This process effectively pushes the drum away from the wheel hub. Tighten the bolts alternately to apply even pressure. 7. Heat Application If the drum remains immovable after trying the previous methods, apply heat to the hub section using a propane torch. Heat causes metal expansion, which may break the rust bond. Exercise caution and avoid overheating to prevent warping the drum. 8. Consulting Professional Help If you’re facing persistent difficulty, seeking assistance from a professional mechanic may be the safest option. Improper handling risks damaging internal components, leading to costly repairs. 9. Regular Maintenance Practices Preventing stuck brake drums in the future involves regular maintenance. During tire rotations or brake inspections, clean the brake assembly and apply anti-seize compound on the hub surface. This practice minimizes rust formation and eases future removals. 10. Product Recommendations Invest in quality tools designed for brake maintenance—rust penetrants like PB Blaster and Liquid Wrench are highly effective. An investment in a brake spoon and a set of rubber mallets is equally wise, ensuring you have the necessary equipment for adjustments and other maintenance tasks. Removing a stuck brake drum requires a balance of patience and the right application of force. By using systematic methods and high-quality tools, you can safely and effectively address the problem, ensuring the continued reliability of your vehicle's braking system. Following this guide allows amateur and experienced mechanics alike to perform the task with confidence and authority.

6. Threaded Holes Utilization Many brake drums feature threaded holes designed for removal assistance. Insert the appropriate bolts into these holes and gradually tighten them. This process effectively pushes the drum away from the wheel hub. Tighten the bolts alternately to apply even pressure. 7. Heat Application If the drum remains immovable after trying the previous methods, apply heat to the hub section using a propane torch. Heat causes metal expansion, which may break the rust bond. Exercise caution and avoid overheating to prevent warping the drum. 8. Consulting Professional Help If you’re facing persistent difficulty, seeking assistance from a professional mechanic may be the safest option. Improper handling risks damaging internal components, leading to costly repairs. 9. Regular Maintenance Practices Preventing stuck brake drums in the future involves regular maintenance. During tire rotations or brake inspections, clean the brake assembly and apply anti-seize compound on the hub surface. This practice minimizes rust formation and eases future removals. 10. Product Recommendations Invest in quality tools designed for brake maintenance—rust penetrants like PB Blaster and Liquid Wrench are highly effective. An investment in a brake spoon and a set of rubber mallets is equally wise, ensuring you have the necessary equipment for adjustments and other maintenance tasks. Removing a stuck brake drum requires a balance of patience and the right application of force. By using systematic methods and high-quality tools, you can safely and effectively address the problem, ensuring the continued reliability of your vehicle's braking system. Following this guide allows amateur and experienced mechanics alike to perform the task with confidence and authority.
Latest news
-
Explore Japan: Ultimate Travel Guide & Authentic Experiences
NewsAug.19,2025
-
Your Brake Drum Man: Premium & Reliable Brake Drums for Sale
NewsAug.18,2025
-
ROR Web Development: Build Fast, Scalable, Secure Apps
NewsAug.17,2025
-
Scania Brake Drums: OEM Quality for Optimal Safety & Durability
NewsAug.16,2025
-
R.V.I: Advanced Remote Visual Inspection for Precision
NewsAug.15,2025
-
Discover HYUNDA: Innovative Vehicles, Equipment & Solutions
NewsAug.14,2025