
Feb . 14, 2025 10:55 Back to list
how to remove rear brake drum
Removing the rear brake drum from a vehicle can be a daunting task, especially for those attempting it for the first time. However, with the right tools, guidance, and cautions, the process becomes manageable and rewarding. This guide draws from firsthand experiences and expert advice to provide a comprehensive understanding of how to safely and effectively remove a rear brake drum while enhancing your mechanical skills.
Locate the access hole on the backside of the brake assembly; a rubber plug may be concealing it. Remove this plug and use the flathead screwdriver to turn the star wheel adjuster inside, which will contract the brake shoes. This step is delicate; care must be taken to ensure you do not reverse the process by accidentally expanding the shoes. Removing the brake drum is only a part of the brake maintenance process. Once it is free, take the time to inspect the brake shoes, springs, and cylinder for wear or damage. Clean the drum of any residual dust using brake cleaner, taking care not to inhale the brake dust. Consider these aspects from the perspective of expertise and authoritativeness in automotive care. Understanding the common pitfall—rust—is crucial as it not only affects the longevity of brake components but also impacts the safety and performance of the vehicle. This approach underscores the trustworthiness of the process, emphasizing the importance of regular maintenance and timely intervention. Incorporate these practices into your regular vehicle maintenance routine to ensure a smoother and safer driving experience. Mastery of brake drum maintenance not only enhances your mechanical expertise but also endows you with the confidence to tackle other vehicle issues. As you grow familiar with your vehicle’s mechanics, you will save time and money, and significantly reduce the risk of accidents due to brake failure. Whether you are an automotive enthusiast or a novice in vehicle maintenance, the ability to remove a rear brake drum is an invaluable skill, enhancing both vehicle performance and personal satisfaction. With diligent practice, the intricate dance of nuts and bolts will transform from a mechanical chore into an art form of automotive maintenance.
Locate the access hole on the backside of the brake assembly; a rubber plug may be concealing it. Remove this plug and use the flathead screwdriver to turn the star wheel adjuster inside, which will contract the brake shoes. This step is delicate; care must be taken to ensure you do not reverse the process by accidentally expanding the shoes. Removing the brake drum is only a part of the brake maintenance process. Once it is free, take the time to inspect the brake shoes, springs, and cylinder for wear or damage. Clean the drum of any residual dust using brake cleaner, taking care not to inhale the brake dust. Consider these aspects from the perspective of expertise and authoritativeness in automotive care. Understanding the common pitfall—rust—is crucial as it not only affects the longevity of brake components but also impacts the safety and performance of the vehicle. This approach underscores the trustworthiness of the process, emphasizing the importance of regular maintenance and timely intervention. Incorporate these practices into your regular vehicle maintenance routine to ensure a smoother and safer driving experience. Mastery of brake drum maintenance not only enhances your mechanical expertise but also endows you with the confidence to tackle other vehicle issues. As you grow familiar with your vehicle’s mechanics, you will save time and money, and significantly reduce the risk of accidents due to brake failure. Whether you are an automotive enthusiast or a novice in vehicle maintenance, the ability to remove a rear brake drum is an invaluable skill, enhancing both vehicle performance and personal satisfaction. With diligent practice, the intricate dance of nuts and bolts will transform from a mechanical chore into an art form of automotive maintenance.
Latest news
-
Volvo Brake Drum: OEM Quality, Optimal Safety
NewsAug.27,2025
-
Durable Brake Drum MAZ for Heavy Duty Trucks | High Performance
NewsAug.26,2025
-
FUWA: Premium Quality, Reliable Performance & Innovative Solutions
NewsAug.25,2025
-
Liza Brake Drum: Superior Quality & Performance for Safe Driving
NewsAug.24,2025
-
Iveco Brake Drum | Premium OE Quality for Daily & Eurocargo
NewsAug.22,2025
-
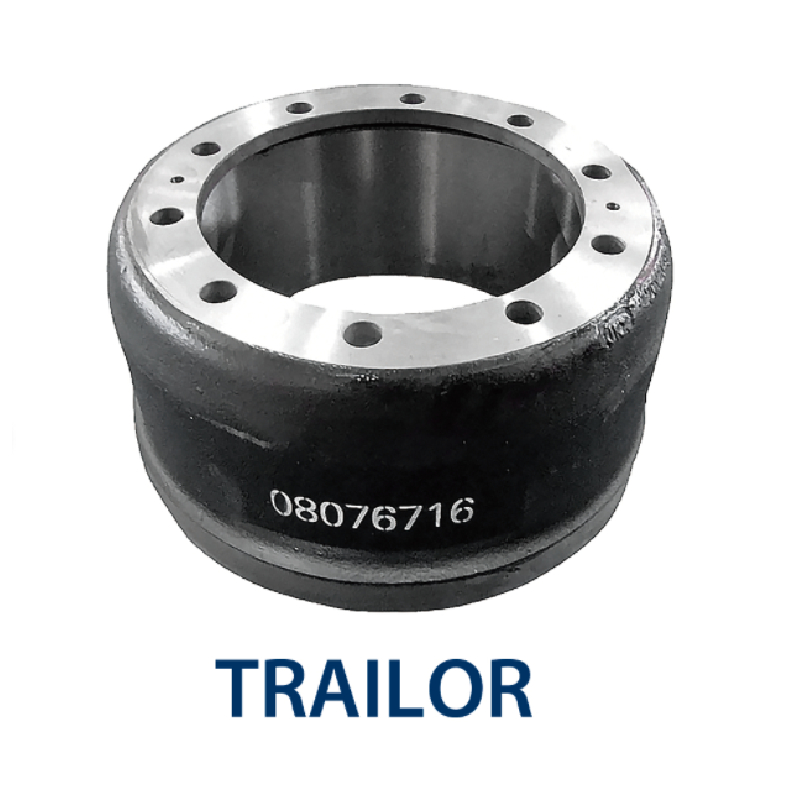
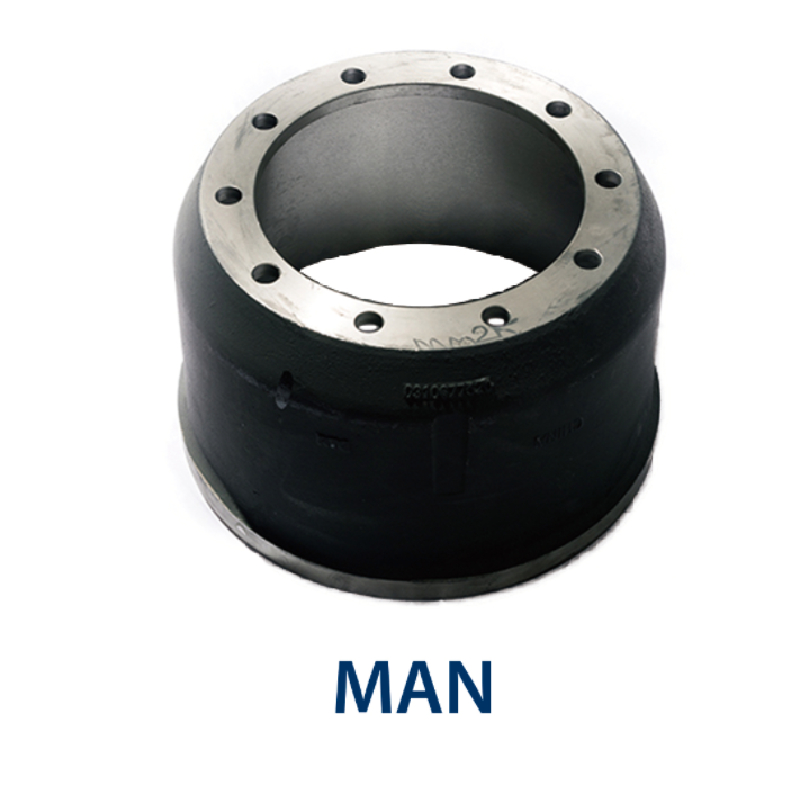
Your Brake Drum Man: Quality & Performance Parts
NewsAug.21,2025