Oct . 15, 2024 03:46 Back to list
Effectively Eliminating Rust from Your Brake Drum in Simple Steps
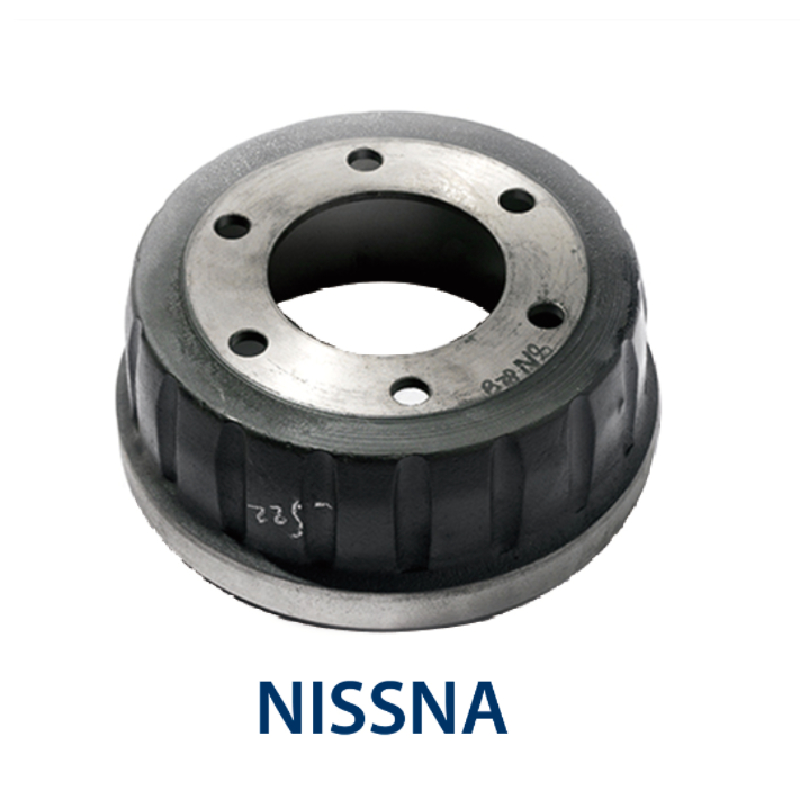
How to Remove a Rusted Brake Drum
Dealing with a rusted brake drum can be a daunting task, especially if you’re looking to perform a brake replacement or inspection on your vehicle. Brake drums can become rusted due to exposure to moisture, road salt, and general wear over time. If you’re faced with this situation, don’t worry—following a systematic approach can help you successfully remove that stubborn brake drum. Here’s a guide to assist you through the process.
Tools and Materials Needed
Before you get started, ensure you have the following tools and materials handy
- Jack and jack stands - Lug wrench - Hammer or rubber mallet - Brake cleaner - WD-40 or penetrating oil - Screwdriver - Wire brush or sandpaper - Safety goggles and gloves
Step 1 Prepare the Vehicle
First, make sure the vehicle is parked on a level surface and that the parking brake is engaged. Place wheel chocks behind the rear tires (if you’re working on the front brakes) to prevent any movement. Using the lug wrench, loosen the lug nuts on the wheel that covers the brake drum but do not remove them completely yet.
Step 2 Lift the Vehicle
Using a jack, raise the vehicle off the ground. Secure it with jack stands to ensure safety. Now you can fully remove the loosened lug nuts and take off the wheel, exposing the brake drum.
Step 3 Inspect the Brake Setup
Once the wheel is removed, examine the brake drum carefully. Look for any signs of damage or significant rusting. If the rust is severe, consider replacing the entire brake drum rather than attempting to remove it.
how to remove rusted brake drum

Step 4 Apply Penetrating Oil
Spray a generous amount of WD-40 or penetrating oil around the edges of the brake drum where it meets the backing plate. Allow the oil to soak for at least 10-15 minutes to help loosen any rust or corrosion that may be binding the drum in place.
Step 5 Remove the Brake Drum
After the penetrating oil has had time to work, you can try to remove the drum. Sometimes, the drum may be held in place by rust, so a little force might be required. Gently tap around the drum’s circumference with a hammer or rubber mallet to break the rust's bond. Be cautious and avoid hitting too hard, as this could damage the drum or the components inside.
If the drum does not budge after tapping, you can also look for any adjustment slots on the backing plate that may help to loosen the brake shoes. Adjust these accordingly to relieve pressure on the drum.
Step 6 Clean the Area
Once you’ve successfully removed the drum, take a moment to clean the area. Use a wire brush or sandpaper to eliminate any remaining rust from the backing plate and components. This will help ensure proper installation of new parts and prevent future rust buildup.
Step 7 Install New Brake Drum (Optional)
If you’re replacing the brake drum, now is the time to install the new part. Make sure to follow the manufacturer’s instructions for installation. If you’re reinstalling the old drum, check the surface for any cracks or damage before doing so.
Conclusion
Removing a rusted brake drum does require some patience and care, but with the right tools and techniques, you can successfully tackle the job. Always remember to prioritize safety by wearing protective gear and using the proper equipment. If you find that you’re unable to remove the drum despite following these steps, don’t hesitate to consult with a professional mechanic for assistance. Regular maintenance and inspection of your brake system can help prevent rust buildup and keep your vehicle safe on the road. Happy working!
-
ROR Web Development: Build Fast, Scalable, Secure Apps
NewsAug.17,2025
-
Scania Brake Drums: OEM Quality for Optimal Safety & Durability
NewsAug.16,2025
-
R.V.I: Advanced Remote Visual Inspection for Precision
NewsAug.15,2025
-
Discover HYUNDA: Innovative Vehicles, Equipment & Solutions
NewsAug.14,2025
-
R.V.I: Unlock Advanced Insights & Real-time Performance
NewsAug.13,2025
-
Kamaz Brake Drum: Durable & Reliable for Heavy Duty Trucks
NewsAug.12,2025
