Dec . 07, 2024 09:17 Back to list
how to remove seized drum brakes
How to Remove Seized Drum Brakes
Removing seized drum brakes can be a challenging task, but with the right tools and techniques, it's definitely manageable. Whether you're a seasoned mechanic or a beginner looking to tackle your own car maintenance, this guide will walk you through the steps required to safely and effectively remove seized drum brakes.
Understanding Drum Brakes
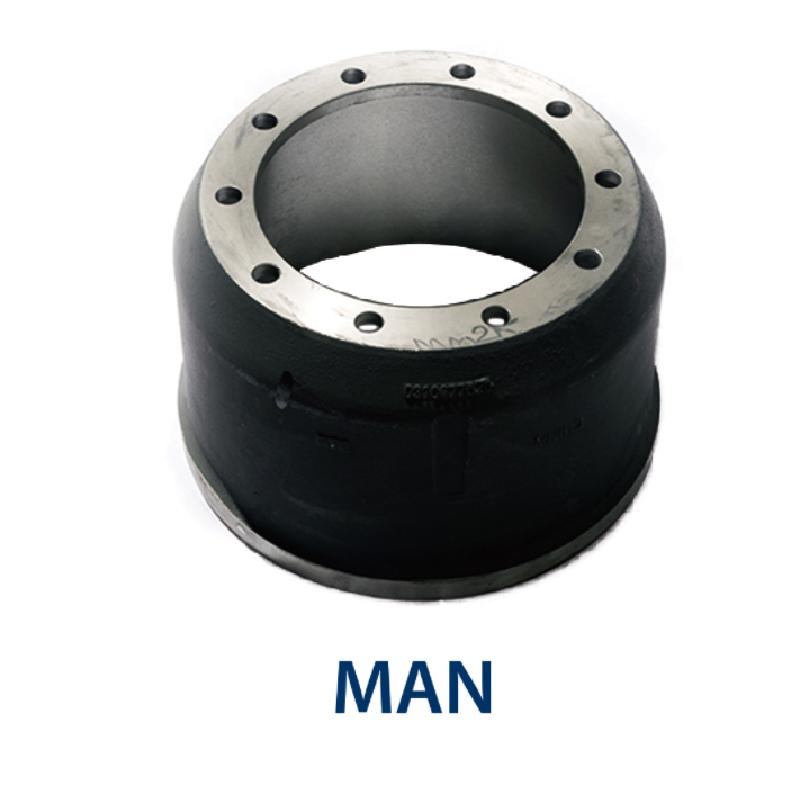
Before diving into the removal process, it’s essential to understand how drum brakes work. Inside the drum, brake shoes are positioned against the drum's interior. When the brake pedal is pressed, hydraulic pressure forces the shoes outward, pressing them against the drum, which creates the friction needed to slow down the vehicle. Over time, dust, moisture, and rust can cause these components to seize, leading to difficulties during maintenance.
Tools You Will Need
To remove seized drum brakes, gather the following tools - Jack and jack stands - Lug wrench - Brake drum puller or slide hammer - Screwdriver - Pliers - Brake cleaner - Rust penetrant (like WD-40) - Safety goggles and gloves
Step-by-Step Removal Process
1. Preparation Ensure your vehicle is parked on a flat surface, and turn off the ignition. For safety, disconnect the battery to eliminate any electrical risks.
2. Lifting the Vehicle Use the lug wrench to loosen the lug nuts of the wheel covering the drum brake. Once loosened, lift the vehicle using the jack and secure it with jack stands for stability.
how to remove seized drum brakes

3. Removing the Wheel After securing the vehicle, fully remove the lug nuts and take off the wheel to expose the drum brake assembly.
4. Inspect the Drum Look for any visible signs of damage or rust on the drum and brake assembly. If rust is present, applying a rust penetrant around the drum's edges and the brake components can help free them up.
5. Removing the Drum If the drum is seized, gently tapping the edges of the drum with a hammer or mallet can help break the rust seal. If it doesn’t come off, use a brake drum puller or slide hammer. Attach the puller according to the manufacturer's instructions and gradually tighten until the drum loosens.
6. Check the Brake Mechanism Once the drum is removed, inspect the brake shoes, springs, and any other components for excessive wear or damage. If necessary, replace any faulty parts.
7. Cleaning Before reassembly, clean the drum and other brake components using brake cleaner. Remove any old grease or debris to ensure smooth functionality.
8. Reassembly If all components are in good condition, reinstall the drum and ensure it moves freely. Then, replace the wheel and hand-tighten the lug nuts before lowering the vehicle.
9. Final Steps Once the vehicle is on the ground, fully tighten the lug nuts in a crisscross pattern to ensure even tension. Reconnect the battery and test the brakes before taking the vehicle for a drive.
Conclusion
Removing seized drum brakes can be a straightforward task when you approach it methodically and with the right tools. Always prioritize safety by wearing protective gear and ensuring the vehicle is securely lifted. If you encounter any issues beyond your skill level, don’t hesitate to consult a professional mechanic. With practice and experience, you'll become more comfortable with brake maintenance, ensuring your vehicle remains safe and efficient on the road.
-
ROR Web Development: Build Fast, Scalable, Secure Apps
NewsAug.17,2025
-
Scania Brake Drums: OEM Quality for Optimal Safety & Durability
NewsAug.16,2025
-
R.V.I: Advanced Remote Visual Inspection for Precision
NewsAug.15,2025
-
Discover HYUNDA: Innovative Vehicles, Equipment & Solutions
NewsAug.14,2025
-
R.V.I: Unlock Advanced Insights & Real-time Performance
NewsAug.13,2025
-
Kamaz Brake Drum: Durable & Reliable for Heavy Duty Trucks
NewsAug.12,2025
