Nov . 04, 2024 23:27 Back to list
how to remove stuck rear brake drum
How to Remove a Stuck Rear Brake Drum
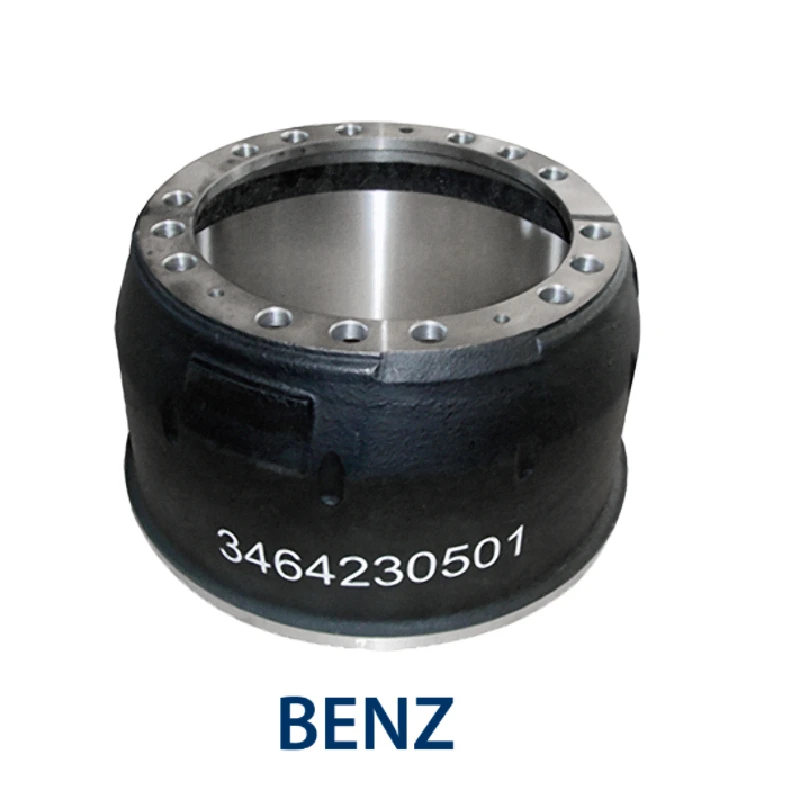
Removing a stuck rear brake drum can be a challenging task, especially for those who are not experienced in automotive repairs. Over time, brake drums can seize due to rust, corrosion, or debris buildup. This can make it difficult to replace brake shoes or perform maintenance on your vehicle’s braking system. In this article, we’ll guide you through the steps to safely and effectively remove a stuck rear brake drum.
Tools and Materials Needed
Before you begin, gather the following tools and materials
1. Jack and jack stands 2. Lug wrench 3. Brake drum puller (optional but recommended) 4. Rubber mallet or hammer 5. WD-40 or penetrating oil 6. Brake cleaner 7. Safety goggles and gloves
Step-by-Step Process
1. Prepare Your Vehicle - Park your vehicle on a flat surface, engage the parking brake, and allow the wheels to cool if you’ve just been driving. - Loosen the lug nuts on the rear wheel with a lug wrench before raising the vehicle.
2. Lift the Vehicle - Use a jack to raise the rear of your vehicle and place jack stands underneath for safety. Make sure the vehicle is secure before proceeding.
3. Remove the Wheel - Take off the lug nuts completely and remove the wheel. This will expose the brake drum.
4. Inspect the Brake Drum - Look for visible signs of rust or damage. If there is a layer of rust, this could be contributing to the drum being stuck.
how to remove stuck rear brake drum

5. Apply Penetrating Oil - Spray WD-40 or a similar penetrating oil around the circumference of the brake drum. Allow it to sit for about 10-15 minutes to break down any rust.
6. Attempt to Remove the Drum - Gently tap the drum with a rubber mallet or hammer to loosen it. Start at the edge and work your way around. Be cautious to avoid damaging the drum.
7. Use a Brake Drum Puller - If the drum still won’t budge, a brake drum puller can be very effective. Position the puller’s prongs on the drum and tighten the central screw gradually. This will apply even pressure and should help free the drum without damaging it.
8. Check for Adjustment - Sometimes the brake shoes can expand and cause the drum to stick. If your vehicle has an automatic adjuster or a manual adjusting mechanism, make sure it is properly adjusted. This might involve turning a star wheel located at the back of the drum assembly.
9. Re-apply Force if Necessary - If the drum remains stuck, apply additional penetrating oil and repeat the tapping and pulling process. It might take several attempts to free it.
10. Clean and Inspect - Once you’ve successfully removed the drum, clean any rust or debris from both the drum and the brake assembly using brake cleaner. Inspect the components for wear and replace any damaged parts as necessary.
Conclusion
Removing a stuck rear brake drum requires patience and the right tools, but with careful technique, it can be done. Always prioritize safety, and if at any point you feel uncomfortable with the task, don’t hesitate to consult a professional mechanic. Regular maintenance of your braking system can help prevent drums from seizing in the future, ensuring safer driving and prolonged vehicle life.
Remember, a well-functioning braking system is crucial for vehicle safety, so keep it in top condition!
-
Scania Brake Drums: OEM Quality for Optimal Safety & Durability
NewsAug.16,2025
-
R.V.I: Advanced Remote Visual Inspection for Precision
NewsAug.15,2025
-
Discover HYUNDA: Innovative Vehicles, Equipment & Solutions
NewsAug.14,2025
-
R.V.I: Unlock Advanced Insights & Real-time Performance
NewsAug.13,2025
-
Kamaz Brake Drum: Durable & Reliable for Heavy Duty Trucks
NewsAug.12,2025
-
Heavy Duty Iveco Brake Drum - Premium Quality & Safety
NewsAug.11,2025
