Jan . 02, 2025 16:52 Back to list
how to remove stuck rear brake drum
How to Remove a Stuck Rear Brake Drum
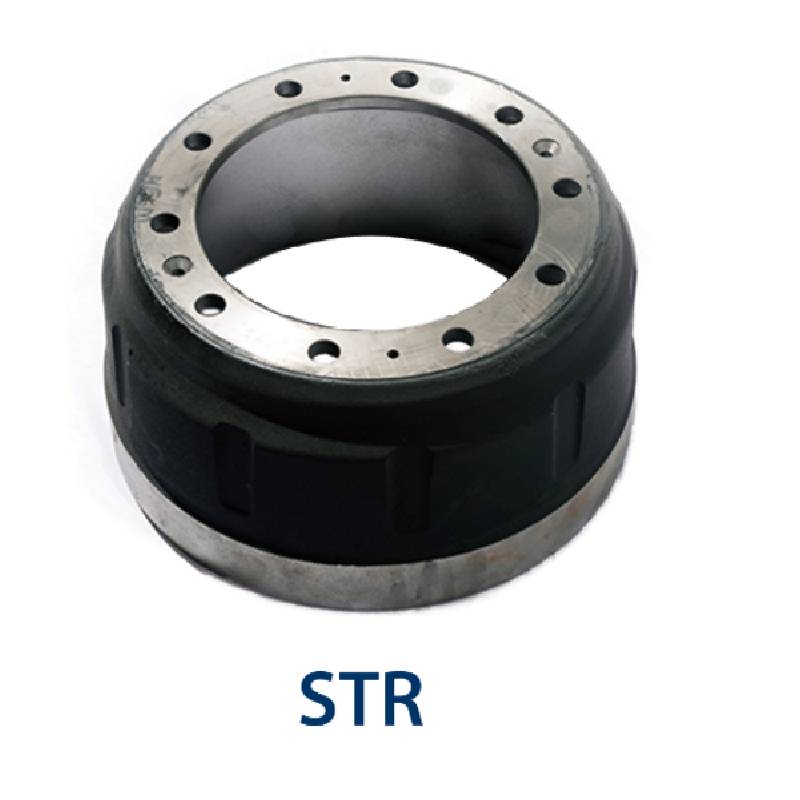
Removing a stuck rear brake drum can be a frustrating experience for car owners and mechanics alike. Whether you're performing brake maintenance, replacing shoes, or just inspecting your brakes, a stuck drum can hinder your progress. However, with the right tools and techniques, you can successfully remove the drum without causing damage. Here’s a step-by-step guide to help you through the process.
Tools You Will Need
Before you get started, gather the following tools - Jack and jack stands - Lug wrench - Brake drum puller or rubber mallet - Screwdriver (flathead and Phillips) - WD-40 or penetrating oil - Safety goggles and gloves - Torch (for heat application)
Step 1 Prepare Your Vehicle
1. Safety First Ensure you’re wearing safety goggles and gloves to protect yourself from debris and sharp edges. 2. Loosen the Lug Nuts Using a lug wrench, loosen the lug nuts of the rear wheel while the vehicle is still on the ground. Do not remove them completely yet. 3. Jack Up the Vehicle Use a jack to raise the rear of the car. Secure it with jack stands to prevent any accidents. Always double-check that the vehicle is stable before working underneath it.
Step 2 Remove the Wheel
1. Take Off the Lug Nuts Now that the car is secured, completely remove the loosened lug nuts and take off the wheel. This will expose the brake drum.
Step 3 Inspect the Drum
1. Visual Inspection Look for signs of rust, corrosion, or damage around the drum and brake assembly. Sometimes, these factors can cause a drum to seize in place. 2. Check Adjusters If you have drum brakes, check the adjusters to see if they are set too tightly, preventing the drum from sliding off.
Step 4 Apply Penetrating Oil
how to remove stuck rear brake drum

1. Apply WD-40 Spray a generous amount of penetrating oil around the edge of the drum where it meets the wheel hub. Let it sit for about 10-15 minutes to penetrate and loosen any rust.
Step 5 Use a Brake Drum Puller
1. Position the Puller If the drum is still stuck, a brake drum puller can be incredibly effective. Secure the puller to the drum according to the manufacturer’s instructions. 2. Tighten the Puller Gradually tighten the puller’s center bolt to apply pressure to the drum. This should help break the bond between the drum and the hub. 3. Check Frequently Be cautious and check frequently to avoid damaging the drum or the underlying components.
Step 6 Gentle Tapping
1. Use a Rubber Mallet If a puller is not available, gently tap around the edges of the drum with a rubber mallet. The vibrations can help loosen the drum from its position. 2. Avoid Direct Hits Never strike the drum directly with a metal hammer; this could cause dents or damage.
Step 7 Heat Application (if necessary)
1. Apply Heat If the drum still won’t budge, carefully apply heat using a torch around the outer edge of the drum. Be cautious, as excessive heat can damage components. 2. Let It Cool Allow the drum to cool down before attempting to remove it. Rapid cooling may cause the drum to contract, making it easier to pull off.
Step 8 Final Attempts
1. Recheck Everything Make sure all retaining screws or clips are removed. 2. Wiggle and Pull With all other options exhausted, try to wiggle and pull the drum gently. Sometimes a determined but careful approach can work wonders.
Conclusion
Removing a stuck rear brake drum doesn’t have to be a daunting task. With patience and the right tools, you can conquer this challenge. Always remember to prioritize safety and take your time. If all else fails, don’t hesitate to seek professional help to avoid causing damage to your brake system. Happy wrenching!
-
ROR Web Development: Build Fast, Scalable, Secure Apps
NewsAug.17,2025
-
Scania Brake Drums: OEM Quality for Optimal Safety & Durability
NewsAug.16,2025
-
R.V.I: Advanced Remote Visual Inspection for Precision
NewsAug.15,2025
-
Discover HYUNDA: Innovative Vehicles, Equipment & Solutions
NewsAug.14,2025
-
R.V.I: Unlock Advanced Insights & Real-time Performance
NewsAug.13,2025
-
Kamaz Brake Drum: Durable & Reliable for Heavy Duty Trucks
NewsAug.12,2025
