Feb . 14, 2025 11:29 Back to list
how to remove stuck rear brake drum
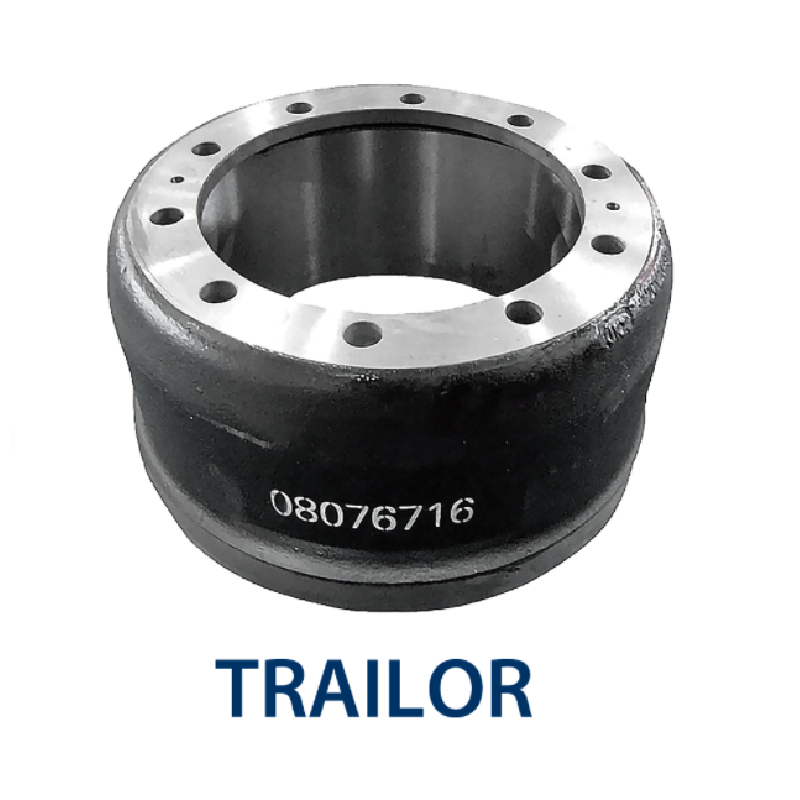
Stuck rear brake drums can be a frustrating obstacle for both amateur and experienced mechanics. Successfully removing these components requires not only understanding the mechanics involved but also implementing techniques derived from expert experience. This guide walks you through the precise steps needed to effectively tackle this issue, ensuring both safety and efficiency.
5. Screwdriver Leverage Insert a flathead screwdriver into the access hole at the back of the drum to manually adjust the star wheel. This component regulates the brake shoes' tension. By reducing tension, you create more room for the drum to loosen. Be sure to adjust evenly to avoid misalignment or damage. 6. Employing a Brake Drum Puller If the drum remains stuck, a brake drum puller becomes essential. Attach the puller, centering it over the hub. Apply gradual pressure, allowing the mechanical advantage of the puller to evenly pull the drum away from the hub without causing harm. This tool should be used cautiously, ensuring that the force applied is controlled and steady. 7. Final Removal and Inspection Once the drum is loose enough, carefully remove it by hand. Avoid dropping it, as this could damage the drum or other components. With the drum off, inspect both the drum and brake components for wear or damage. Look for worn brake shoes, leaking seals, or damaged springs, as these will need to be addressed to maintain proper vehicle function. 8. Preventive Measures To prevent future occurrences, apply a thin layer of anti-seize compound around the hub before replacing the drum. This product helps prevent rust and ease future removal. Regular maintenance and timely inspections can significantly reduce the likelihood of brake drums sticking again. 9. Reassembly Reattach the wheel once the drum is back in place. Securely tighten the lug nuts, lower the vehicle from the jack stands, and remove the wheel chocks. Conduct a brief test drive, ensuring the brakes are functioning correctly and listening for any unusual noises which could indicate improper reassembly or remaining issues. Understanding the intricacies involved in removing a stuck rear brake drum not only saves time and money but also provides a valuable skill that enhances vehicle maintenance knowledge. Mastery of these techniques ensures confident handling of such issues, establishing trust and authority in vehicle repair and maintenance.


5. Screwdriver Leverage Insert a flathead screwdriver into the access hole at the back of the drum to manually adjust the star wheel. This component regulates the brake shoes' tension. By reducing tension, you create more room for the drum to loosen. Be sure to adjust evenly to avoid misalignment or damage. 6. Employing a Brake Drum Puller If the drum remains stuck, a brake drum puller becomes essential. Attach the puller, centering it over the hub. Apply gradual pressure, allowing the mechanical advantage of the puller to evenly pull the drum away from the hub without causing harm. This tool should be used cautiously, ensuring that the force applied is controlled and steady. 7. Final Removal and Inspection Once the drum is loose enough, carefully remove it by hand. Avoid dropping it, as this could damage the drum or other components. With the drum off, inspect both the drum and brake components for wear or damage. Look for worn brake shoes, leaking seals, or damaged springs, as these will need to be addressed to maintain proper vehicle function. 8. Preventive Measures To prevent future occurrences, apply a thin layer of anti-seize compound around the hub before replacing the drum. This product helps prevent rust and ease future removal. Regular maintenance and timely inspections can significantly reduce the likelihood of brake drums sticking again. 9. Reassembly Reattach the wheel once the drum is back in place. Securely tighten the lug nuts, lower the vehicle from the jack stands, and remove the wheel chocks. Conduct a brief test drive, ensuring the brakes are functioning correctly and listening for any unusual noises which could indicate improper reassembly or remaining issues. Understanding the intricacies involved in removing a stuck rear brake drum not only saves time and money but also provides a valuable skill that enhances vehicle maintenance knowledge. Mastery of these techniques ensures confident handling of such issues, establishing trust and authority in vehicle repair and maintenance.
Latest news
-
Explore Japan: Ultimate Travel Guide & Authentic Experiences
NewsAug.19,2025
-
Your Brake Drum Man: Premium & Reliable Brake Drums for Sale
NewsAug.18,2025
-
ROR Web Development: Build Fast, Scalable, Secure Apps
NewsAug.17,2025
-
Scania Brake Drums: OEM Quality for Optimal Safety & Durability
NewsAug.16,2025
-
R.V.I: Advanced Remote Visual Inspection for Precision
NewsAug.15,2025
-
Discover HYUNDA: Innovative Vehicles, Equipment & Solutions
NewsAug.14,2025
