Nov . 30, 2024 10:51 Back to list
how to replace brake drums
How to Replace Brake Drums A Step-by-Step Guide
Replacing brake drums is an essential maintenance task that can help ensure your vehicle operates safely and efficiently. Over time, brake drums can wear out, leading to decreased braking performance and potential safety hazards. This guide will walk you through the process of replacing brake drums, ensuring that you have the confidence and knowledge to tackle this task on your own.
Tools and Materials Needed
Before you begin, gather all necessary tools and materials
- New brake drums - Brake shoes (if needed) - Brake cleaner - Lug wrench - Socket set - Screwdrivers - Brake spring tool - Jack and jack stands - Safety glasses - Gloves - Torque wrench
Step 1 Prepare Your Vehicle
1. Safety First Always wear safety glasses and gloves to protect yourself from debris and sharp edges. 2. Locate a Flat Surface Park your vehicle on a flat, stable surface and engage the parking brake. 3. Loosen the Lug Nuts Before lifting the vehicle, use a lug wrench to loosen the lug nuts on the rear wheels slightly, but do not remove them entirely.
Step 2 Lift the Vehicle
1. Use the Jack Place the jack beneath the designated jacking point on your vehicle (refer to your owner's manual if necessary) and lift the vehicle until the rear wheels are off the ground. 2. Secure with Jack Stands Once the vehicle is lifted, place jack stands under the vehicle for additional safety.
Step 3 Remove the Wheels
1. Remove Lug Nuts Finish removing the loosened lug nuts and carefully take off the rear wheels. 2. Inspect Brake Components Take a moment to inspect the brake components for wear or damage. This is a good time to consider replacing the brake shoes if they look worn.
Step 4 Remove the Brake Drums
how to replace brake drums

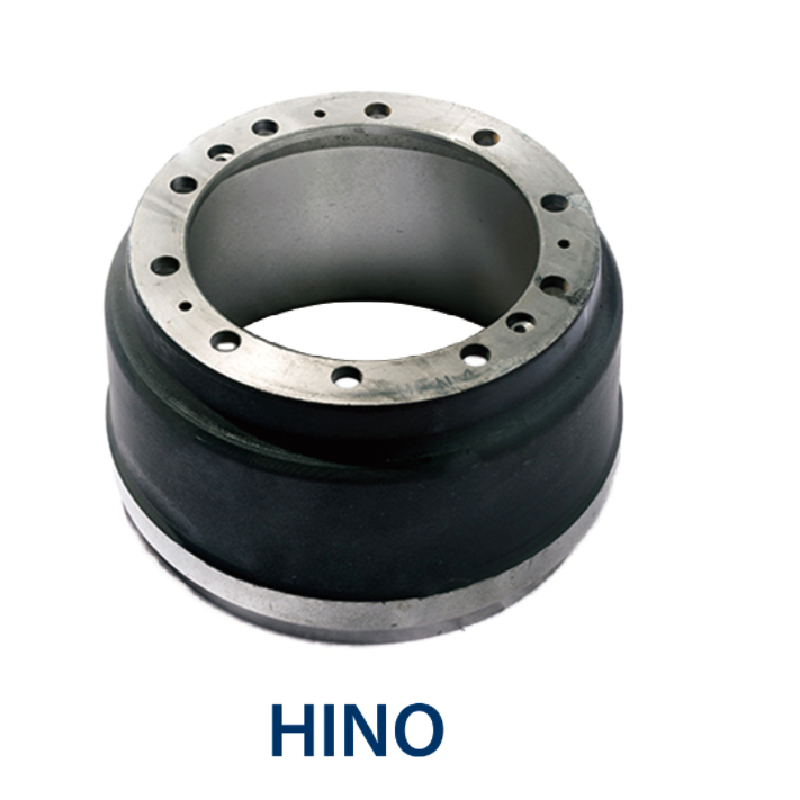
1. Locate the Drum The brake drum is the metal cylinder that encases the brake shoes. 2. Remove Brake Drum If the drum is stuck, you may need to use a hammer to gently tap the edges to loosen it. If it still won’t budge, check for any retaining screws or clips that may be holding it in place. Remove any obstacles. 3. Inspect the Brake Shoes and Hardware Examine the brake shoes, springs, and other hardware for wear. If the shoes are worn down or damaged, replace them as well.
Step 5 Install New Brake Drums
1. Clean the Hub Surface Use brake cleaner to clean the hub surface thoroughly before installing the new drum. This ensures a proper fit and prevents any dirt from impacting braking performance. 2. Install New Brake Drum Align the new brake drum over the hub and push it onto place. Ensure that it fits snugly against the wheel assembly.
Step 6 Reassemble the Brake System
1. Reinstall Brake Shoes (if necessary) If you replaced the brake shoes, use the brake spring tool to install them according to the manufacturer's specifications and position the springs and clips securely. 2. Reattach the Wheels Place the wheel back on the vehicle, aligning it with the lug bolts. Hand-tighten the lug nuts.
Step 7 Lower the Vehicle
1. Lower the Vehicle Carefully lower the jack so that the vehicle is back on the ground. Once on solid ground, remove the jack stands. 2. Tighten Lug Nuts Use a torque wrench to tighten the lug nuts to the manufacturer's specified torque setting in a crisscross pattern to ensure even distribution.
Final Step Test the Brakes
1. Check Brake Functionality Before hitting the road, pump the brake pedal a few times to seat the new brake shoes against the drum. 2. Take a Test Drive Drive the vehicle at low speeds to test the brakes. Listen for any unusual noises and ensure the brakes respond smoothly.
Conclusion
Replacing brake drums is a manageable task with the right tools and a bit of patience. Regular maintenance of your braking system is crucial for your safety on the road. If you encounter any difficulties, don’t hesitate to consult a professional mechanic for assistance. Always remember that safety and proper functioning brakes are paramount!
-
ROR Web Development: Build Fast, Scalable, Secure Apps
NewsAug.17,2025
-
Scania Brake Drums: OEM Quality for Optimal Safety & Durability
NewsAug.16,2025
-
R.V.I: Advanced Remote Visual Inspection for Precision
NewsAug.15,2025
-
Discover HYUNDA: Innovative Vehicles, Equipment & Solutions
NewsAug.14,2025
-
R.V.I: Unlock Advanced Insights & Real-time Performance
NewsAug.13,2025
-
Kamaz Brake Drum: Durable & Reliable for Heavy Duty Trucks
NewsAug.12,2025
