Oct . 11, 2024 09:24 Back to list
Steps for Replacing Your Vehicle's Brake Drums Effectively and Safely
How to Replace Brake Drums A Step-by-Step Guide
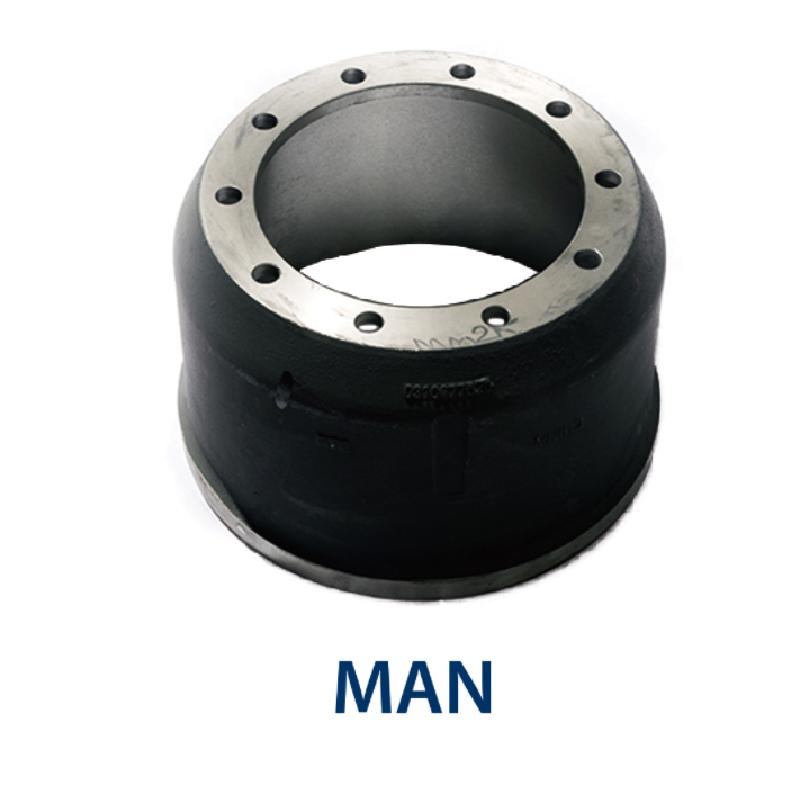
Brake drums are an essential component of a vehicle's braking system, especially in older cars and trucks. If you notice decreased braking performance, unusual noises, or visible damage to your brake drums, it may be time for a replacement. This guide will walk you through the steps necessary to replace brake drums, ensuring your vehicle remains safe and reliable.
Tools and Materials Needed
Before starting, gather the following tools and materials - Jack and jack stands - Lug wrench - Brake drum puller (if needed) - New brake drums - New brake shoes (recommended for replacement) - Brake cleaner - Torque wrench - Rags or towels - Safety glasses and gloves
Step 1 Prepare the Vehicle
1. Safety First Always wear safety glasses and gloves when working on your vehicle. Ensure your vehicle is parked on a flat surface and the ignition is off. 2. Loosen Lug Nuts Using a lug wrench, slightly loosen the lug nuts on the rear wheels (or front if that's where you're working) while the wheels are still on the ground. Don't remove them completely yet. 3. Jack Up the Vehicle Use a floor jack to lift the vehicle off the ground. Once elevated, place jack stands under the vehicle for added safety. 4. Remove the Wheels Now that the vehicle is secure, finish removing the lug nuts and take off the wheels.
Step 2 Remove the Old Brake Drums
1. Inspect for Damage Before removal, inspect the brake assembly for any signs of damage. If the drums are warped or cracked, replacement is necessary. 2. Remove the Brake Drum If the drum does not come off easily, you may need a brake drum puller. If you hear a scraping noise or feel resistance, it may be due to worn brake shoes. Check carefully. 3. Disconnect Brake Shoes Once you’ve removed the drum, you can proceed to remove the brake shoes. Take note of their positions and connections, as this will help when installing the new ones.
how to replace brake drums

Step 3 Install New Brake Drums
1. Clean the Assembly Use brake cleaner to clean the brake assembly before installing the new drum. This removes dust and debris, ensuring optimal performance. 2. Install New Brake Shoes If you’re replacing the shoes as well, install the new shoes according to the diagram or notes you made earlier. Ensure all springs and clips are securely fastened. 3. Put on New Brake Drums Carefully slide the new brake drums over the shoes. Ensure they spin freely without any obstruction.
Step 4 Reassemble and Test
1. Reattach the Wheels Once the drums are in place, put the wheels back on. Hand-tighten the lug nuts before lowering the vehicle. 2. Lower the Vehicle With everything securely in place, remove the jack stands and lower the vehicle using your floor jack. 3. Tighten Lug Nuts Once on the ground, use a torque wrench to tighten the lug nuts to the manufacturer’s specifications. This ensures they are secure and will not come loose during driving.
Step 5 Test Drive
After replacing the brake drums and shoes, take your vehicle for a test drive. Start slowly and gently apply the brakes to listen for any unusual noises or behaviors. Ensure that the braking feels smooth and responsive throughout the drive.
Conclusion
Replacing brake drums may seem daunting, but with the right tools and careful attention, it can be accomplished by most DIY enthusiasts. Regular maintenance of your braking system not only improves vehicle performance but also enhances safety on the road. If you feel unsure or encounter any complications during the process, do not hesitate to consult a professional mechanic. Safe driving!
-
IVEKO High-Performance Brake Drums Durable & Precision-Engineered
NewsMay.17,2025
-
Brake Drum Man High-Quality Drum Brake & Shoe Solutions
NewsMay.17,2025
-
Brake Drum Man Premium Drum Brake & Shoe Solutions OEM-Compliant
NewsMay.16,2025
-
Brake Drum Man High-Quality Drum Brake & Shoe Kits for Vehicles
NewsMay.16,2025
-
Brake Drum Man High-Quality Drum Brake Parts & Expert Solutions
NewsMay.16,2025
-
Brake Drum Man High-Quality Drum Brake & Shoe Solutions
NewsMay.15,2025
