Nov . 02, 2024 07:41 Back to list
how to replace brake drums and shoes
How to Replace Brake Drums and Shoes A Comprehensive Guide
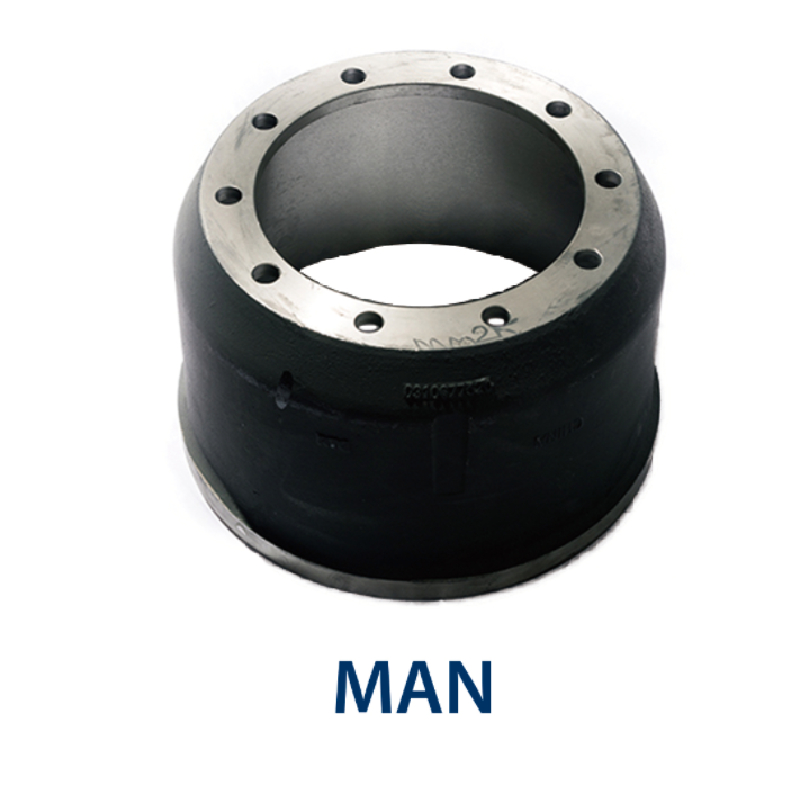
Brake drums and shoes are critical components of a vehicle's braking system, particularly in drum brake setups, which are commonly found in many cars and trucks. Over time, these components can wear out due to friction and heat generated during braking. Replacing brake drums and shoes is essential for maintaining reliable braking performance, ensuring safety on the road. This article will guide you through the process of replacing brake drums and shoes step by step.
Tools and Materials Needed
Before diving into the replacement process, gather the necessary tools and materials
- New brake shoes - New brake drums (if needed) - Brake cleaner - Wrenches and sockets - A jack and jack stands - Tire iron - Screwdriver - Brake shoe retaining spring tool (optional) - Safety goggles and gloves
Step 1 Preparation
1. Park Safely Choose a flat surface to park your vehicle. Engage the parking brake and turn off the ignition.
2. Loosen the Lug Nuts Using a tire iron, slightly loosen the lug nuts on the rear wheels (or front if you're changing the front brakes), but do not remove them yet.
3. Lift the Vehicle Using a jack, lift the vehicle until the wheels are off the ground. Secure the vehicle with jack stands for safety.
4. Remove the Wheels Now that the vehicle is stable, completely remove the lug nuts and take off the wheels to expose the brake assembly.
Step 2 Inspect the Brake Components
Examine the brake drums and shoes for wear. Look for scoring, cracking, or other signs of damage. If the brake drums are warped or if the shoes are worn down close to the backing plate, it’s time for a replacement.
Step 3 Remove the Brake Drums
1. Remove the Drum If the brake drum does not come off easily, it may be stuck. You can gently tap it with a hammer or use a brake drum puller for assistance.
how to replace brake drums and shoes

2. Inspect the Brake Hardware Check the condition of springs, retainers, and other hardware. Replace any components that appear damaged or worn.
Step 4 Replace Brake Shoes
1. Remove Old Shoes Note how the old shoes are positioned. Remove the springs and detach the shoes from the backing plate. If applicable, use a brake shoe retaining spring tool for this purpose.
2. Install New Shoes Position the new brake shoes in the same configuration as the old ones. Make sure they align properly with the wheel cylinder.
3. Reattach Springs Secure the shoes with the retaining hardware and springs. Ensure they are tightened to specification.
Step 5 Install New Brake Drums
1. Resurface or Install New Drums If you are installing new drums, make sure they are clean and free of debris. Place them over the newly installed brake shoes.
2. Reinstall Wheels Once the drums are in place, put the wheels back on and hand-tighten the lug nuts.
Step 6 Lower the Vehicle and Final Checks
1. Lower the Vehicle Remove the jack stands and lower the vehicle to the ground.
2. Tighten Lug Nuts Now, use a torque wrench to tighten the lug nuts to the manufacturer's specifications in a crisscross pattern.
3. Test the Brakes Before driving, pump the brake pedal several times to reset the brake shoes and ensure proper contact with the drums.
Conclusion
Replacing brake drums and shoes may seem daunting, but with the right tools and a bit of patience, it is a manageable task for most DIY enthusiasts. Regular inspection and timely replacement can help maintain your vehicle's braking efficiency and safety. Always consult your vehicle’s manual for specific instructions and specifications related to your model. If at any point you feel uncertain, don’t hesitate to seek professional assistance. Your safety is paramount!
-
Durable Brake Drum MAZ for Heavy Duty Trucks | High Performance
NewsAug.26,2025
-
FUWA: Premium Quality, Reliable Performance & Innovative Solutions
NewsAug.25,2025
-
Liza Brake Drum: Superior Quality & Performance for Safe Driving
NewsAug.24,2025
-
Iveco Brake Drum | Premium OE Quality for Daily & Eurocargo
NewsAug.22,2025
-
Your Brake Drum Man: Quality & Performance Parts
NewsAug.21,2025
-
Explore Japan: Ultimate Travel Guide & Authentic Experiences
NewsAug.19,2025
