Oct . 11, 2024 16:53 Back to list
how to replace rear brake drums
How to Replace Rear Brake Drums
Replacing the rear brake drums on your vehicle is an important maintenance task that can enhance braking performance and safety. Over time, brake drums can wear down, leading to reduced effectiveness. Here’s a step-by-step guide on how to replace rear brake drums safely and effectively.
Tools and Materials Needed
1. New brake drums 2. Brake shoes (if needed) 3. Wrench set 4. Screwdrivers 5. Brake cleaner 6. C-clamp 7. Jack and jack stands 8. Safety goggles and gloves
Step 1 Safety First
Always prioritize safety when working on your vehicle. Make sure to wear safety goggles and gloves to protect against debris. Ensure the vehicle is parked on a flat surface and engage the parking brake.
Step 2 Loosen the Lug Nuts
Before lifting your vehicle, slightly loosen the lug nuts on the rear wheels using the appropriate wrench. Do not remove them completely yet—this will make it easier to remove the wheels once the vehicle is lifted.
Step 3 Lift the Vehicle
Using a jack, lift the rear of the vehicle and secure it with jack stands. Never rely solely on the jack for support. Once the vehicle is secure, remove the lug nuts completely and take off the rear wheels.
Step 4 Access the Brake Drums
Once the wheels are off, you will see the brake assembly. If you notice any visible damage on the brake shoes or springs, consider replacing them at this point.
how to replace rear brake drums

Step 5 Remove the Brake Drums
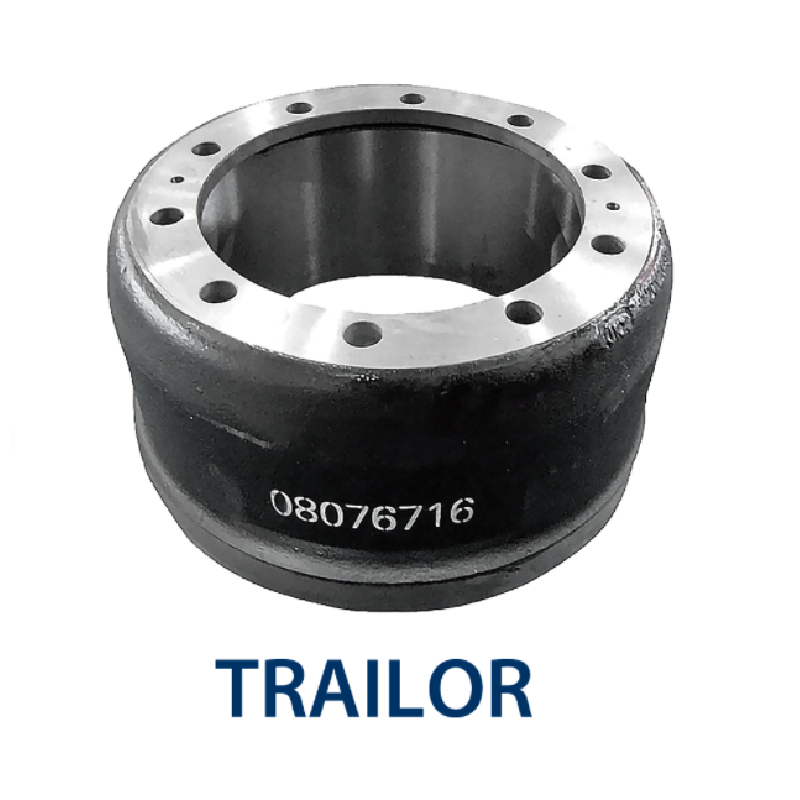
Locate the retaining screws holding the brake drums in place. Use a screwdriver to remove these screws, if applicable. If the drums are stuck due to rust or debris, a gentle tap with a hammer can help dislodge them. Remove the old drums.
Step 6 Install New Brake Drums
Clean the area where the drums will sit using brake cleaner to eliminate any dust or debris. Position the new brake drums onto the wheel hubs, ensuring they fit snugly. Reattach any retaining screws.
Step 7 Reassemble the Brake Assembly
If you replaced the brake shoes, ensure they are properly adjusted. Make sure all springs and clips are securely in place before moving forward.
Step 8 Reinstall Wheels
Once everything is secure, place the wheels back onto the hubs. Tighten the lug nuts by hand and then lower the vehicle. Once on the ground, fully tighten the lug nuts in a crisscross pattern to ensure even distribution.
Step 9 Test Drive
After replacing the brake drums, take your vehicle for a short test drive to ensure everything is functioning properly. Listen for any unusual noises and check the braking system’s responsiveness.
By following these steps, you can successfully replace your rear brake drums, enhancing your vehicle’s safety and performance. Regular maintenance is key to a reliable braking system.
-
Scania Brake Drums: OEM Quality for Optimal Safety & Durability
NewsAug.16,2025
-
R.V.I: Advanced Remote Visual Inspection for Precision
NewsAug.15,2025
-
Discover HYUNDA: Innovative Vehicles, Equipment & Solutions
NewsAug.14,2025
-
R.V.I: Unlock Advanced Insights & Real-time Performance
NewsAug.13,2025
-
Kamaz Brake Drum: Durable & Reliable for Heavy Duty Trucks
NewsAug.12,2025
-
Heavy Duty Iveco Brake Drum - Premium Quality & Safety
NewsAug.11,2025
